
build, restore, upgrade + repair microlight aircraft
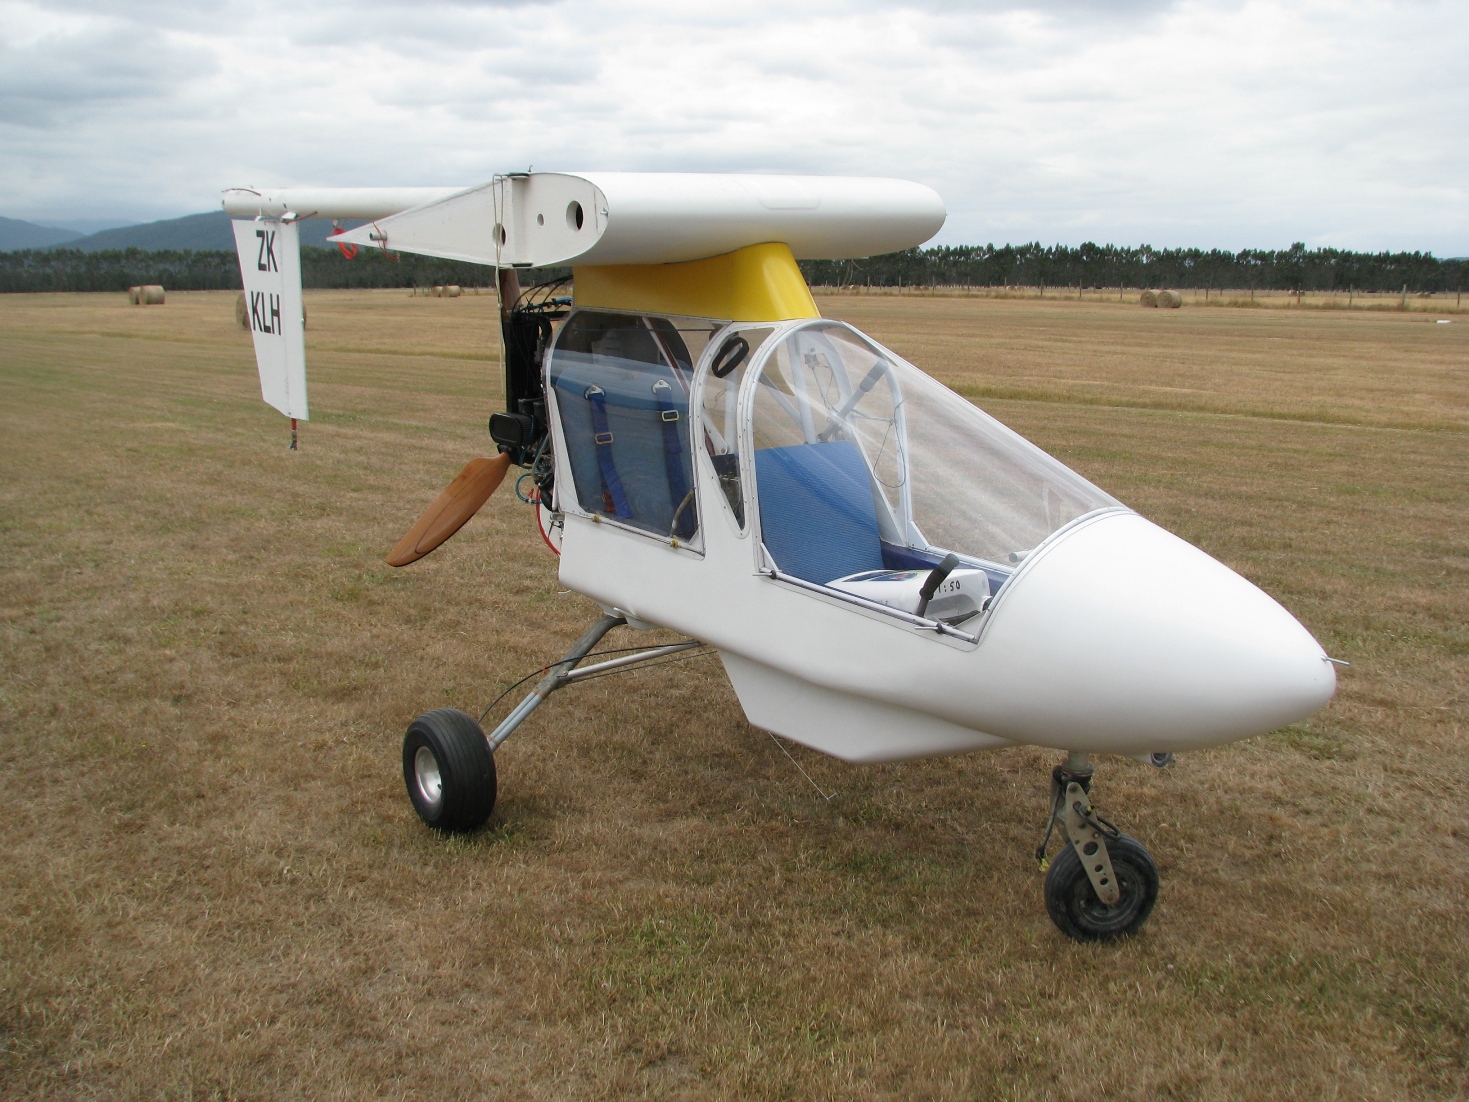
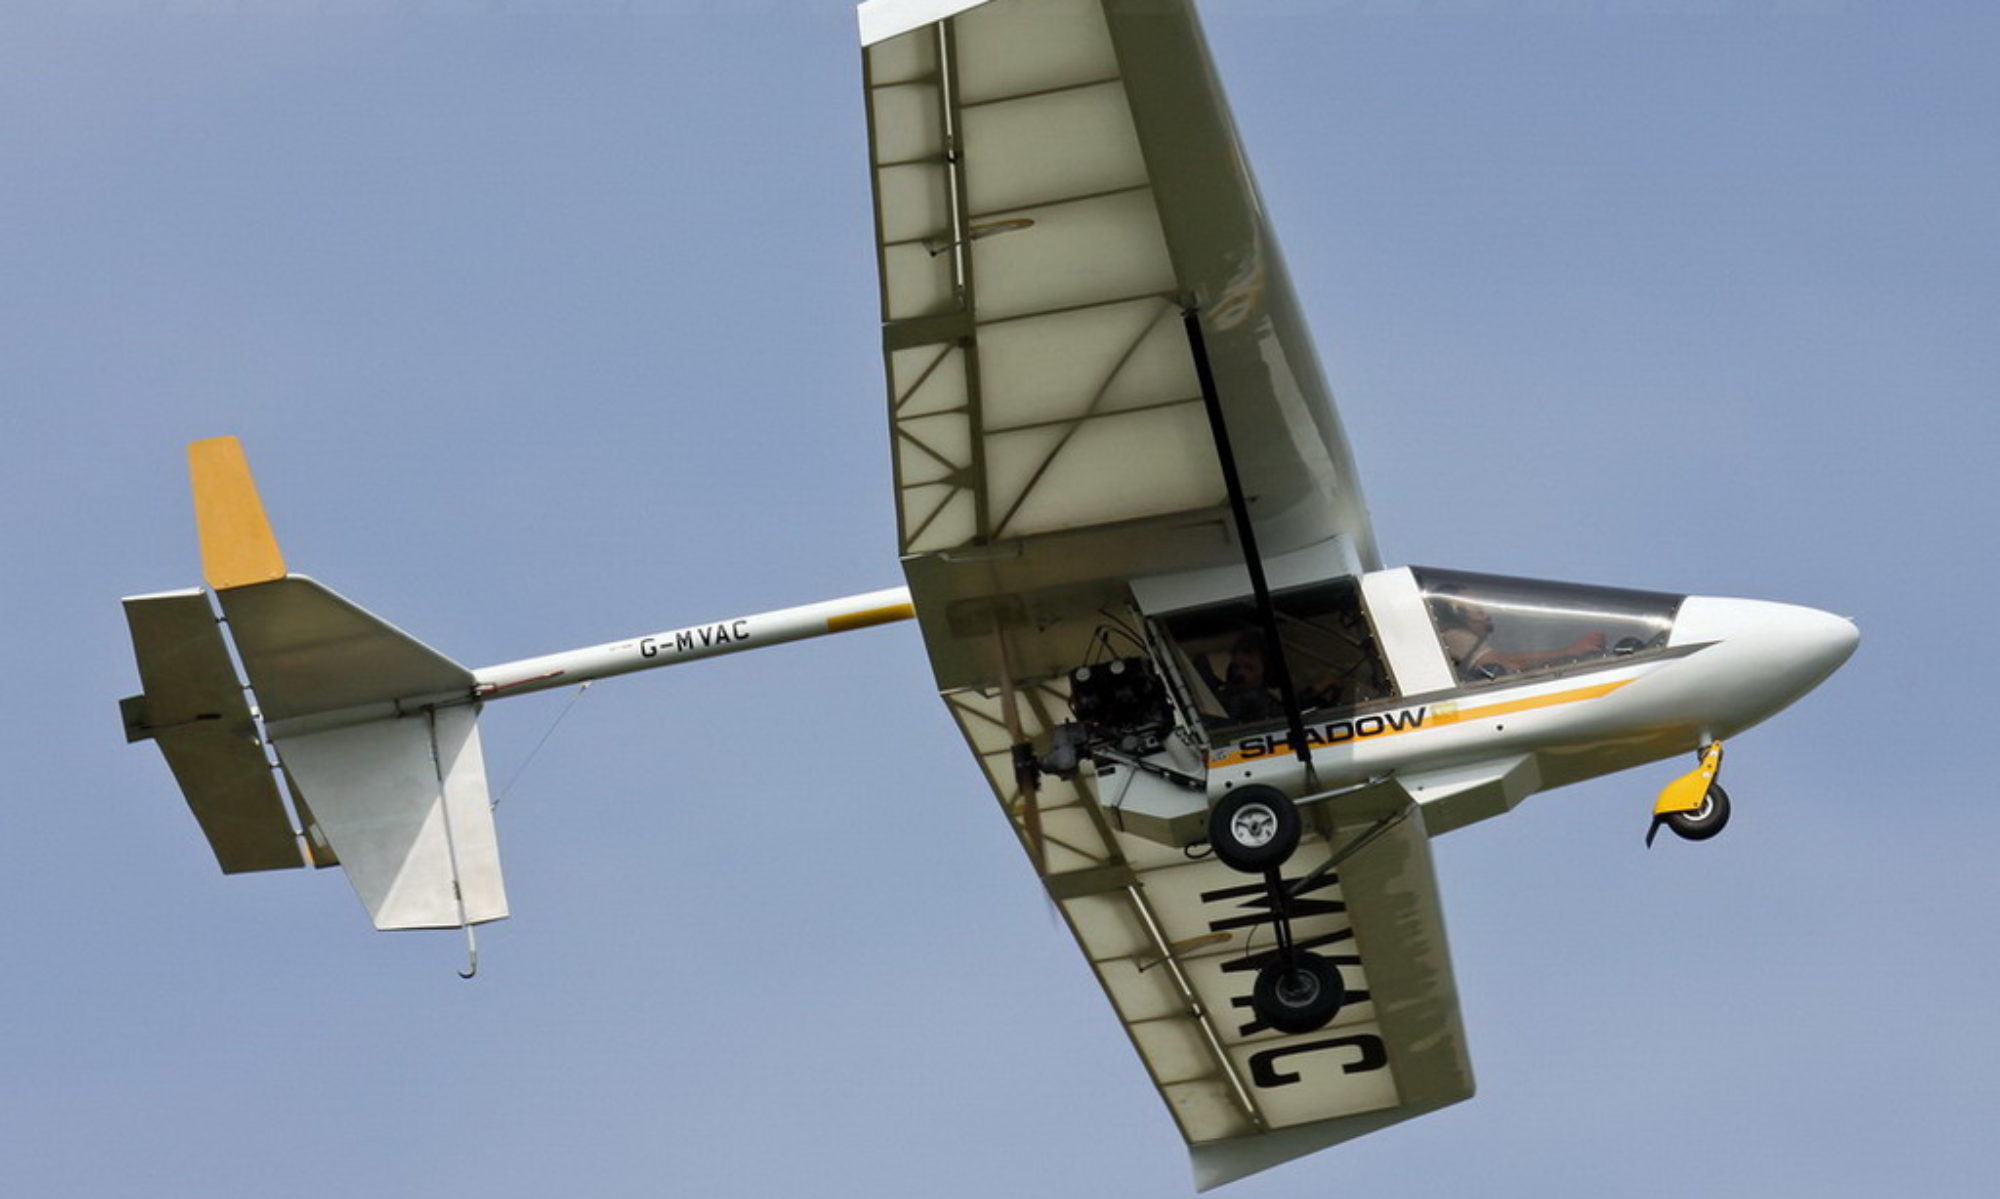
late 80’s CFM ‘Shadow’ microlight aircraft
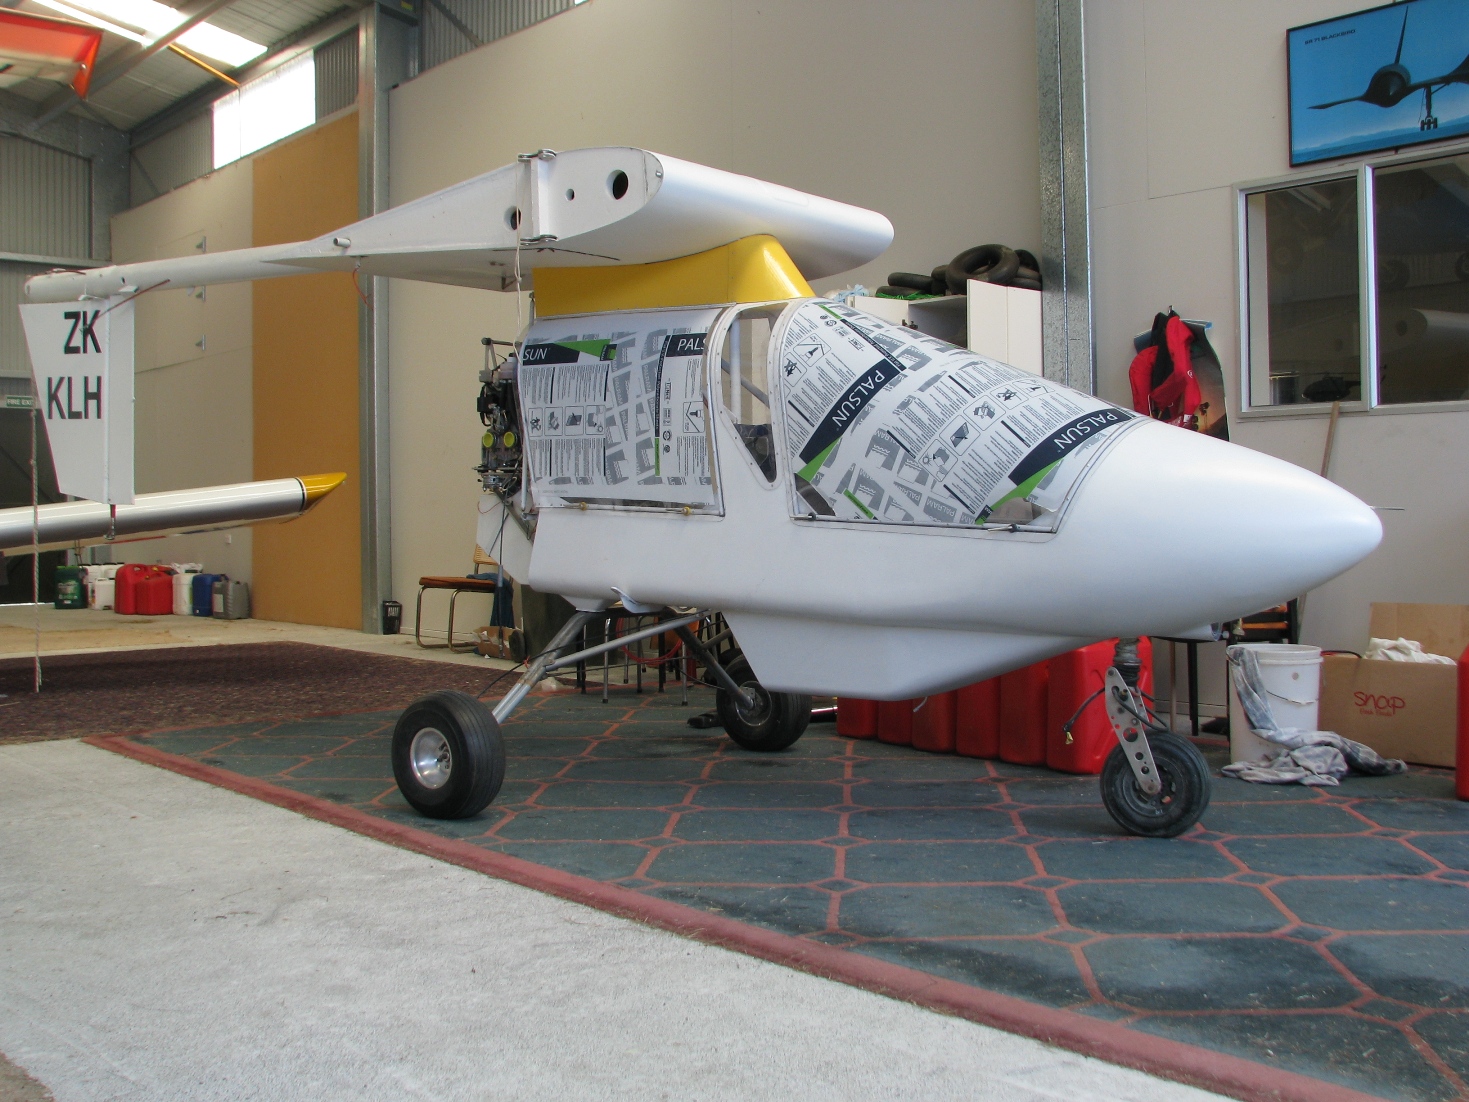


 Over the past few weeks, I’ve been able to return to re-building my 1989 CFM Shadow ZK-KLH.
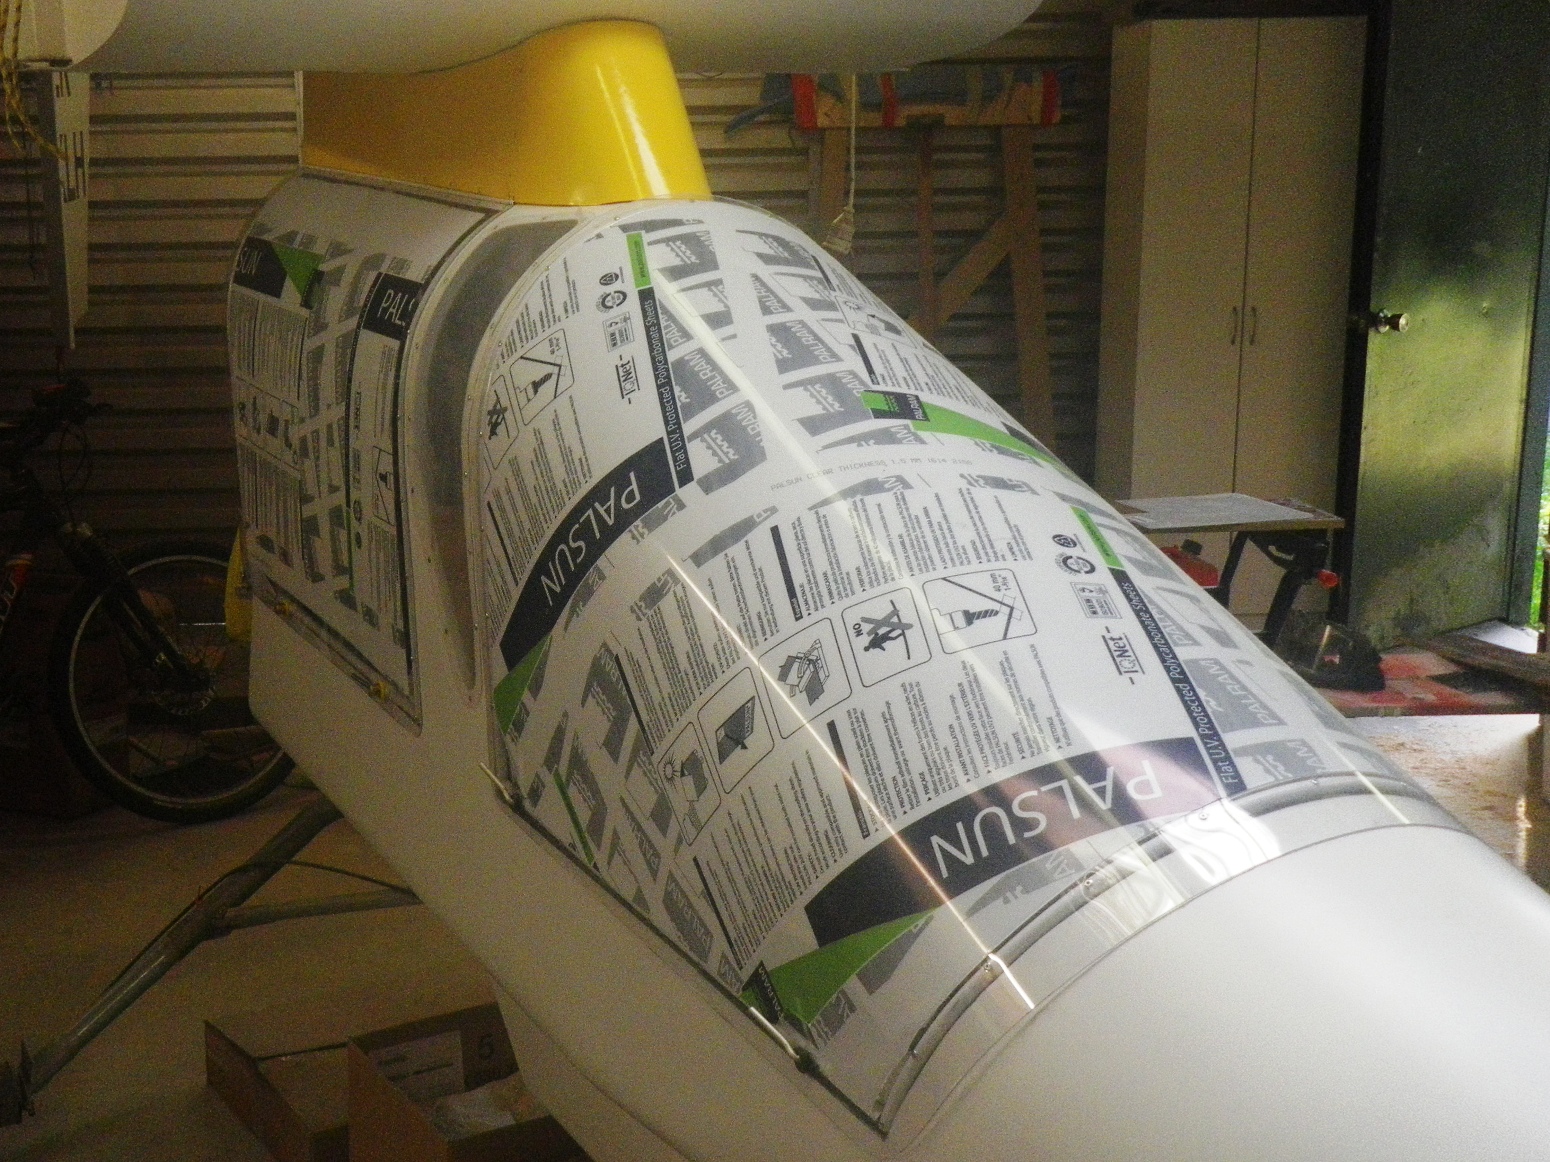
The next task was to make new canopy windows. Unfortunately, I couldn’t source tinted 1.5mm polycarbonate in New Zealand, so had to settle for clear windows. The old windows made good patterns, not only giving me the correct outline shape, but also allowing me to pre-drill the rivet holes.
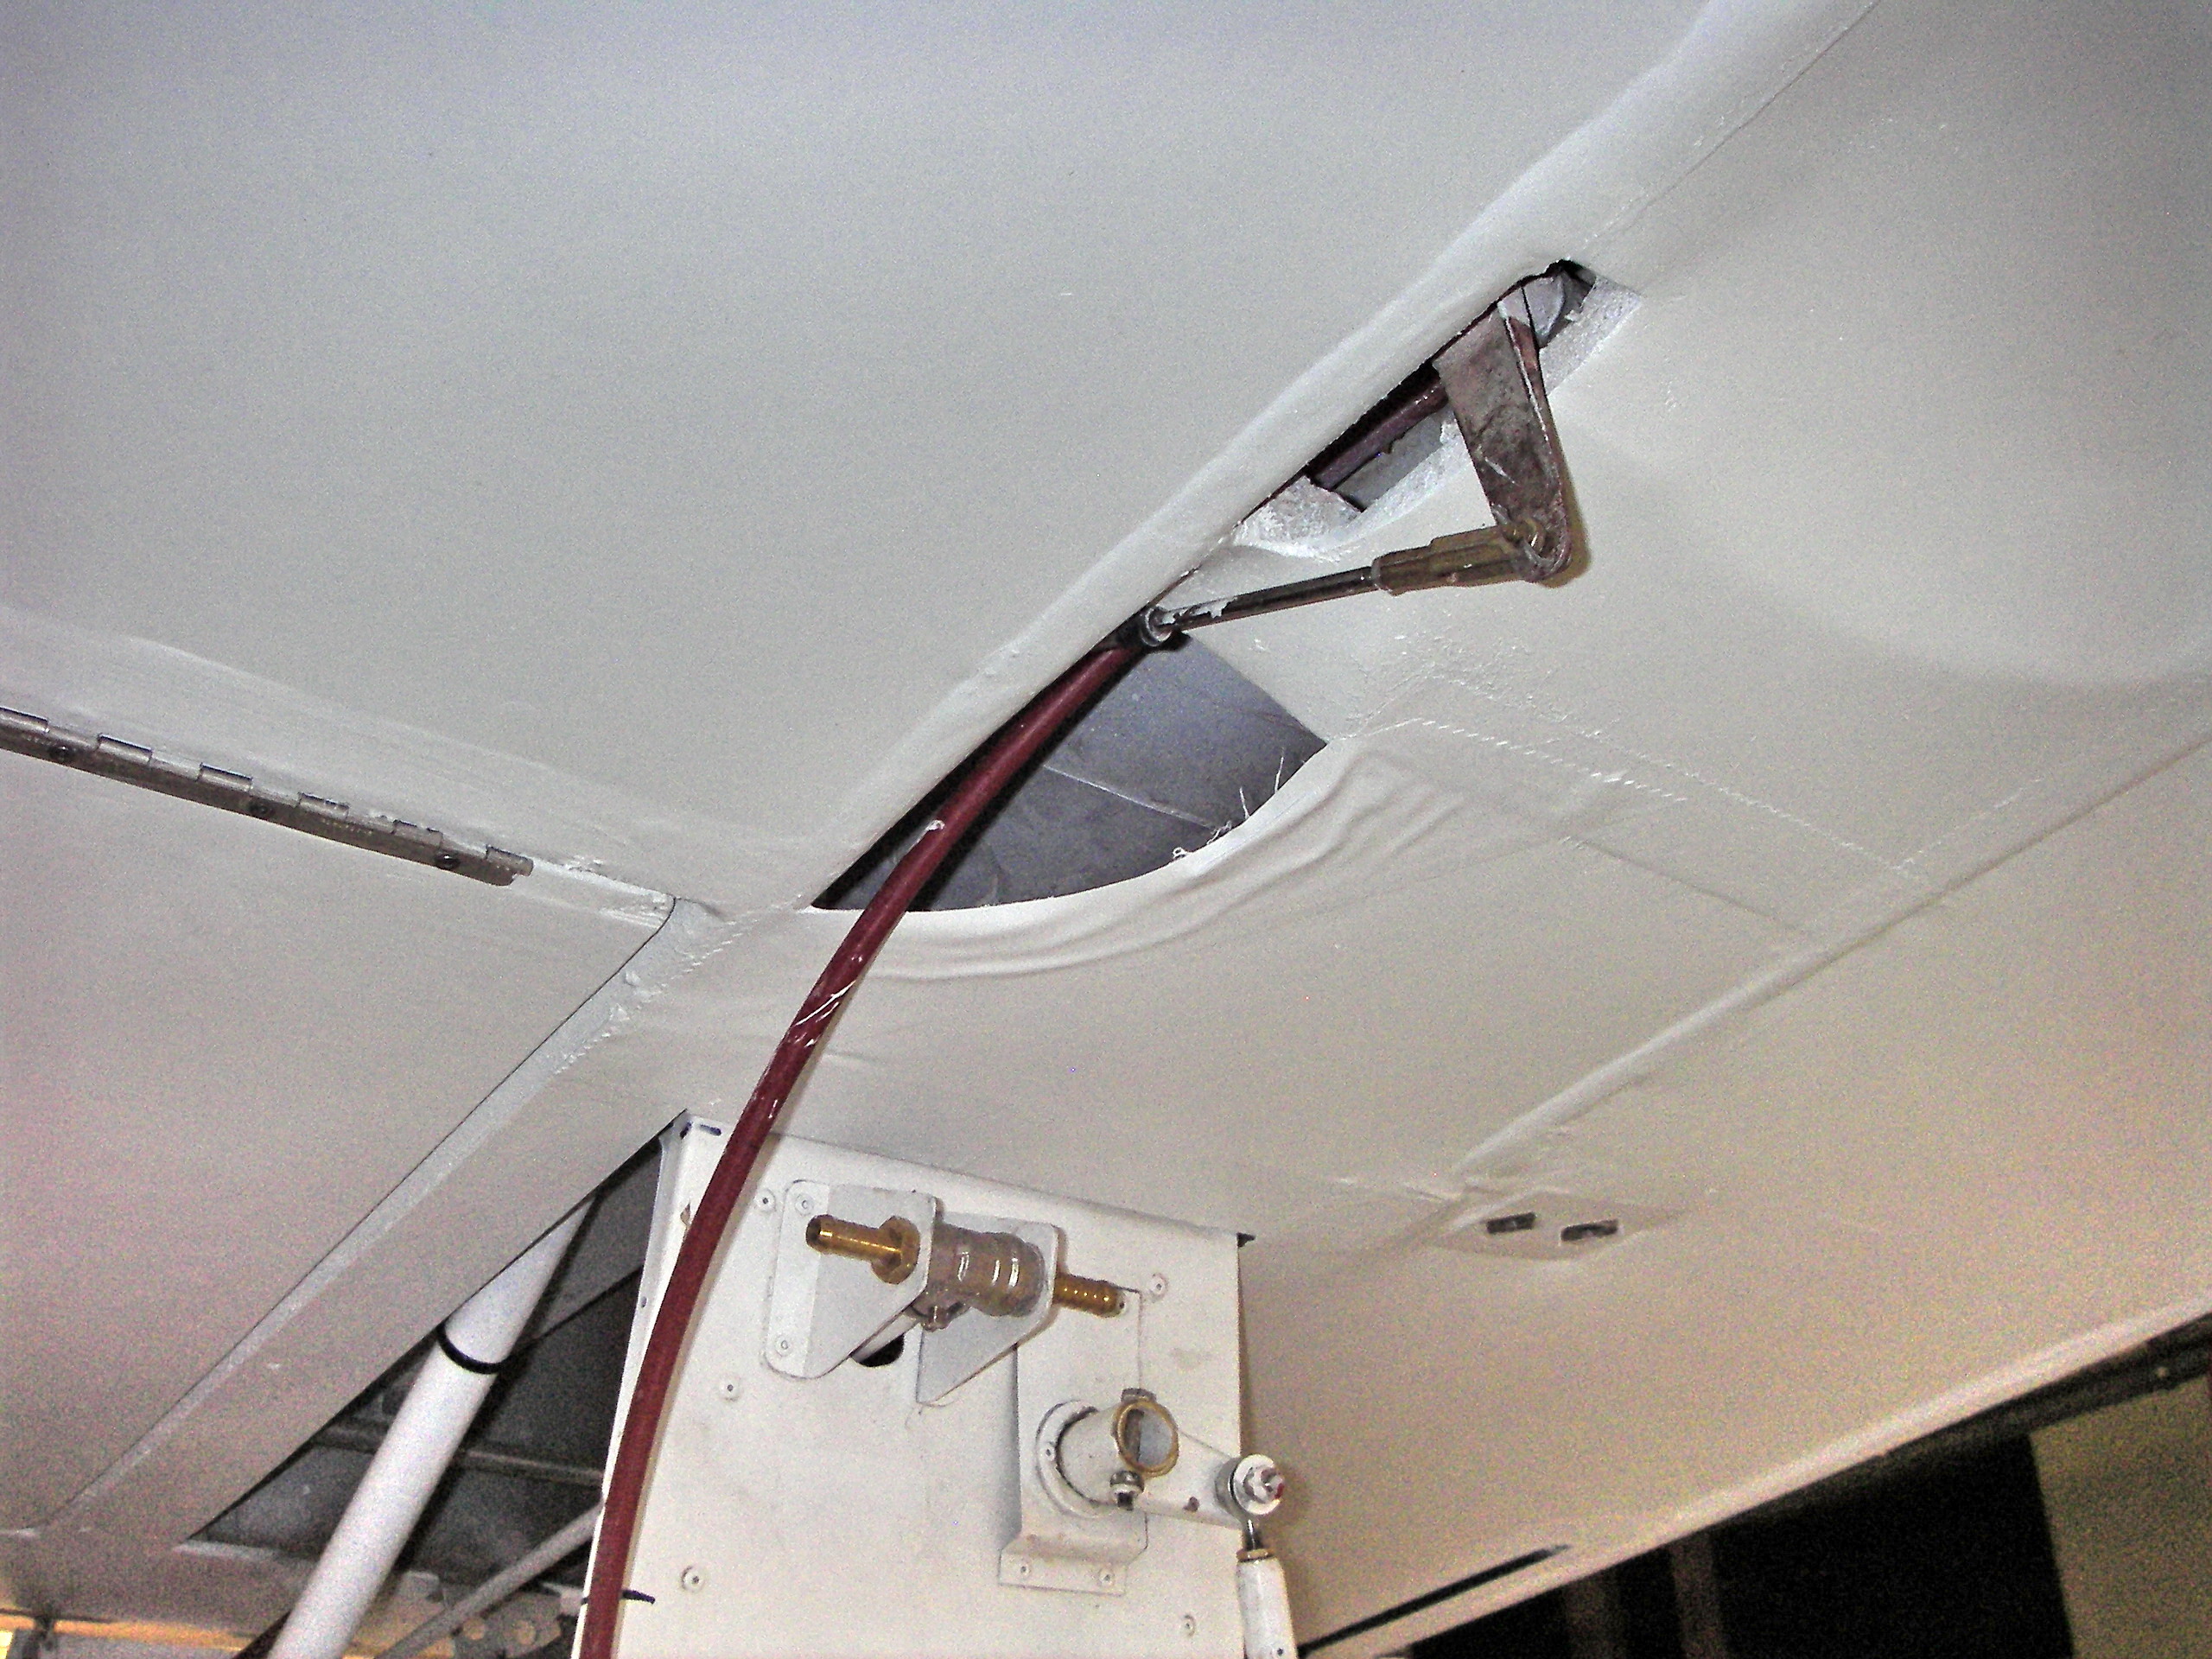
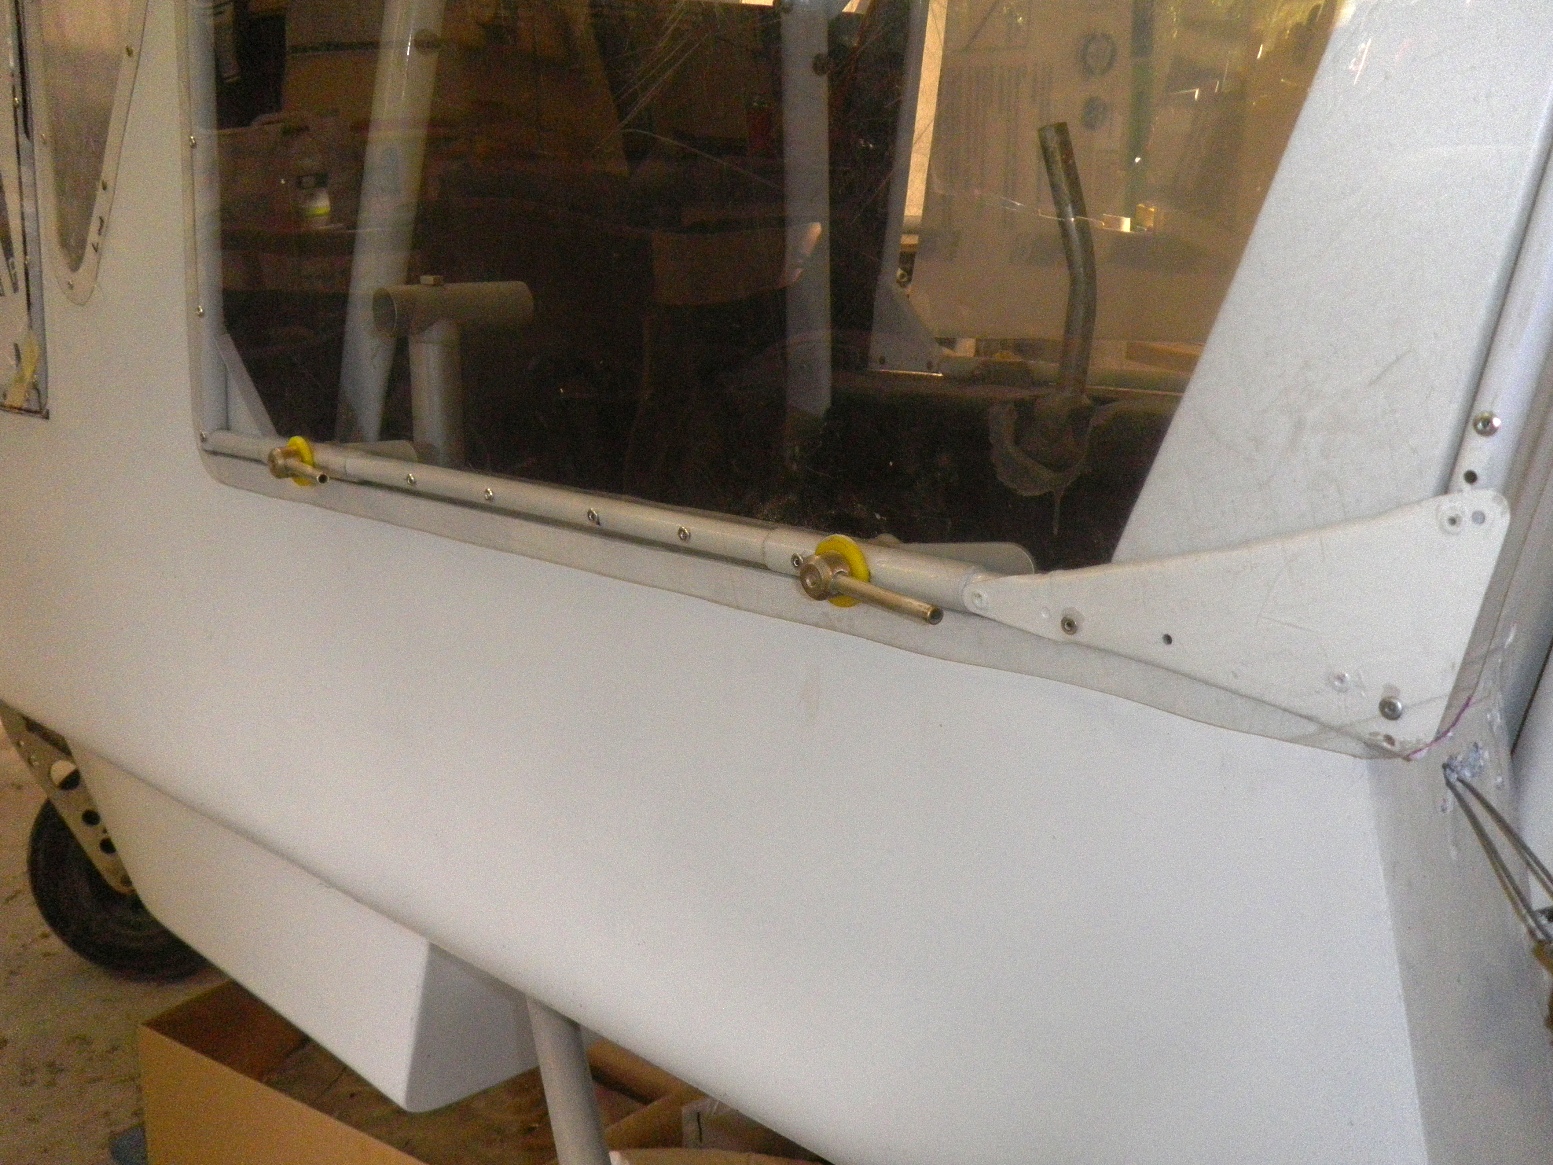 Each rear window had a single central latch which resulted in bent lower tubes, so I opted to replace these with twin latches to securely hold the window closed. I machined new latch axles from solid alloy and filed two ‘flats’ to positively locate each inner lever (i.e. it no longer relies on friction to stop the inner lever from rotating out of alignment). Overall, these new latches are stronger and more secure, but only a few grams heavier.
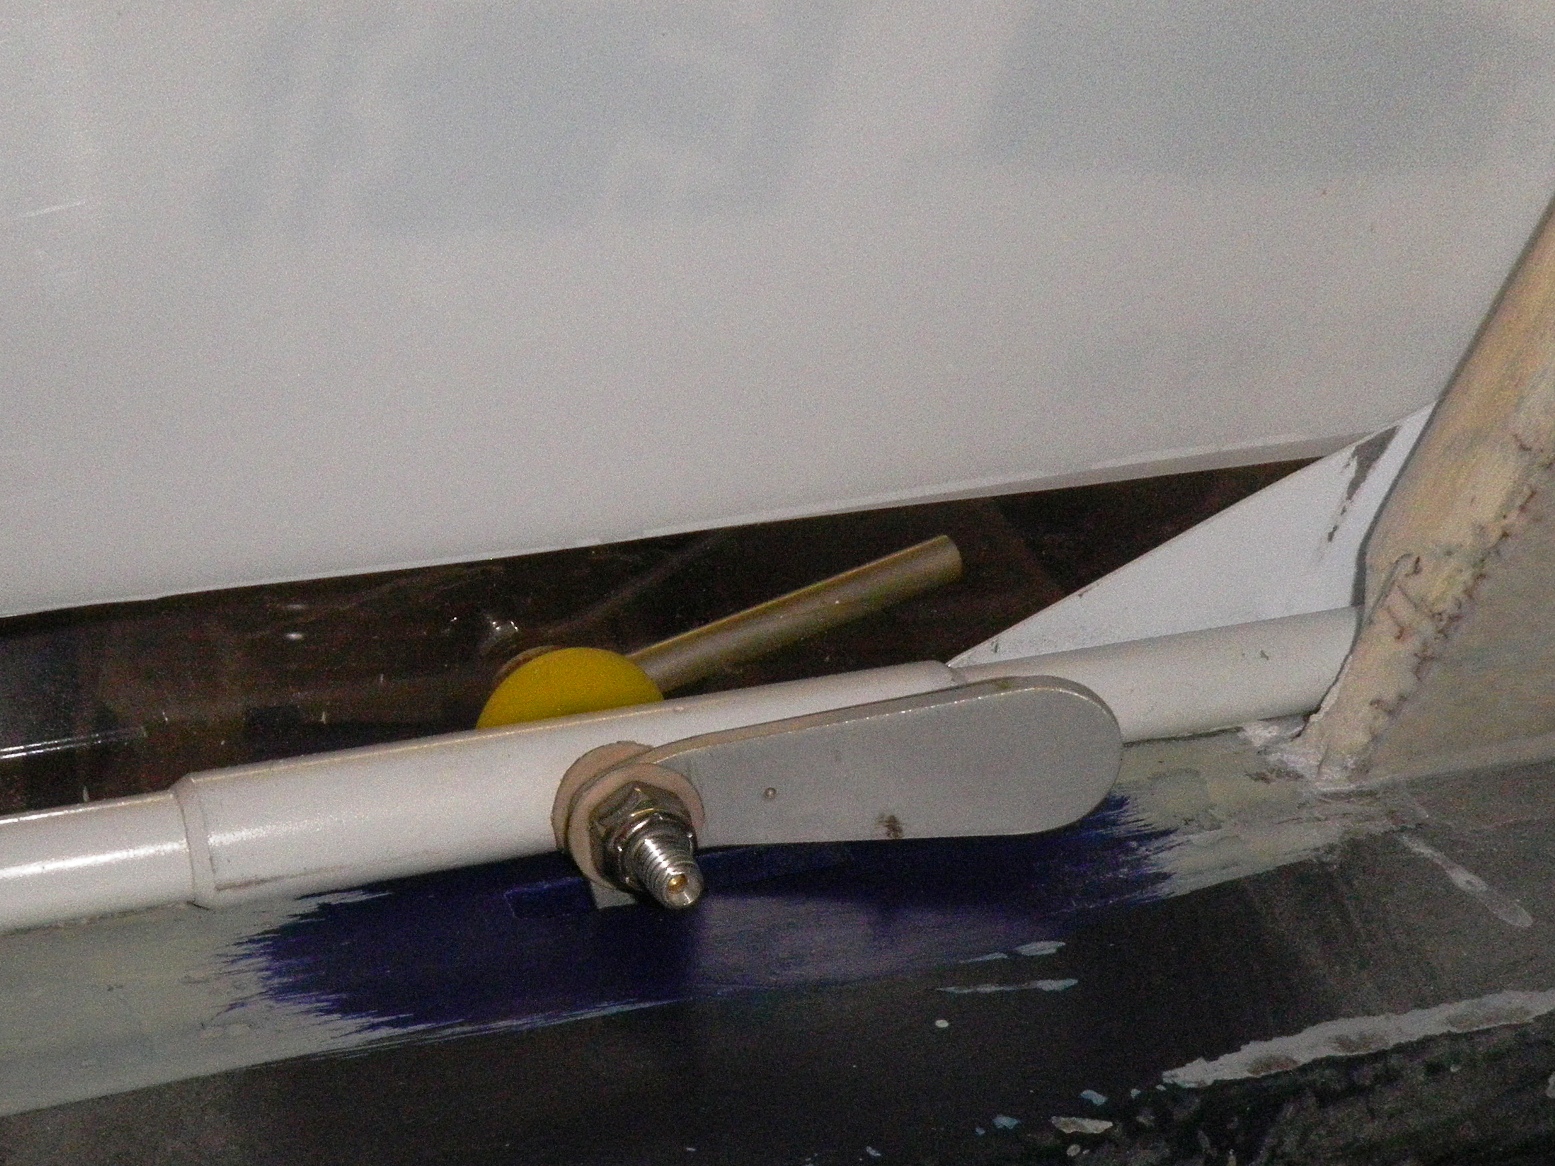
The rear windows also have a full-length lower tube (with a matching horizontal cut-out in the rear bulkhead), so that the lower rear corner of the window is not floppy. Where each latch is drilled, there is an alloy sleeve to strengthen the tube and reduce the tendency for the axle hole to wear.
PS: You can see the small side windows that were added to the canopy shroud. They will give the rear passenger a better forward view.
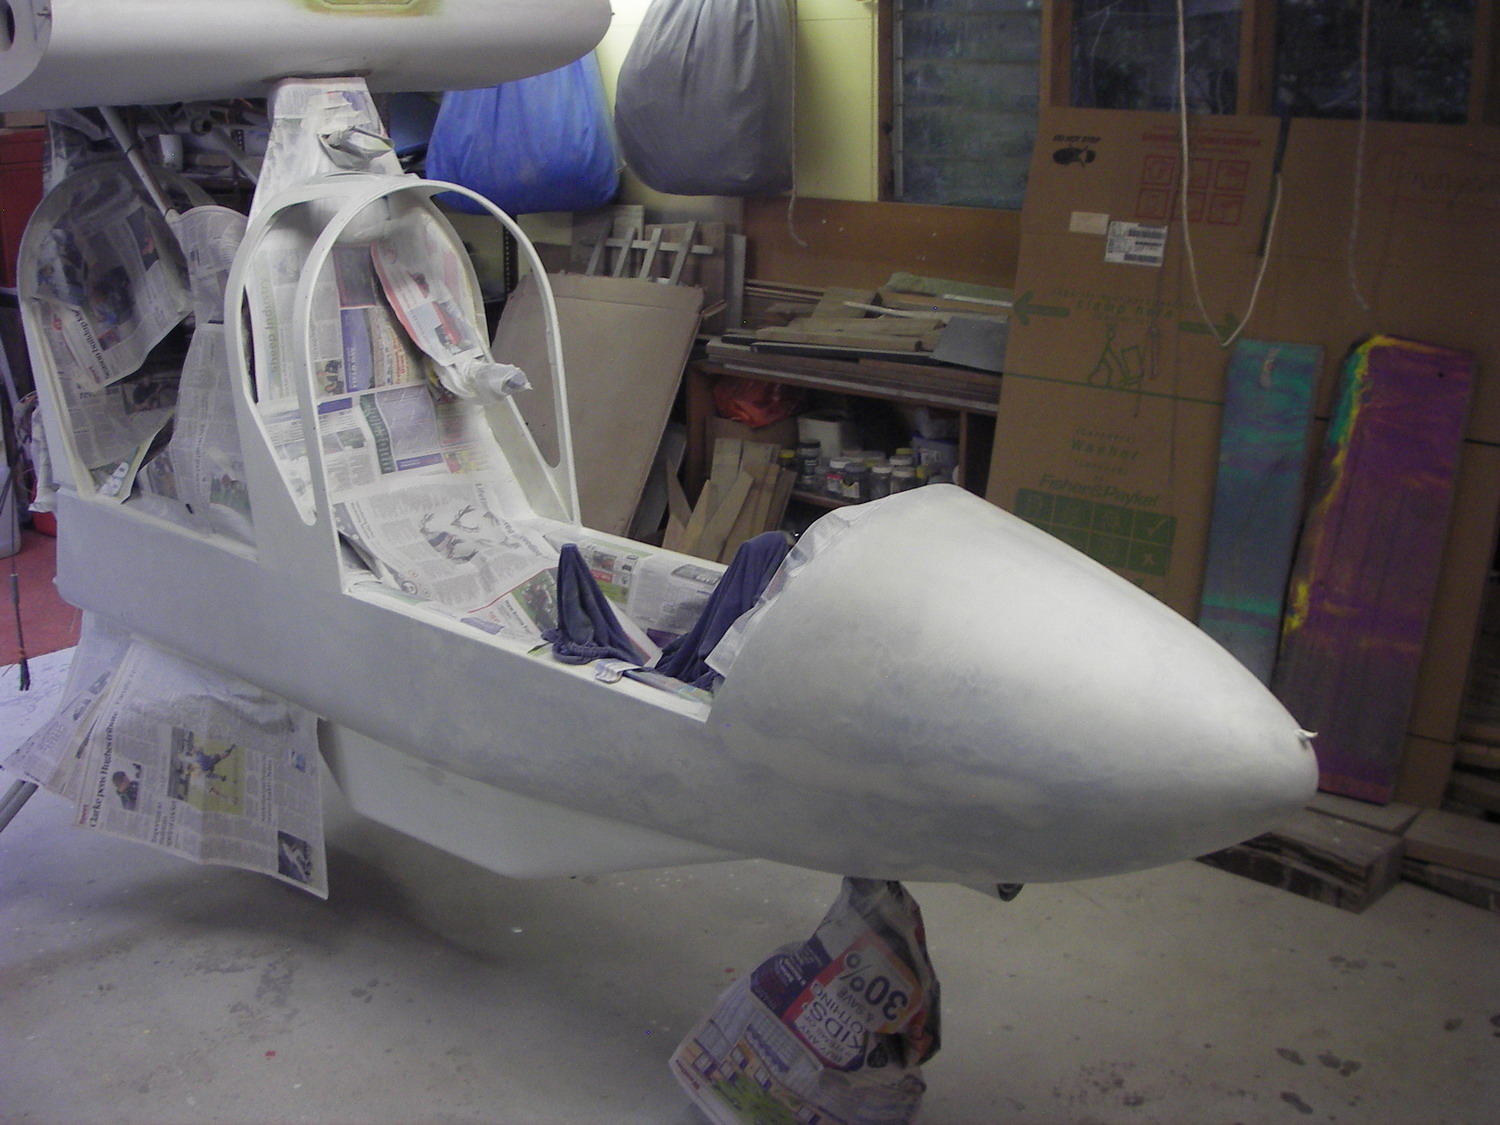
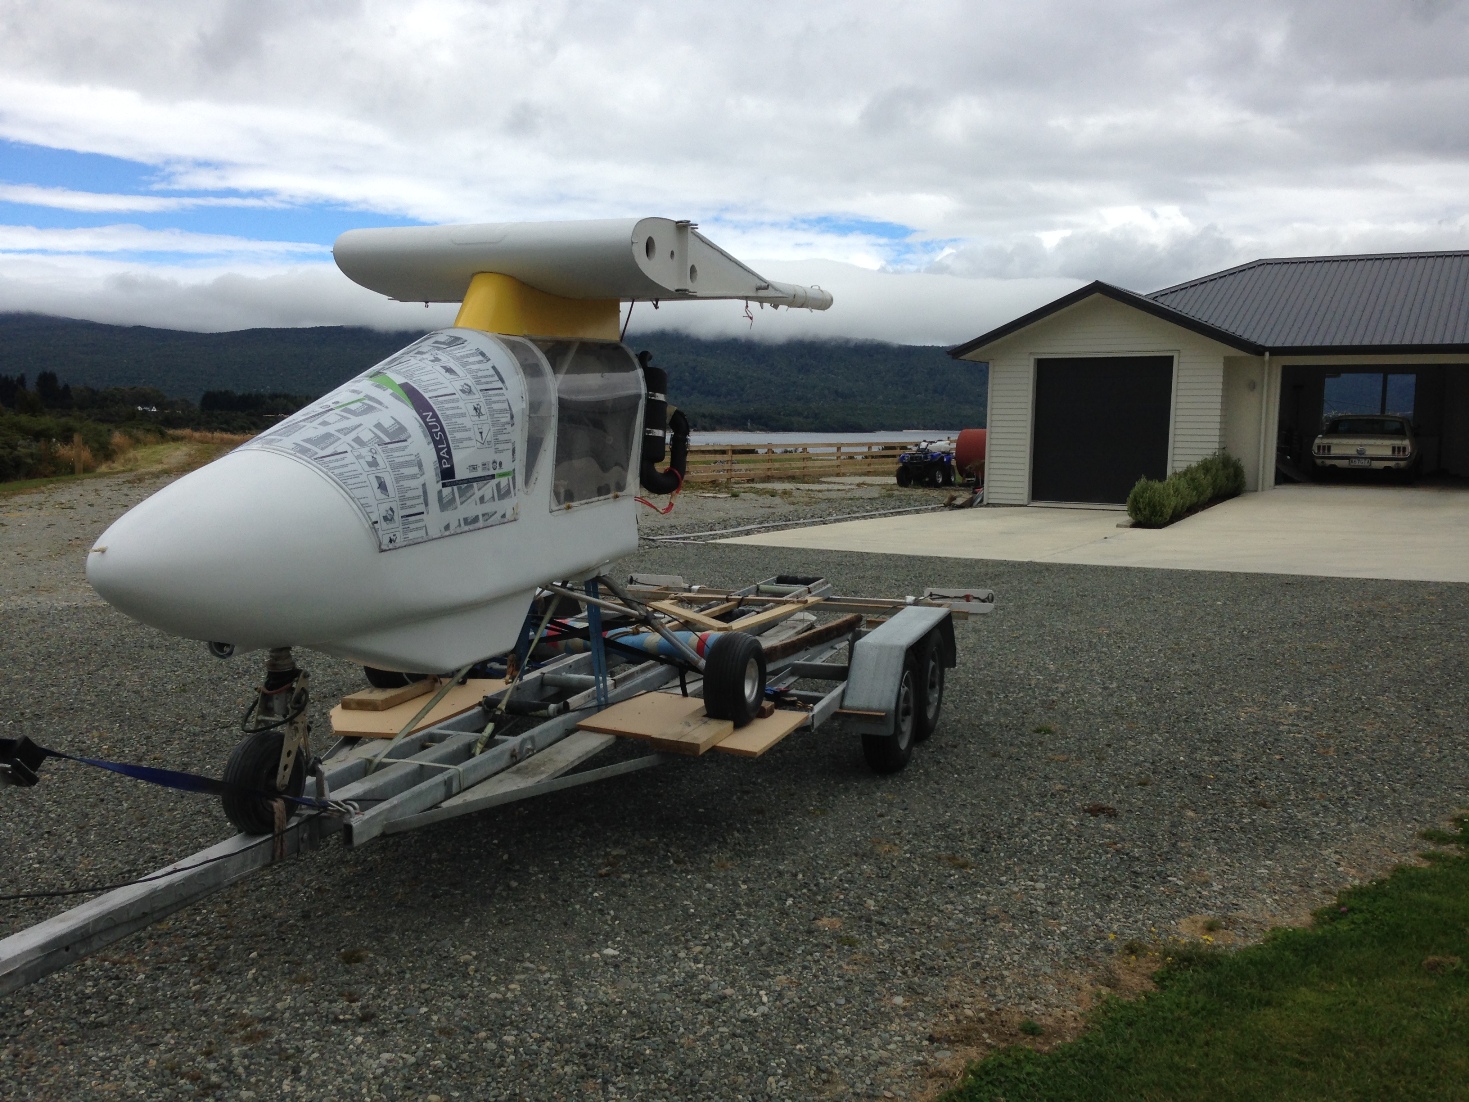
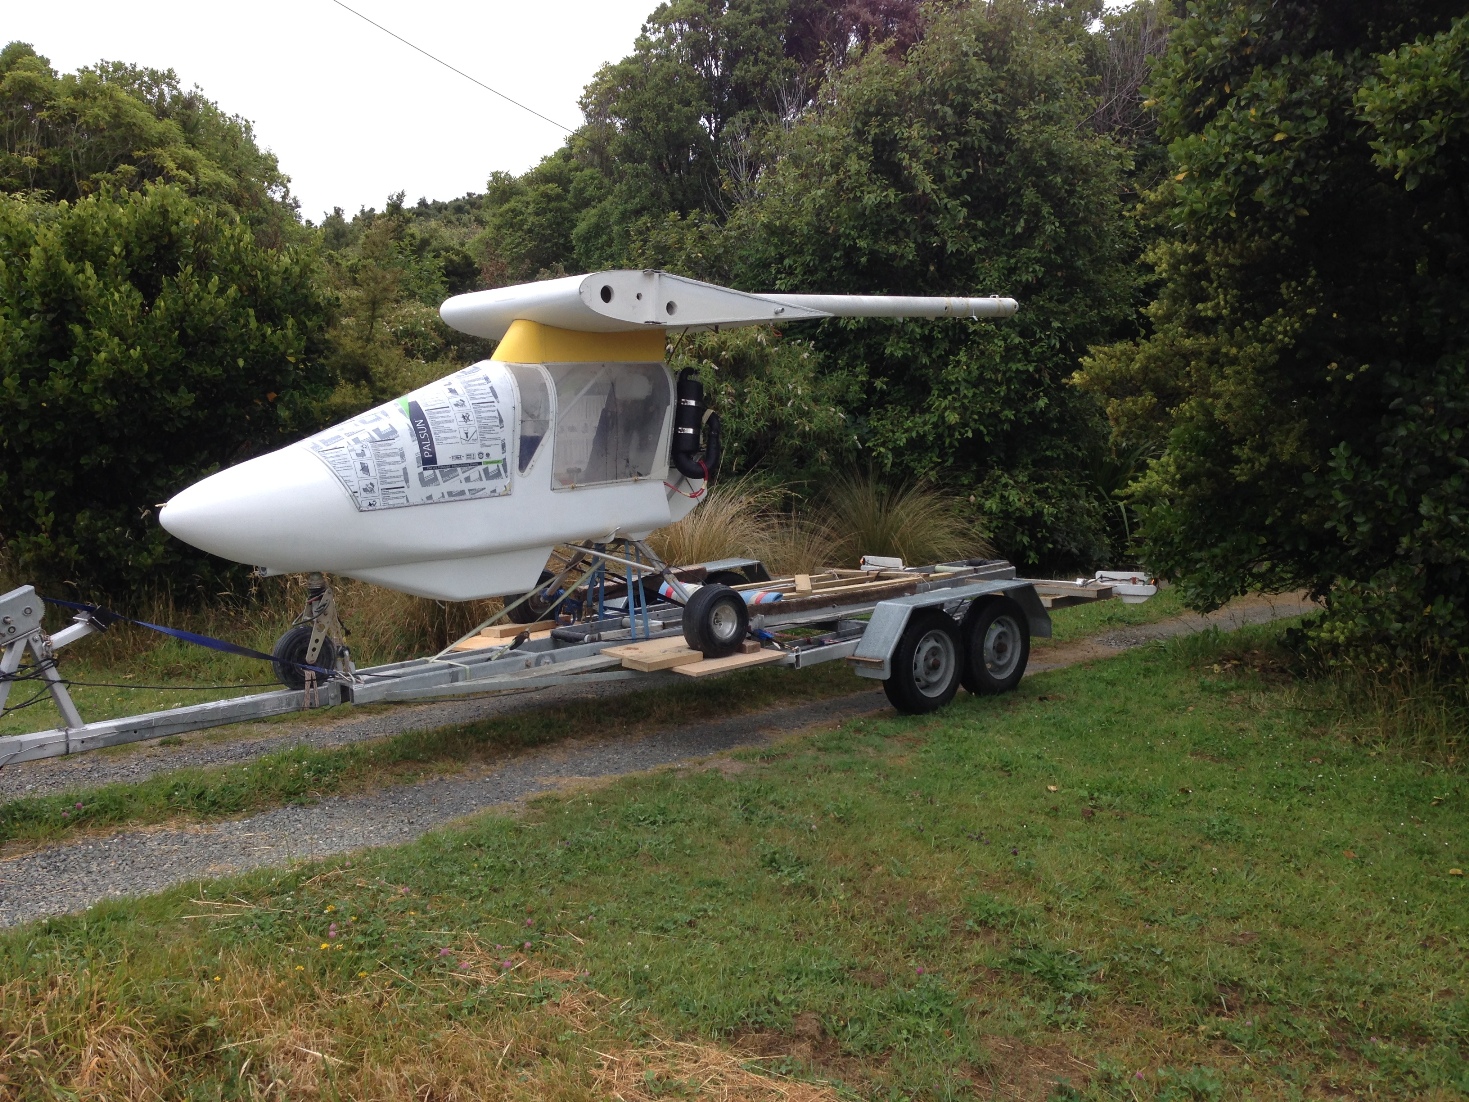
Last weekend, the Shadow microlight project took a big step forward towards completion. That occurred when the fibreglass nose cone was glued onto the honeycomb fuselage tub.
Then began the long job of mixing lightweight fairing powder with 2-pot epoxy and carefully filling every hole, crevice and hollow. Once the epoxy has set, I spray on a faint guide coat of colour paint, followed by even more hours of sanding down the filler. The coloured guide coat shows up any imperfections in the surface, so the process needs to be repeated until you’re happy with the smoothness. Since the aircraft is old, I stopped well short of perfection – it will look OK from a distance..
Today I masked up the fuselage, then sprayed an adhesion coat onto the fibreglass nosecone, kevlar side panels and thin plywood canopy shroud. Hopefully that will help the water-based paint to stick well.
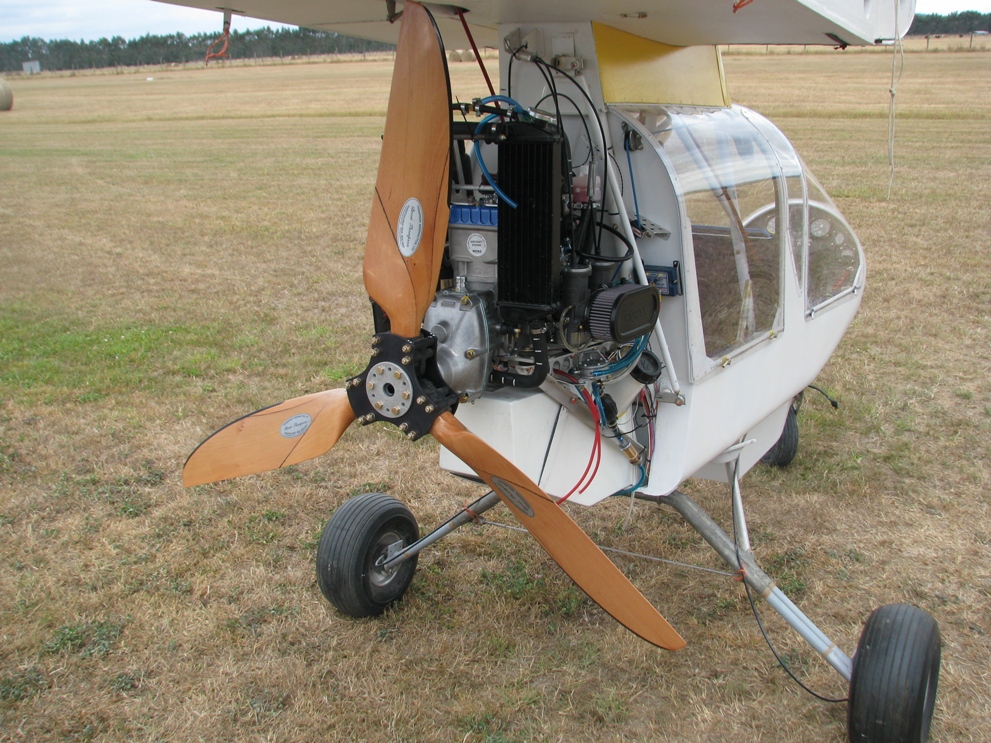
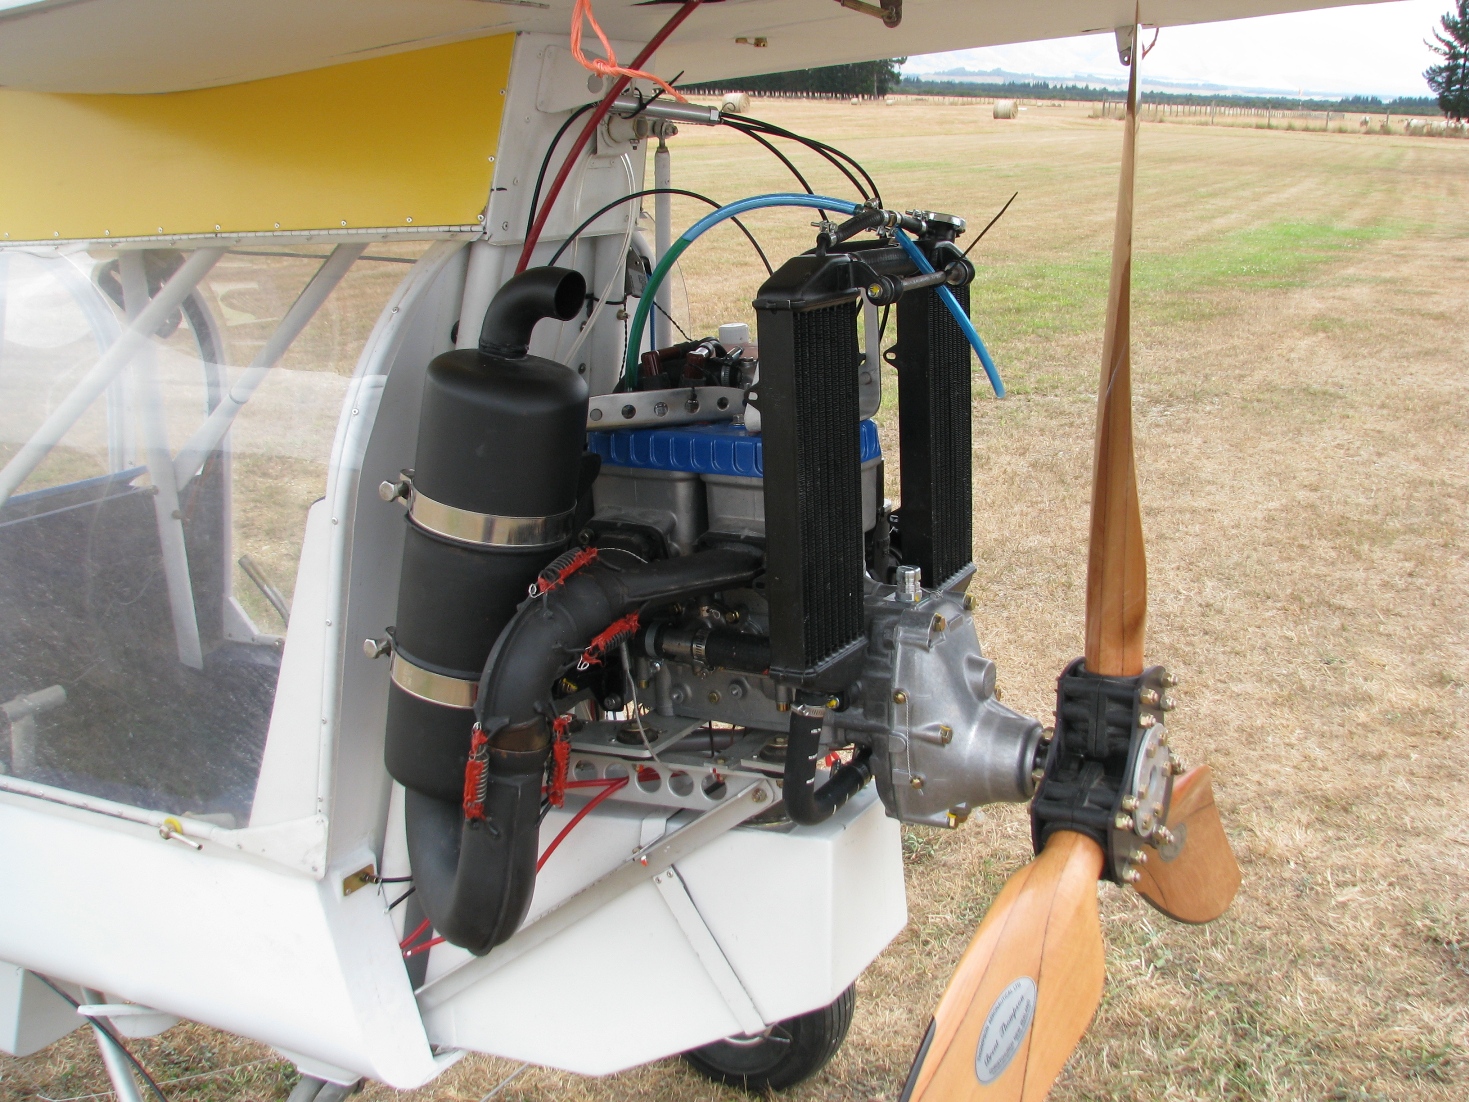
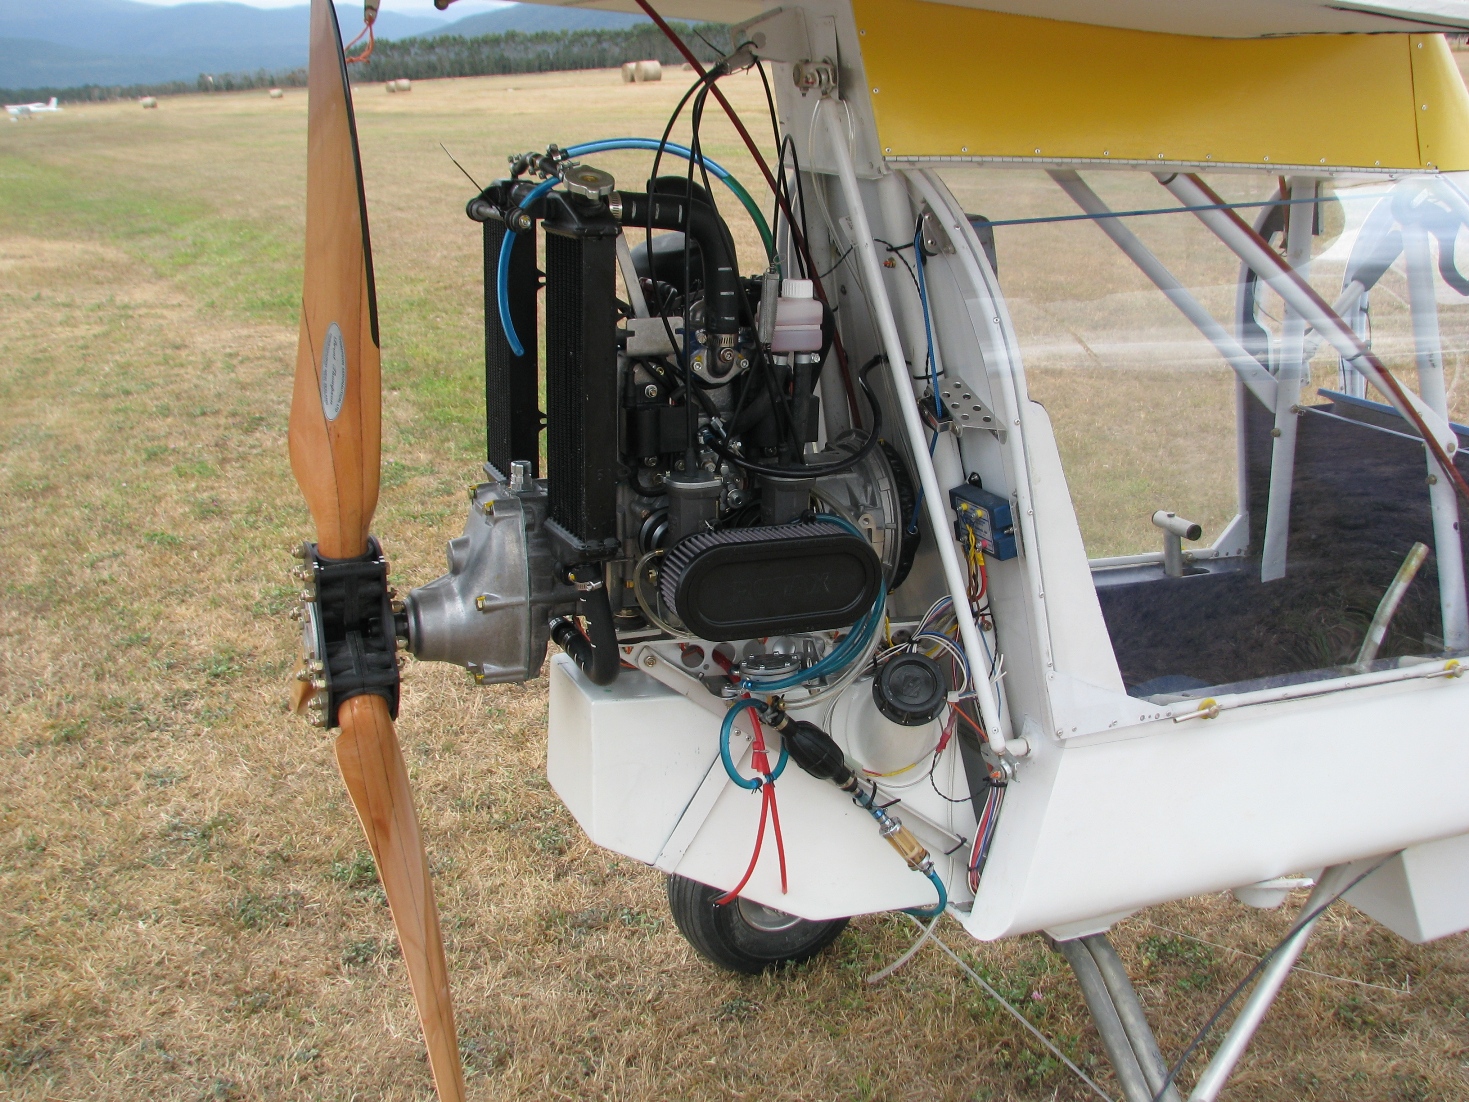
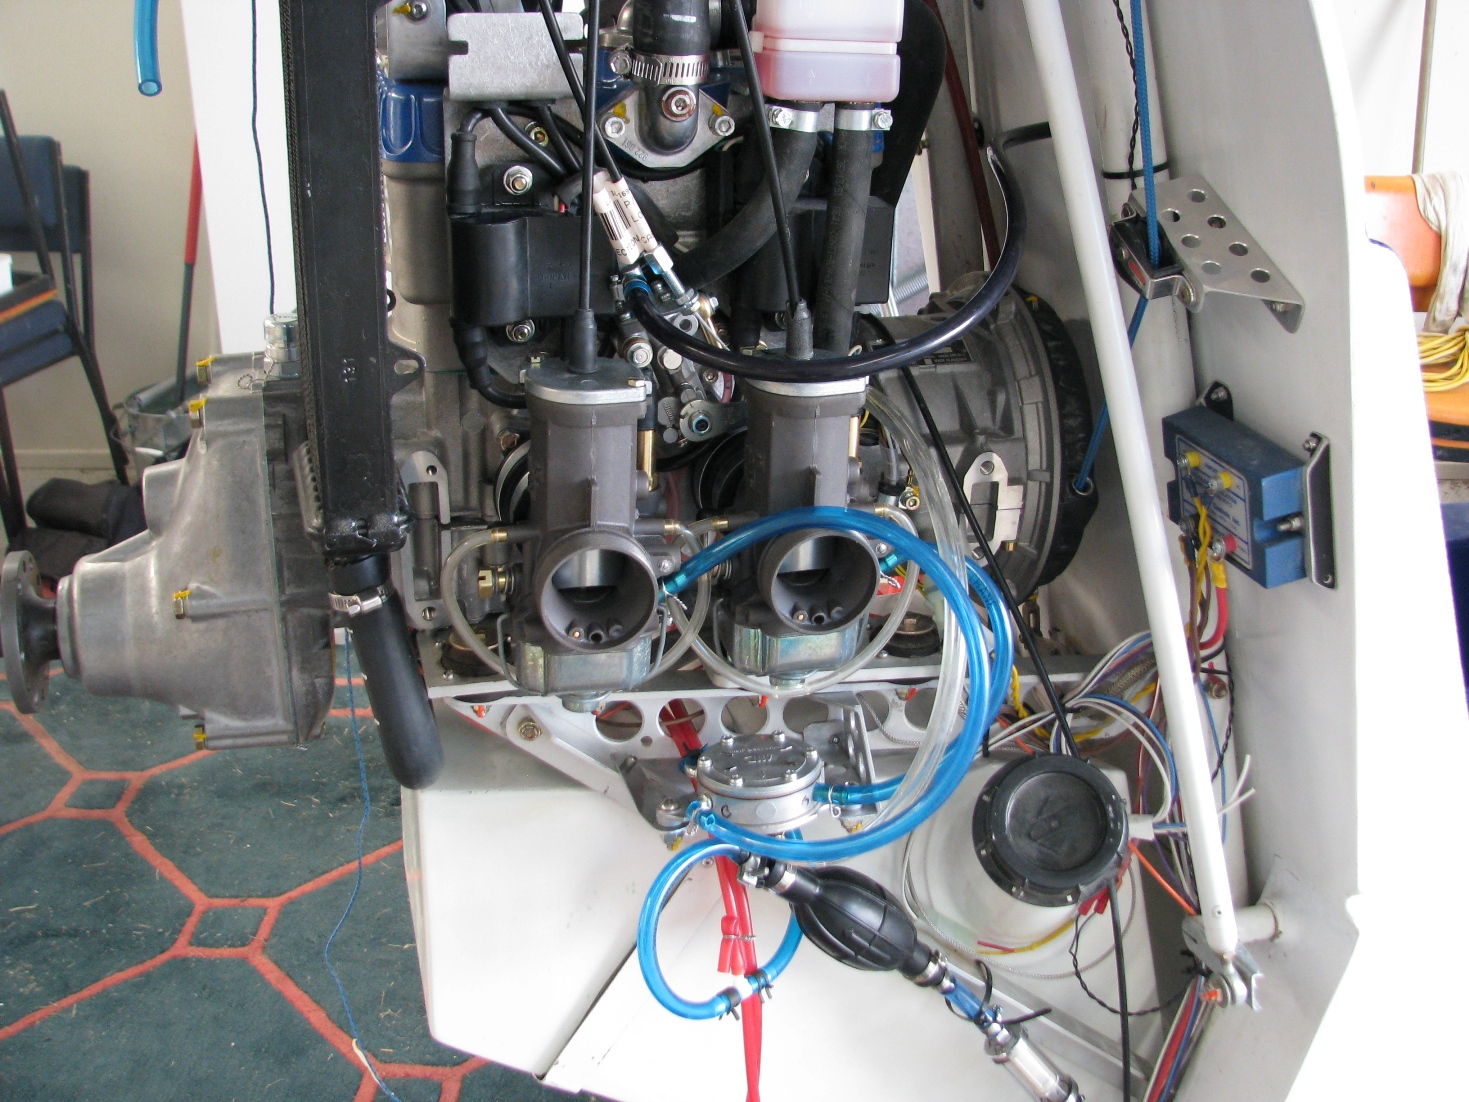
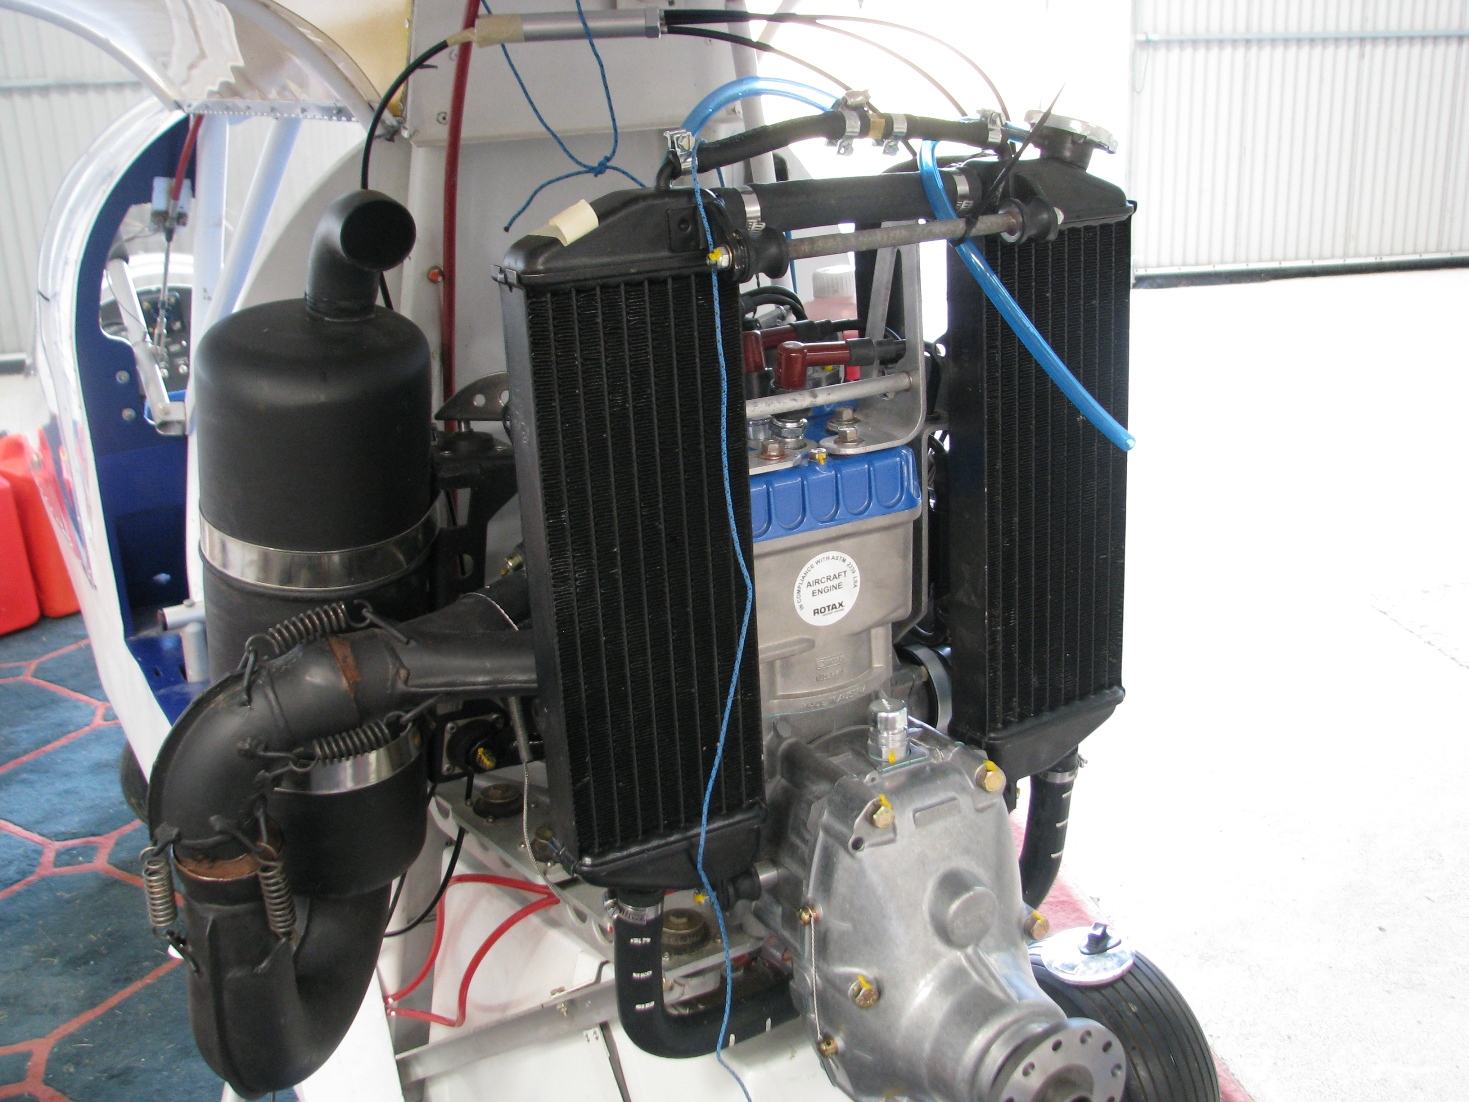
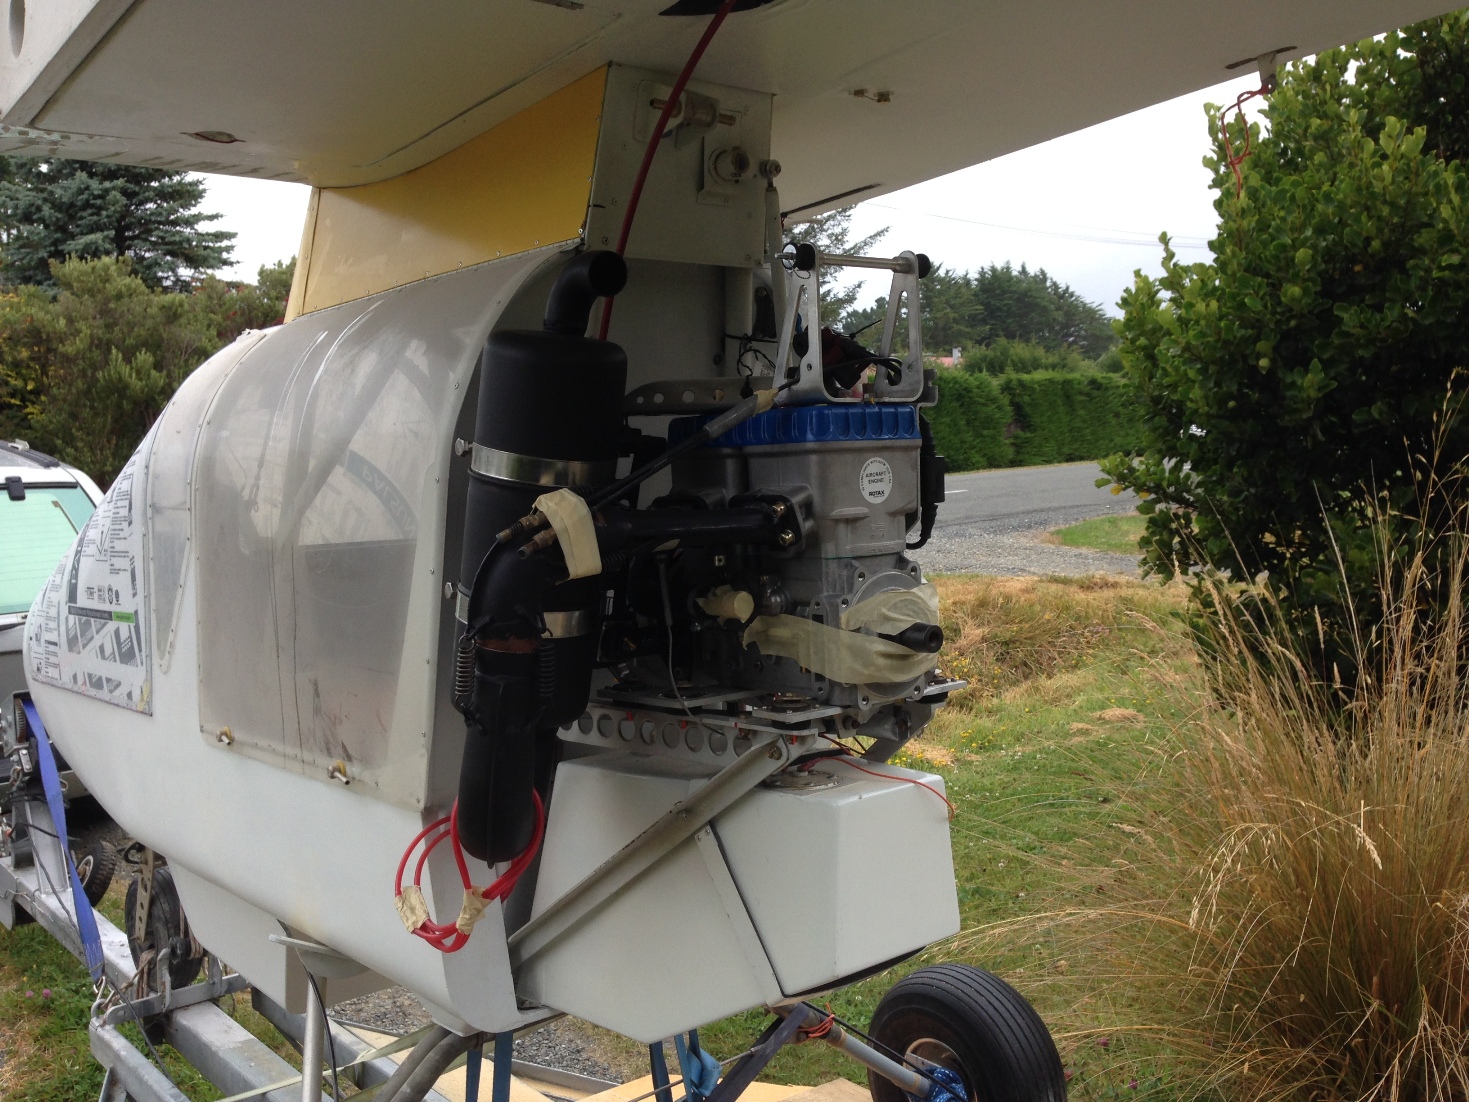
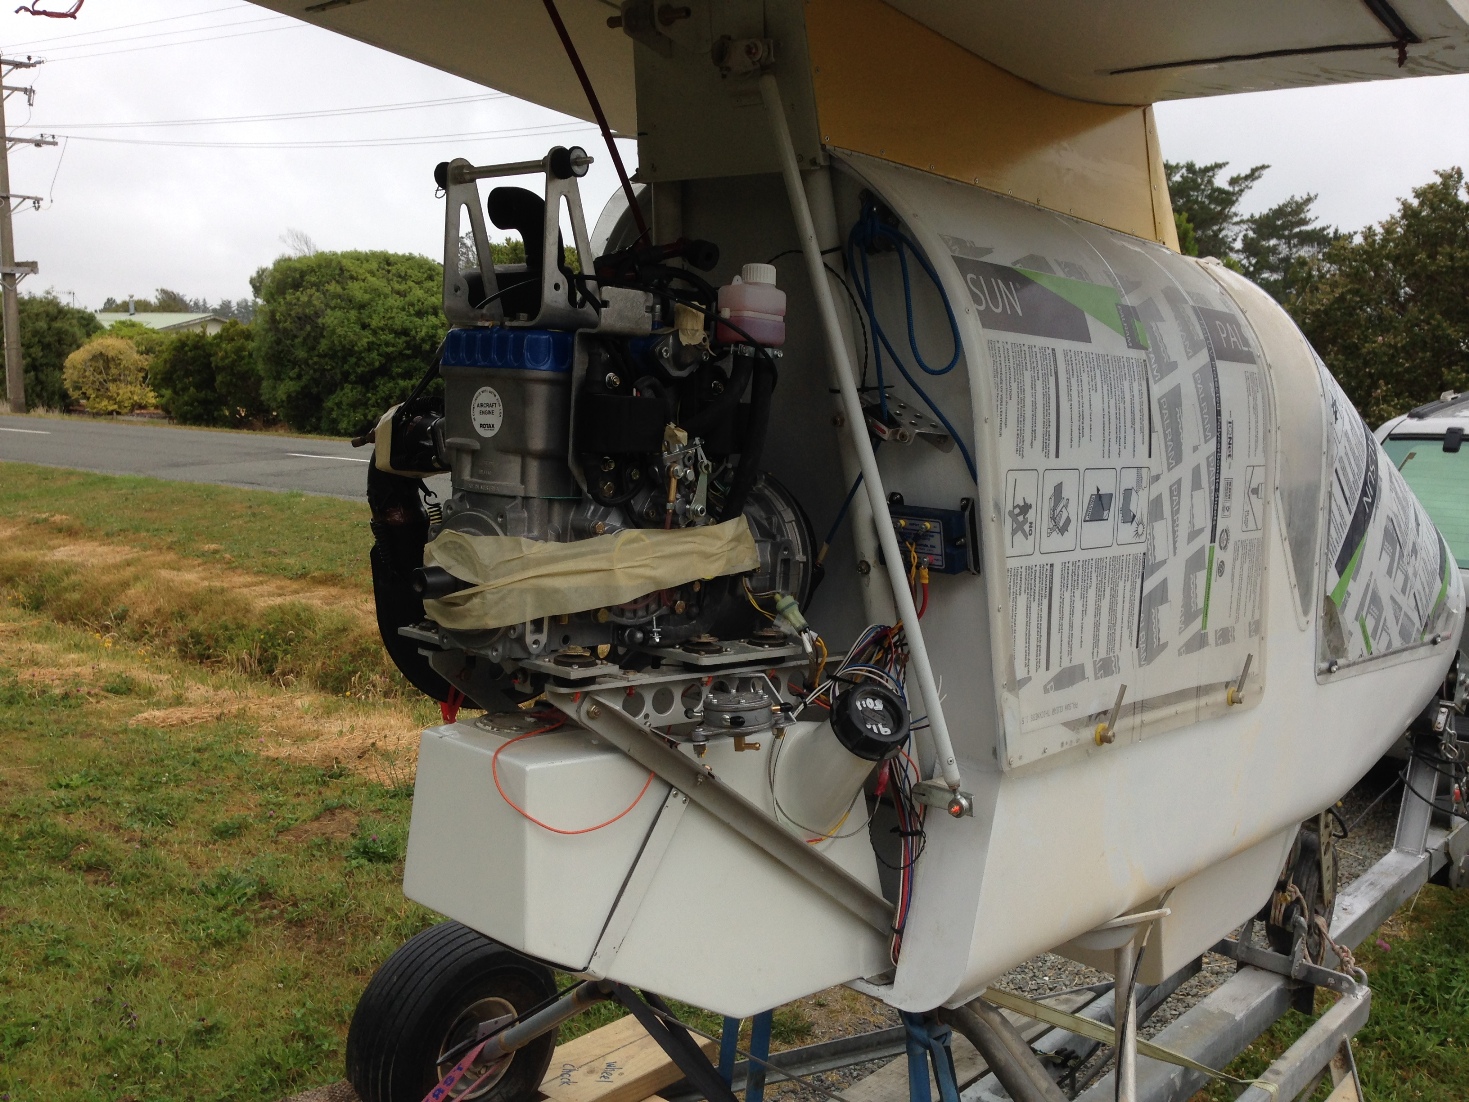
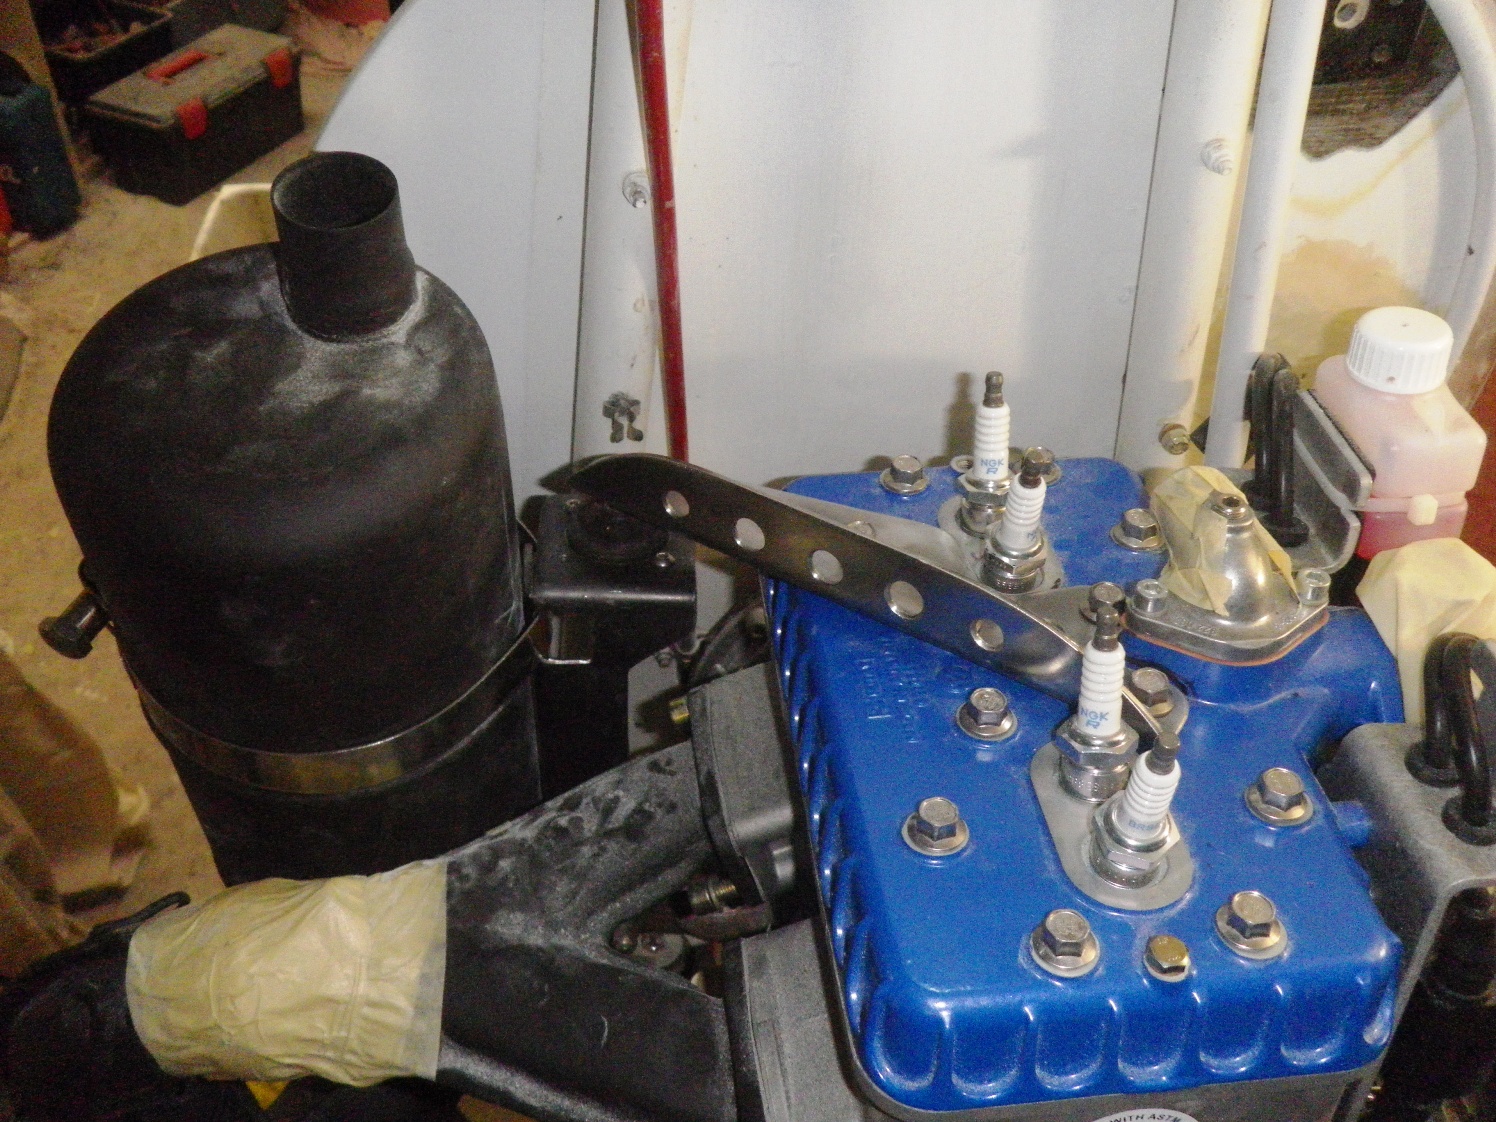
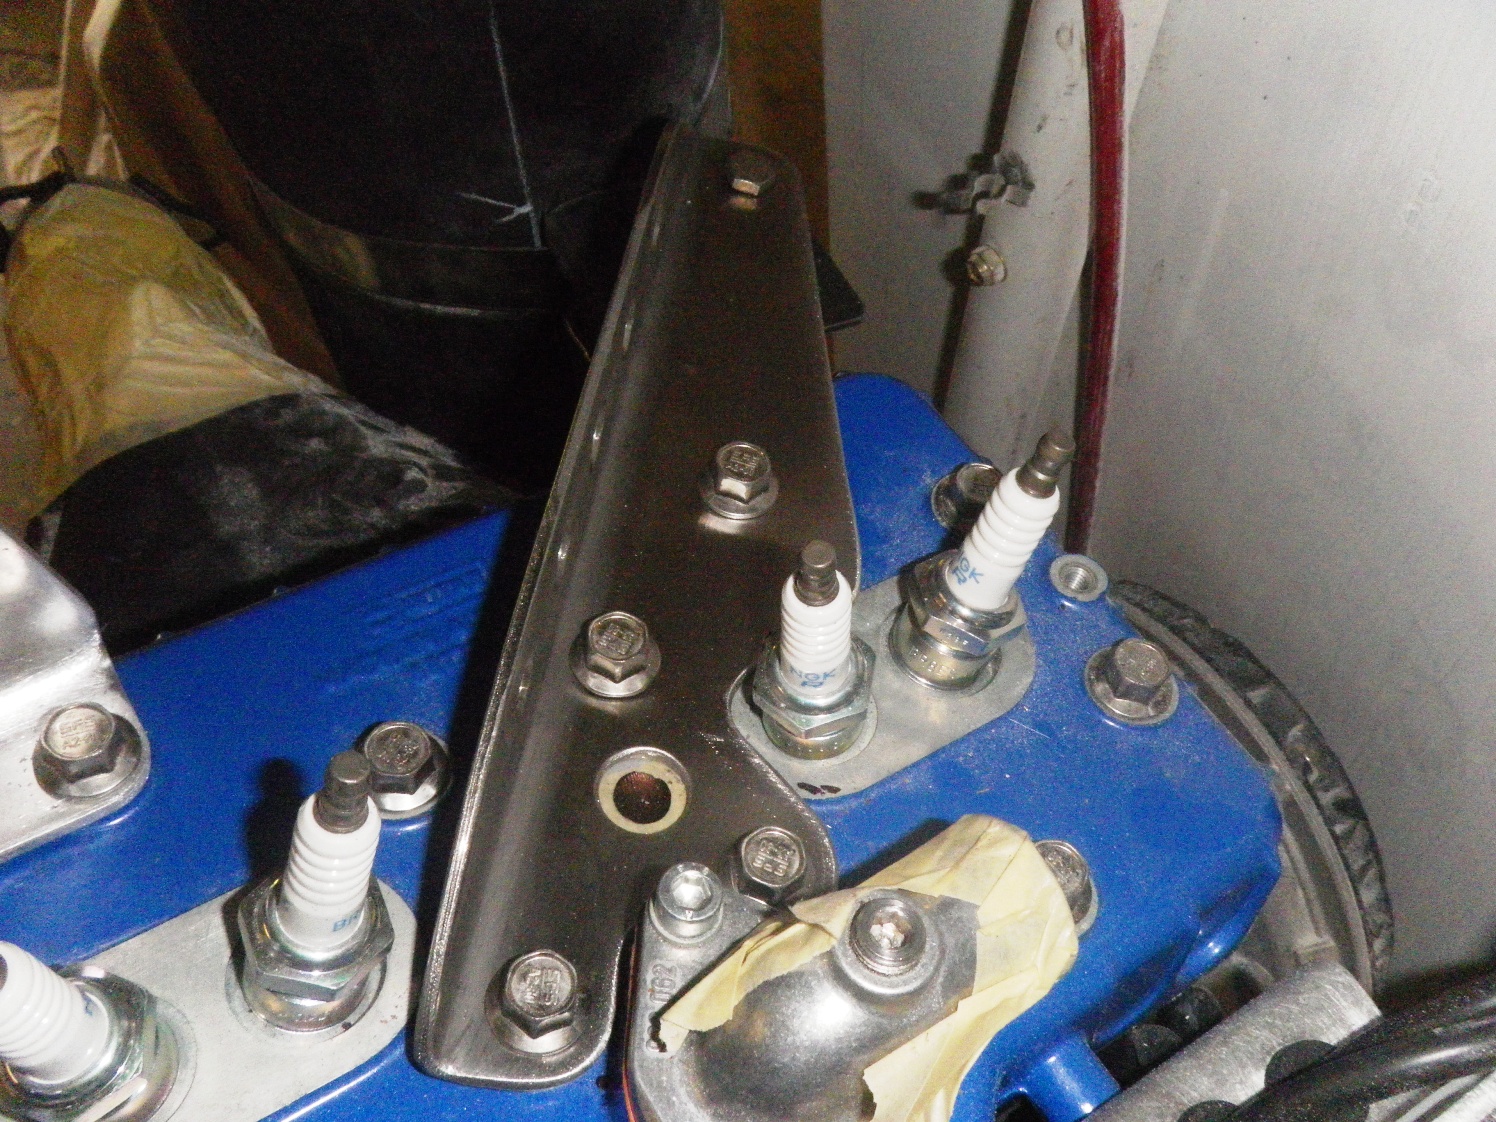
A few weeks ago, the new Rotax 582 ‘Blue-top’ engine arrived. It is fitted with oil injection and a by-pass cooling system. This system is an improvement over the 582 ‘Silver-top’ model because it keeps the coolant circulating within the engine block, while the engine is warming up. When the thermostat does open, it diverts hot water to the radiators and closes off the by-pass.
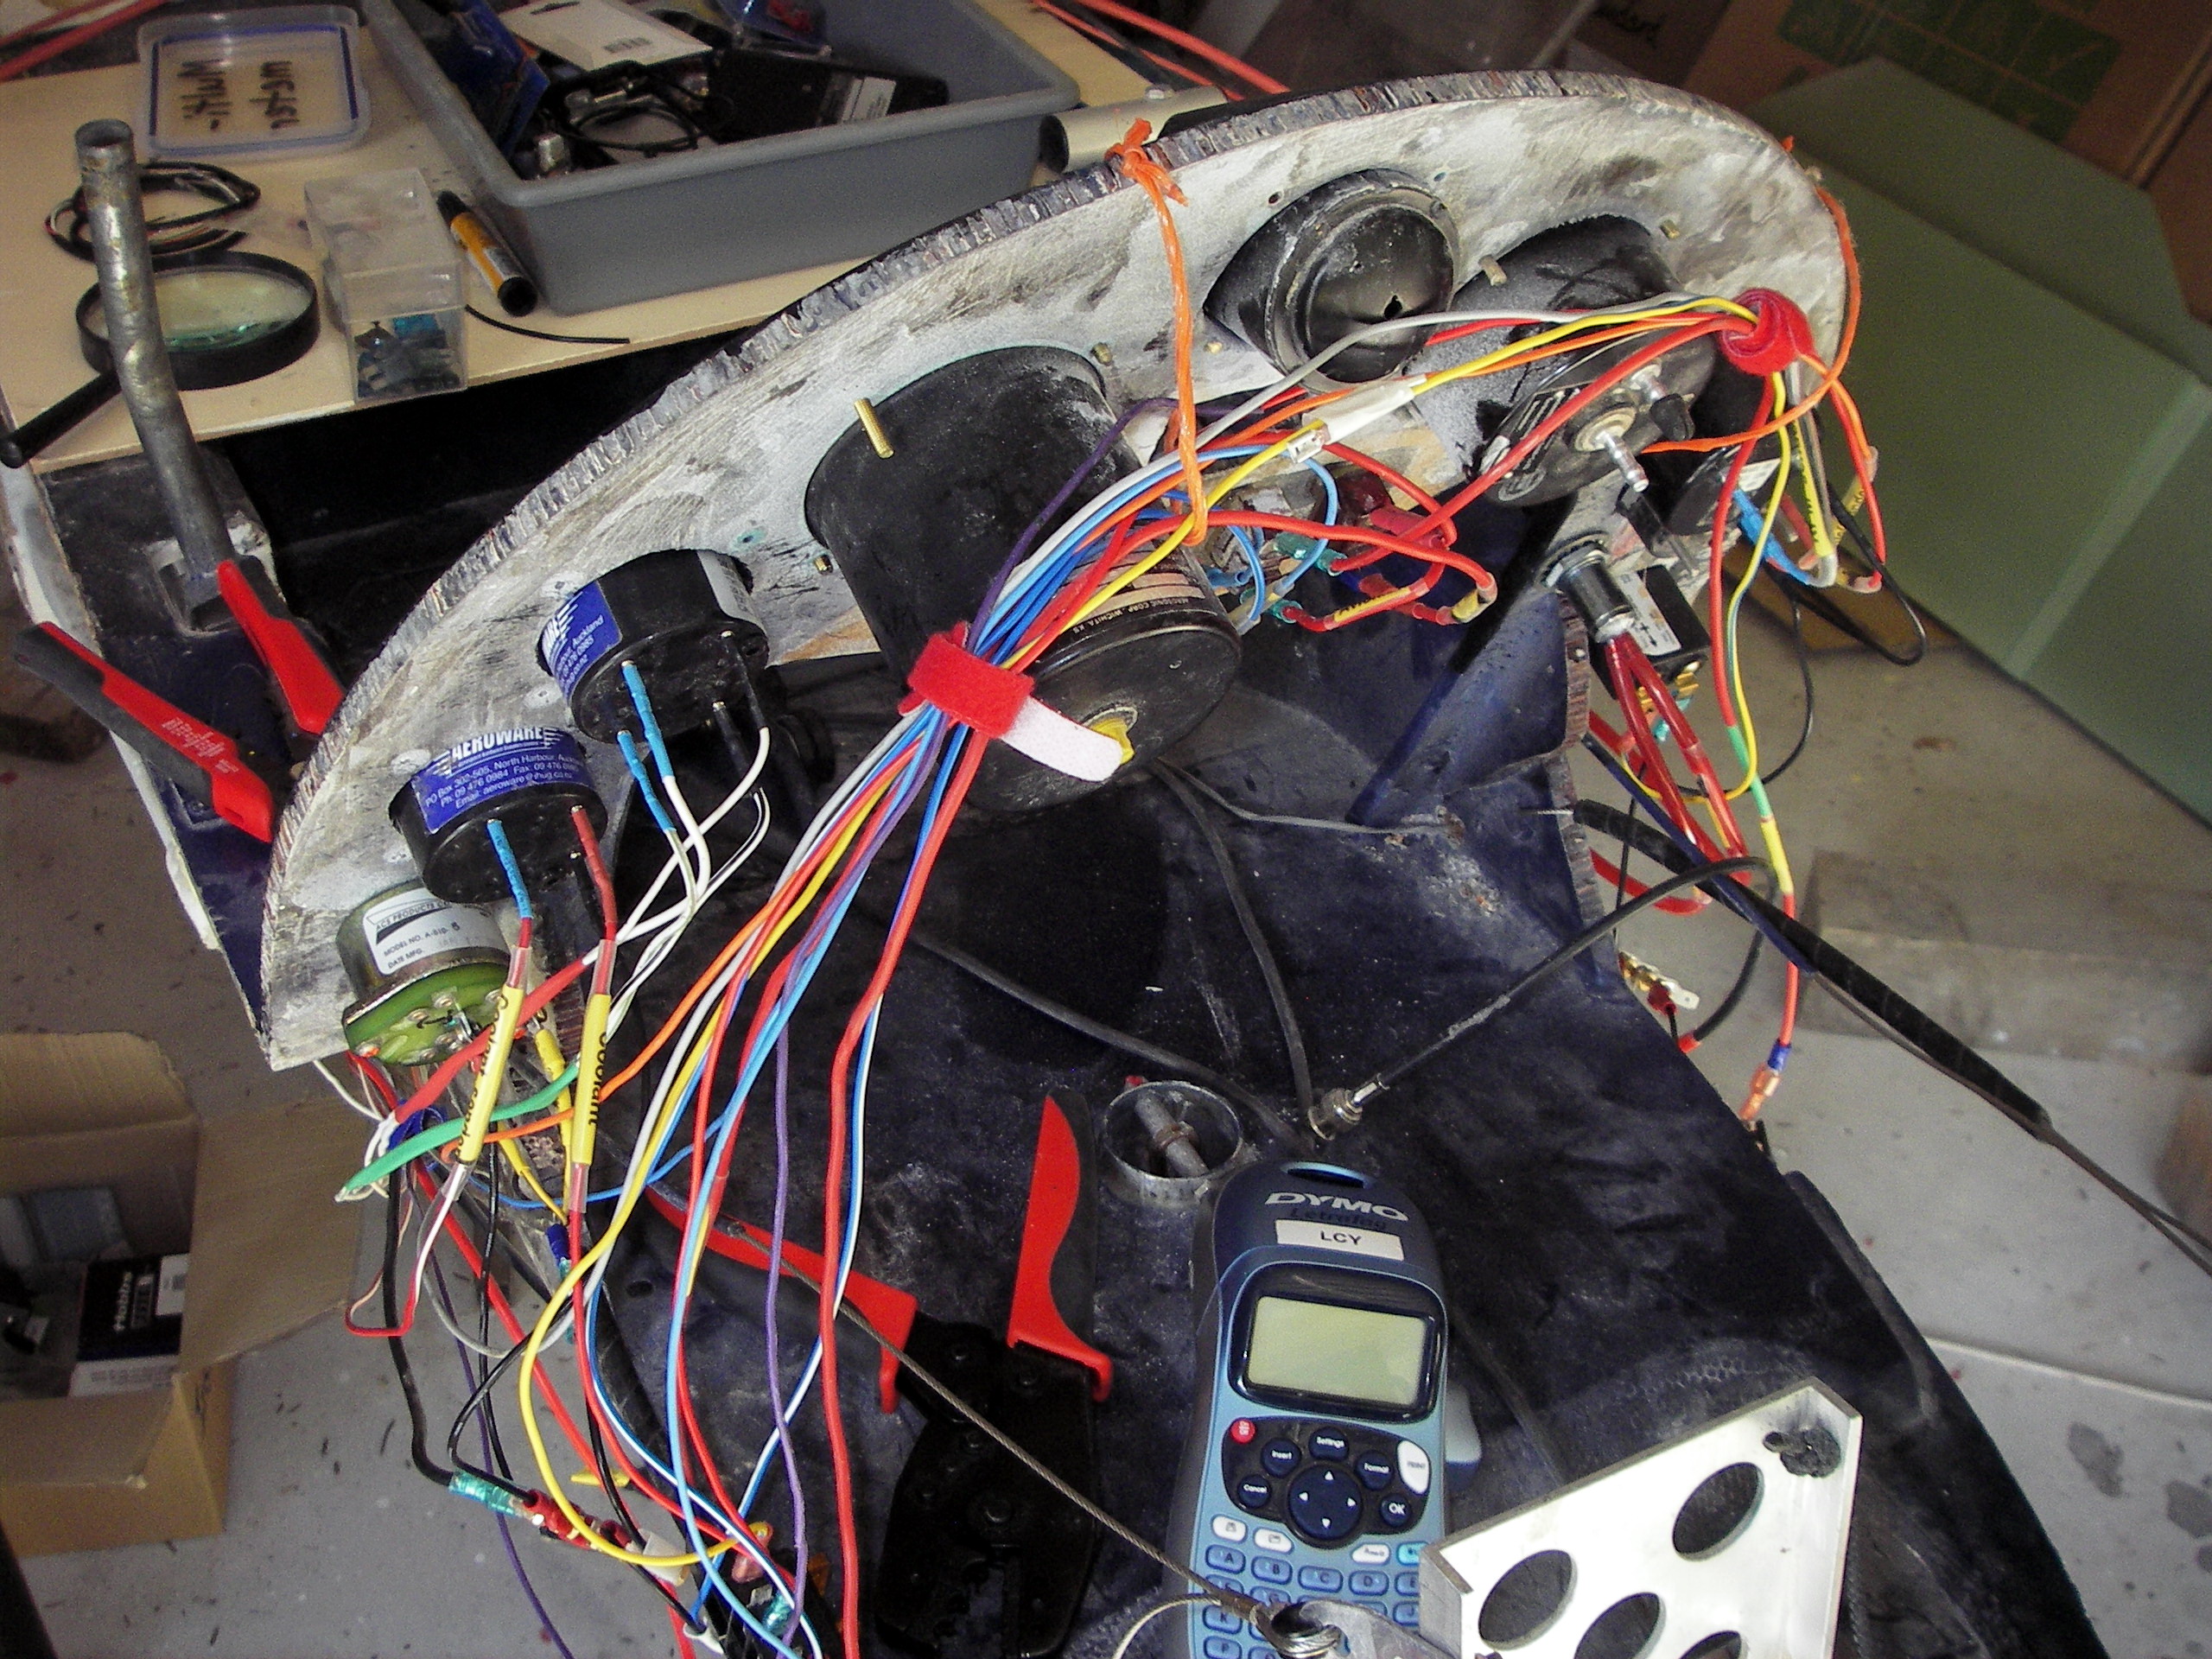 Wiring up electrical systems gives me the ‘heebie jeebies’ – I’m never very sure whether the sneaky little electrons will go where I want them to go or if the wires will suffer a melt-down (thereby letting ‘the smoke get out’ of them).
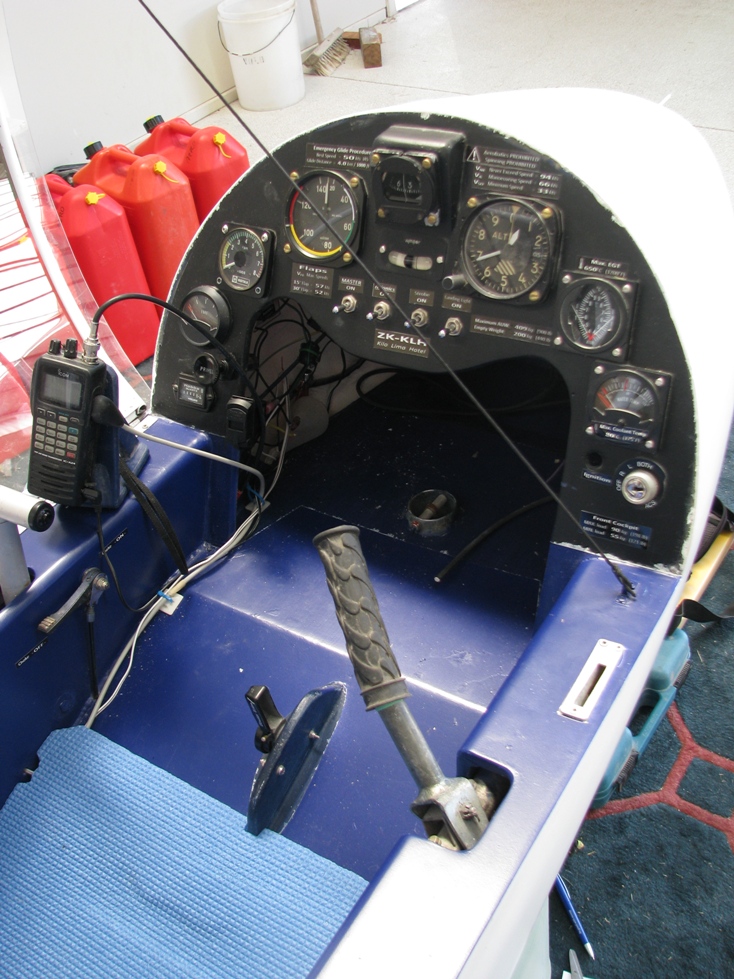
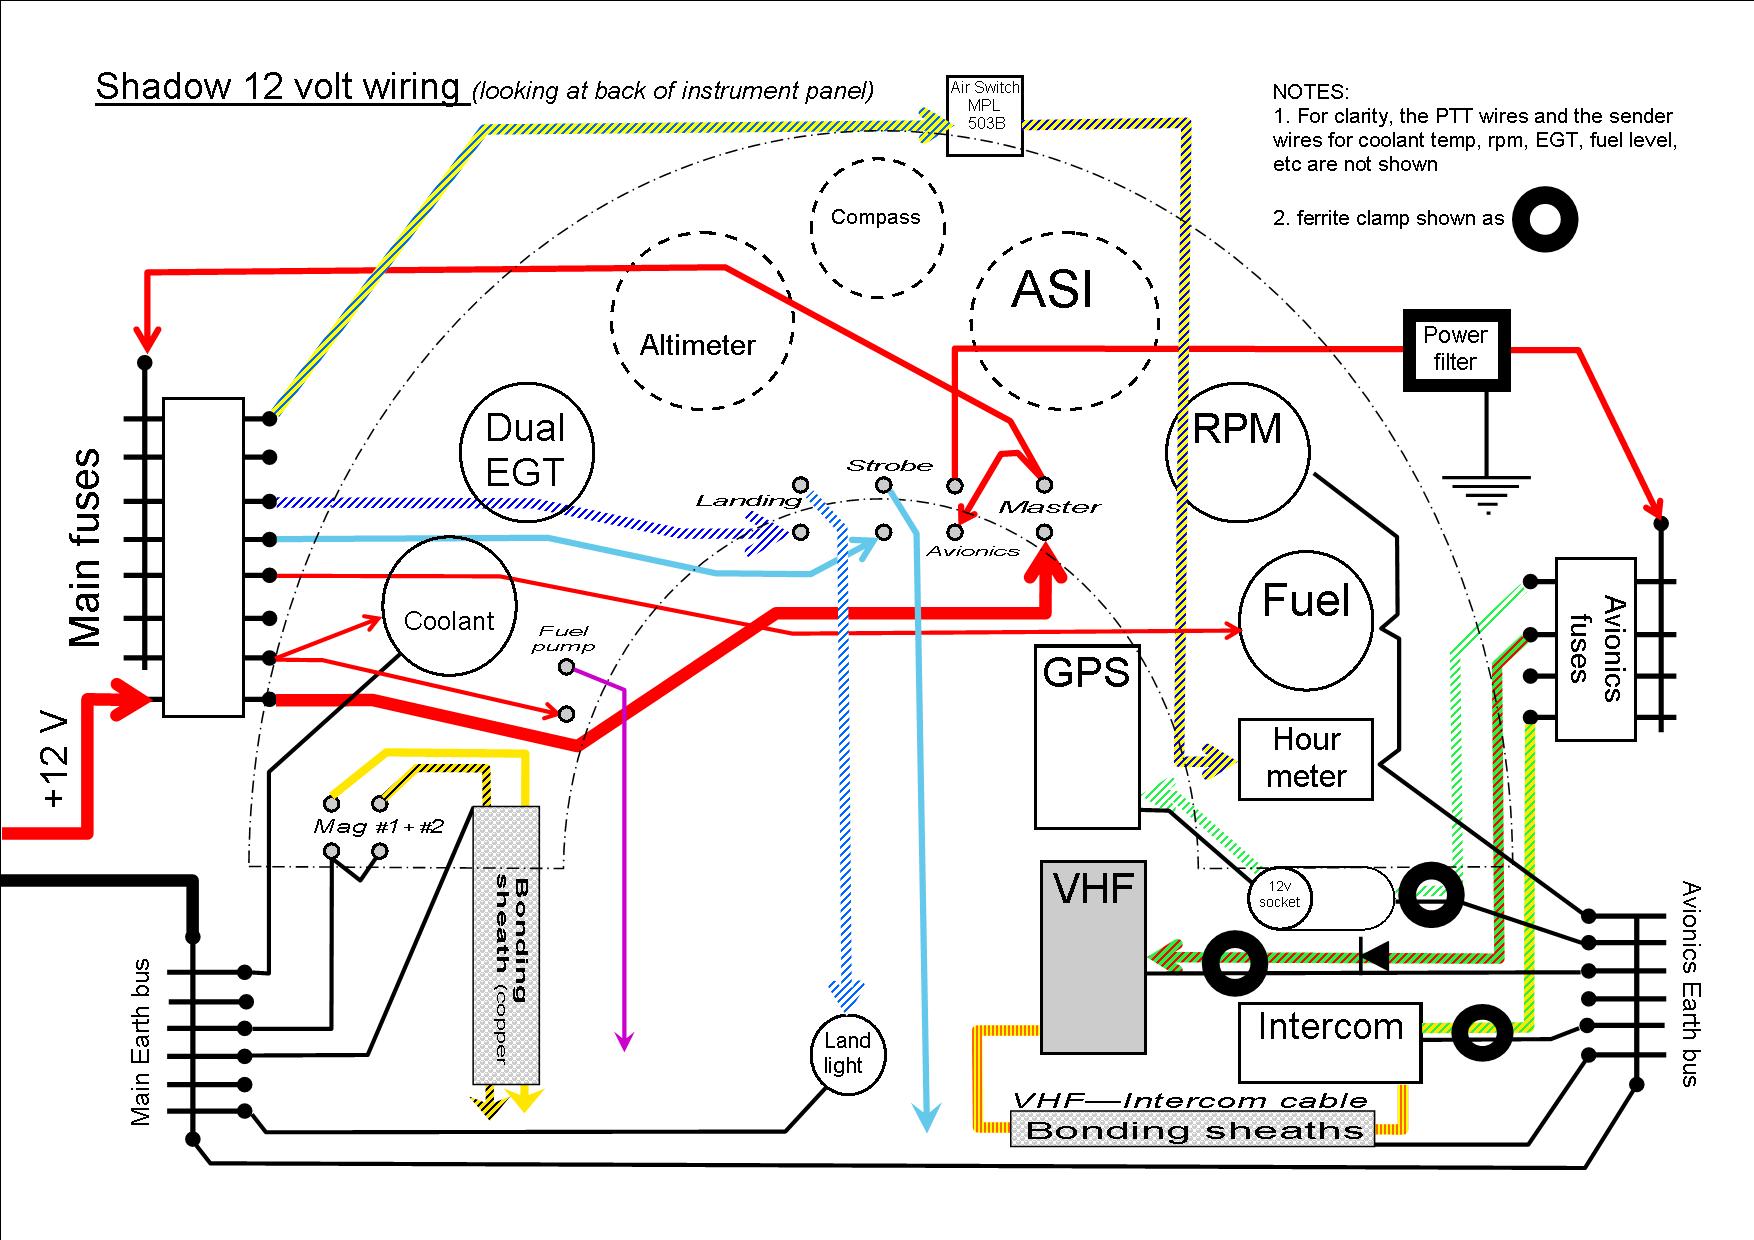
I’d already spent hours on the computer working on wiring diagrams – colour-coded wires, switch banks, earth buses, filtered avionic supply, etc. That’s all very nice, but eventually someone has to cut
actual wires and crimp on actual connectors. I’ve sat at the nose of the Shadow for quite a few hours tentatively cutting, labelling and crimping. After the first session, I’d done five wires, and only made two mistakes! One was too short. Another had the wrong label.
 The final result is OK I think, but needs a better way to support the bundle of wires.
 Now completed the covering of the wing’s centre section.
With the help of my brother-in-law and his wife, we flipped the fuselage/wing centre upside down (and carried it back into the workshop) so I could work on the underside of the wing stub. It was very easy to cover it with lightweight Poly-Fiber fabric and then gently heat shrink it smooth. I was pretty pleased with the zipped access panels that I’d sewn in before gluing the fabric on.
The brushed-on sealing coat was Wattyl “Solagard Gloss” water-based roof paint (with Floetrol conditioner) thinned with BarsBugs. This flows across and through the weave, gripping the polyester fibres much better than conventional fabric sealers. Next were several sprayed coats of Solagard Gloss/Floetrol thinned with water.
My brother and I carried the inverted fuselage/wing centre out of the workshop and flipped it back onto its wheels. Then, I could cover the top surface of the wing’s centre section. It took some ingenuity to sew and glue fabric shelves along each side of the tail boom, so that I could eliminate the foam shapes that normally surround the boom as it exits the centre section.
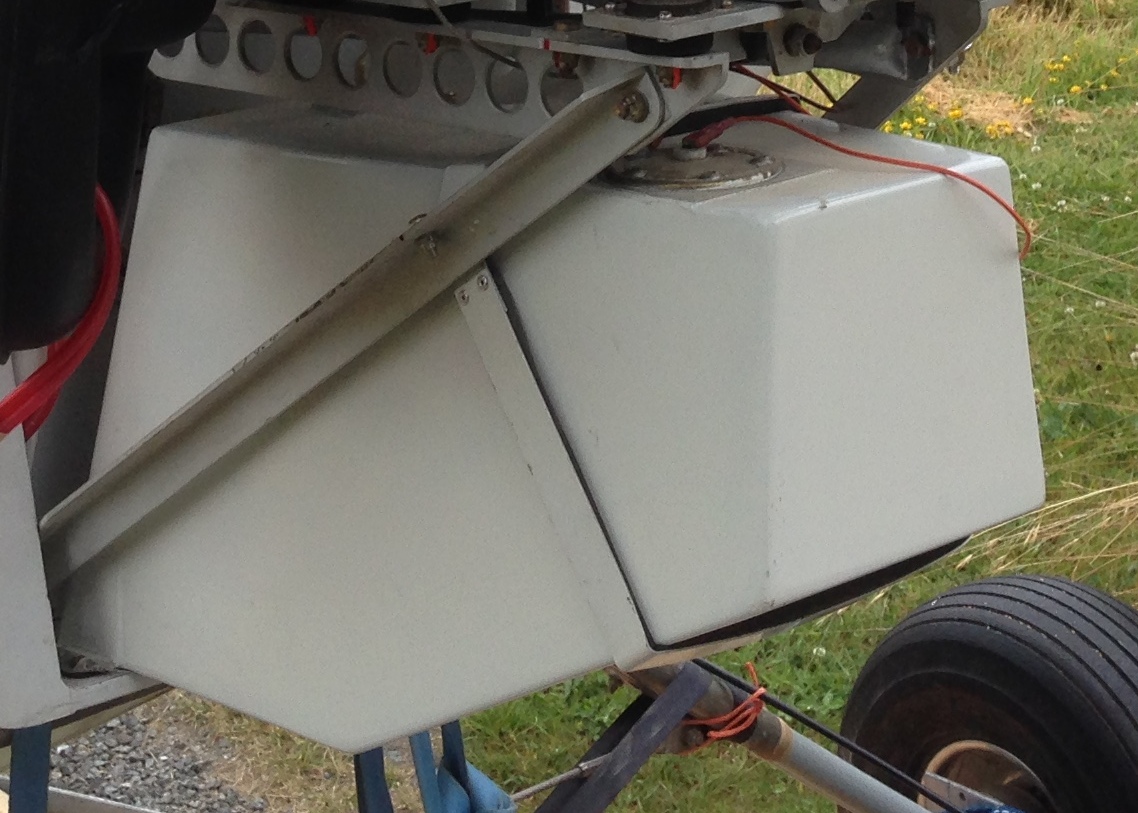
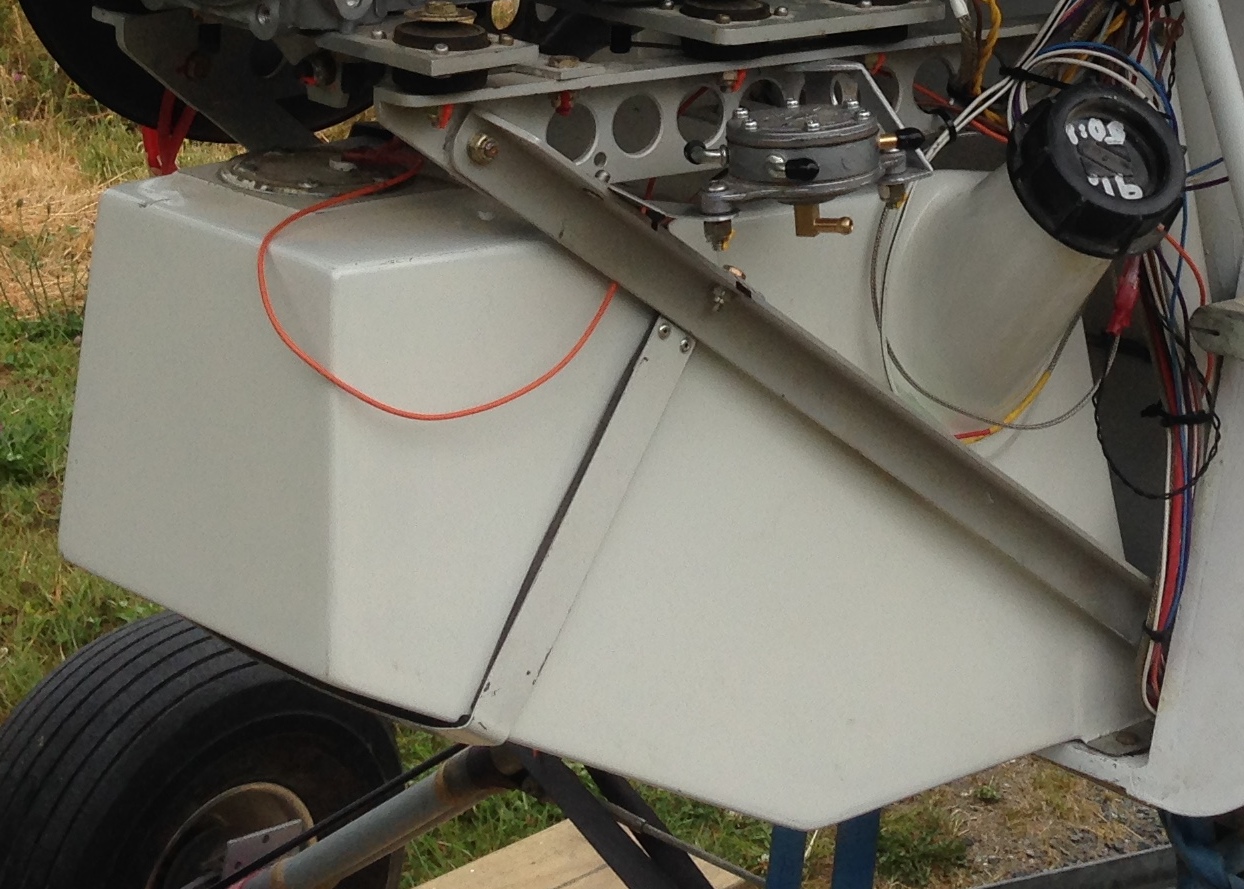
I also fitted the underwing luggage locker. It’s a hinged divinycell tub, which can hold a sleeping bag and small tent. In the open position it give easy access for connecting the port-side aileron pushrod. When its closed the luggage is prevented from fouling the pushrod. The starboard-side aileron pushrod is accessed thru the zips mentioned above. There is a 28 litre fuel tank above and aft of the pushrod, which more than doubles the Shadow’s range.