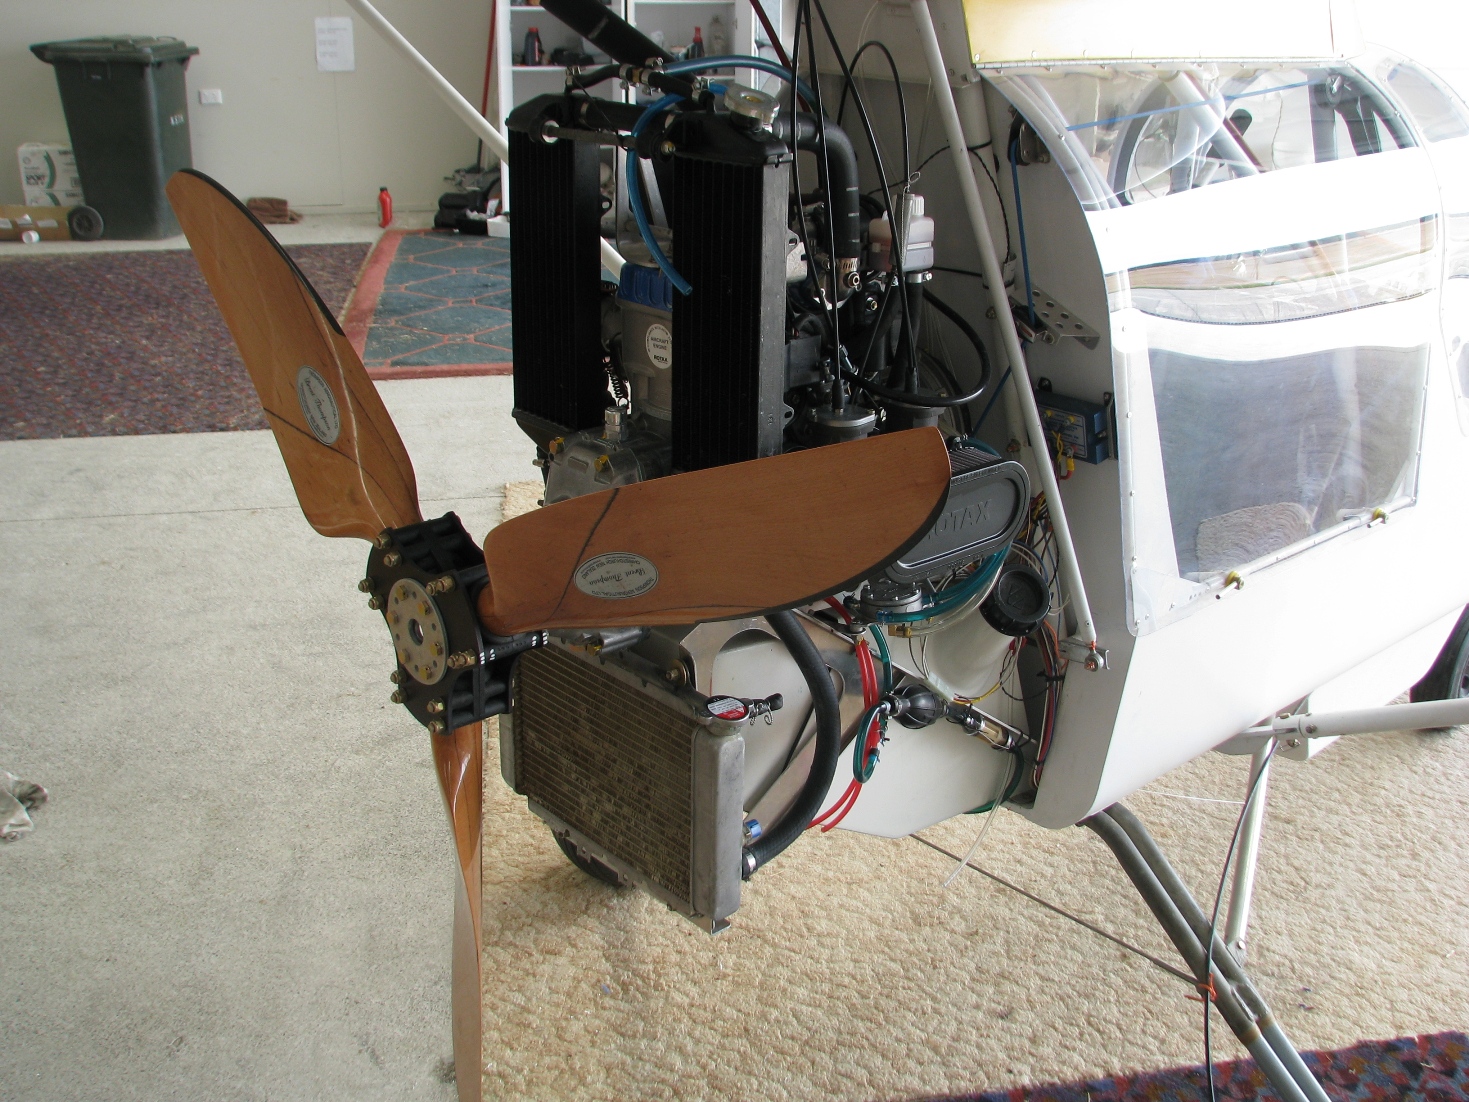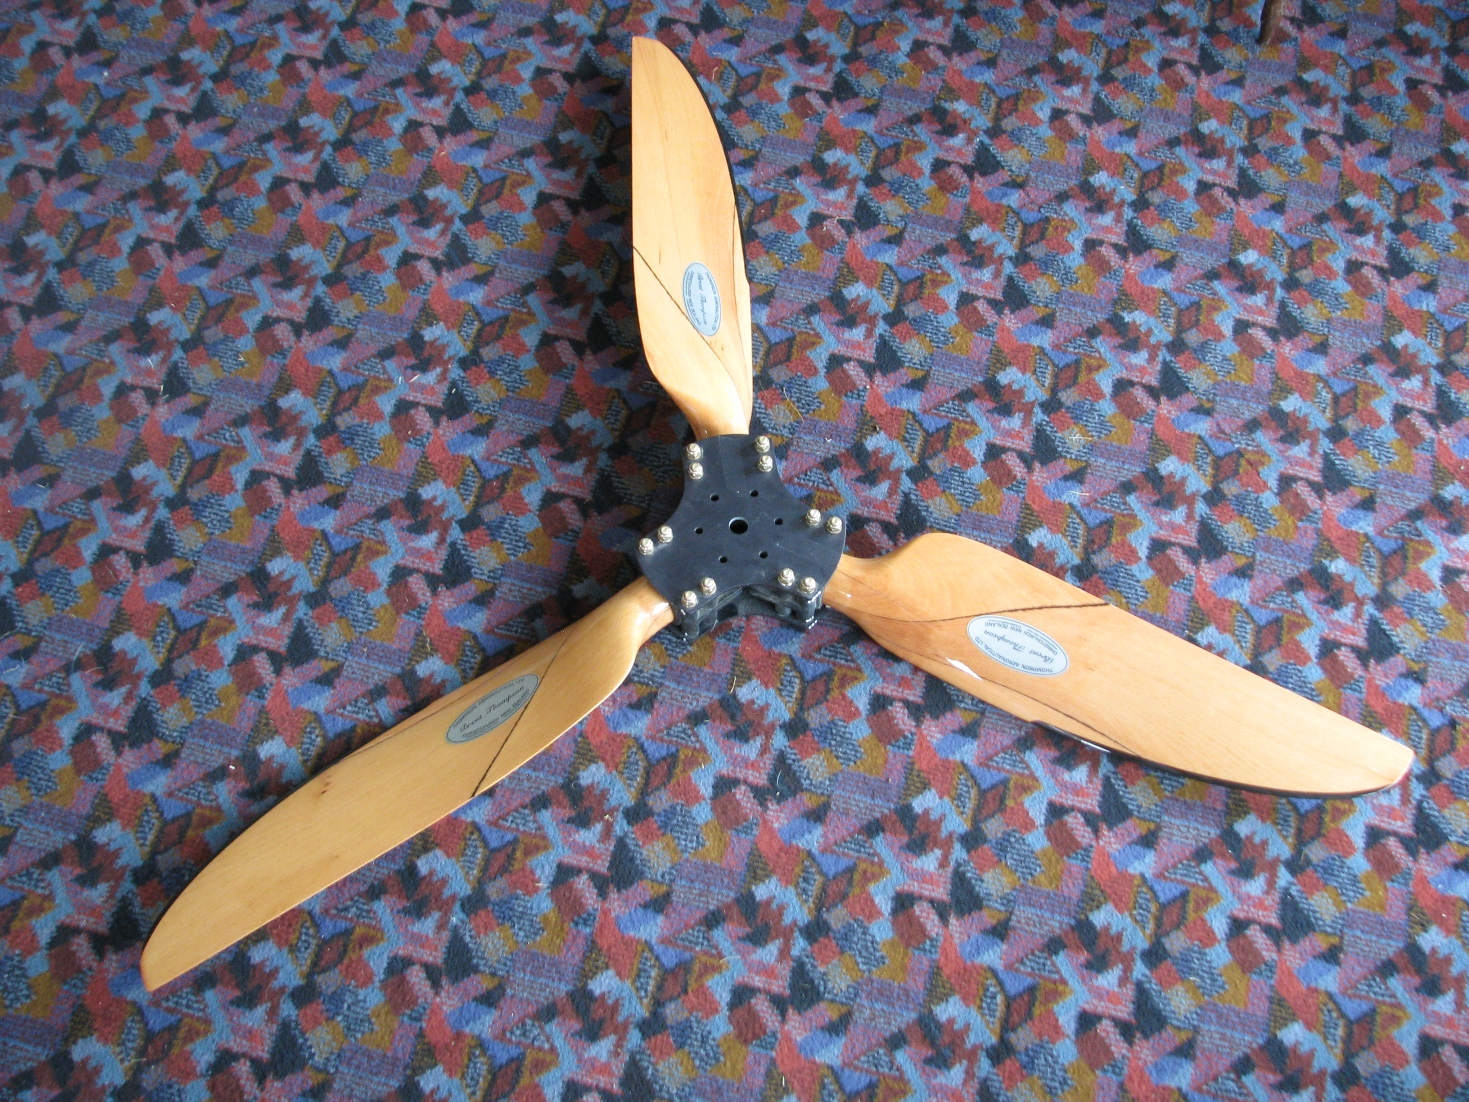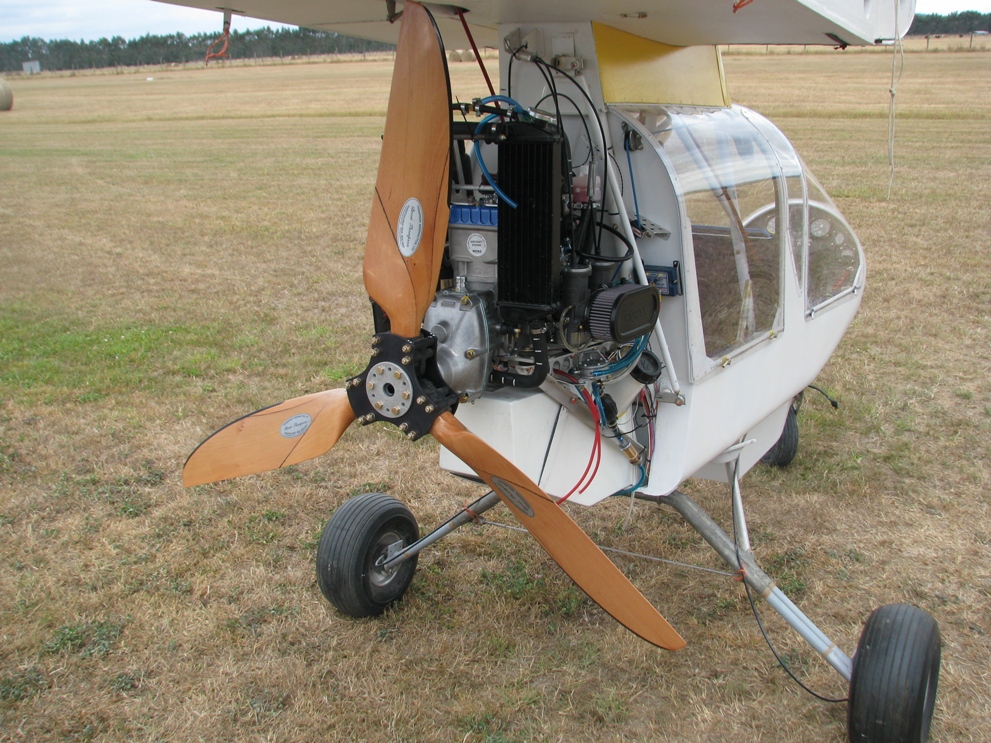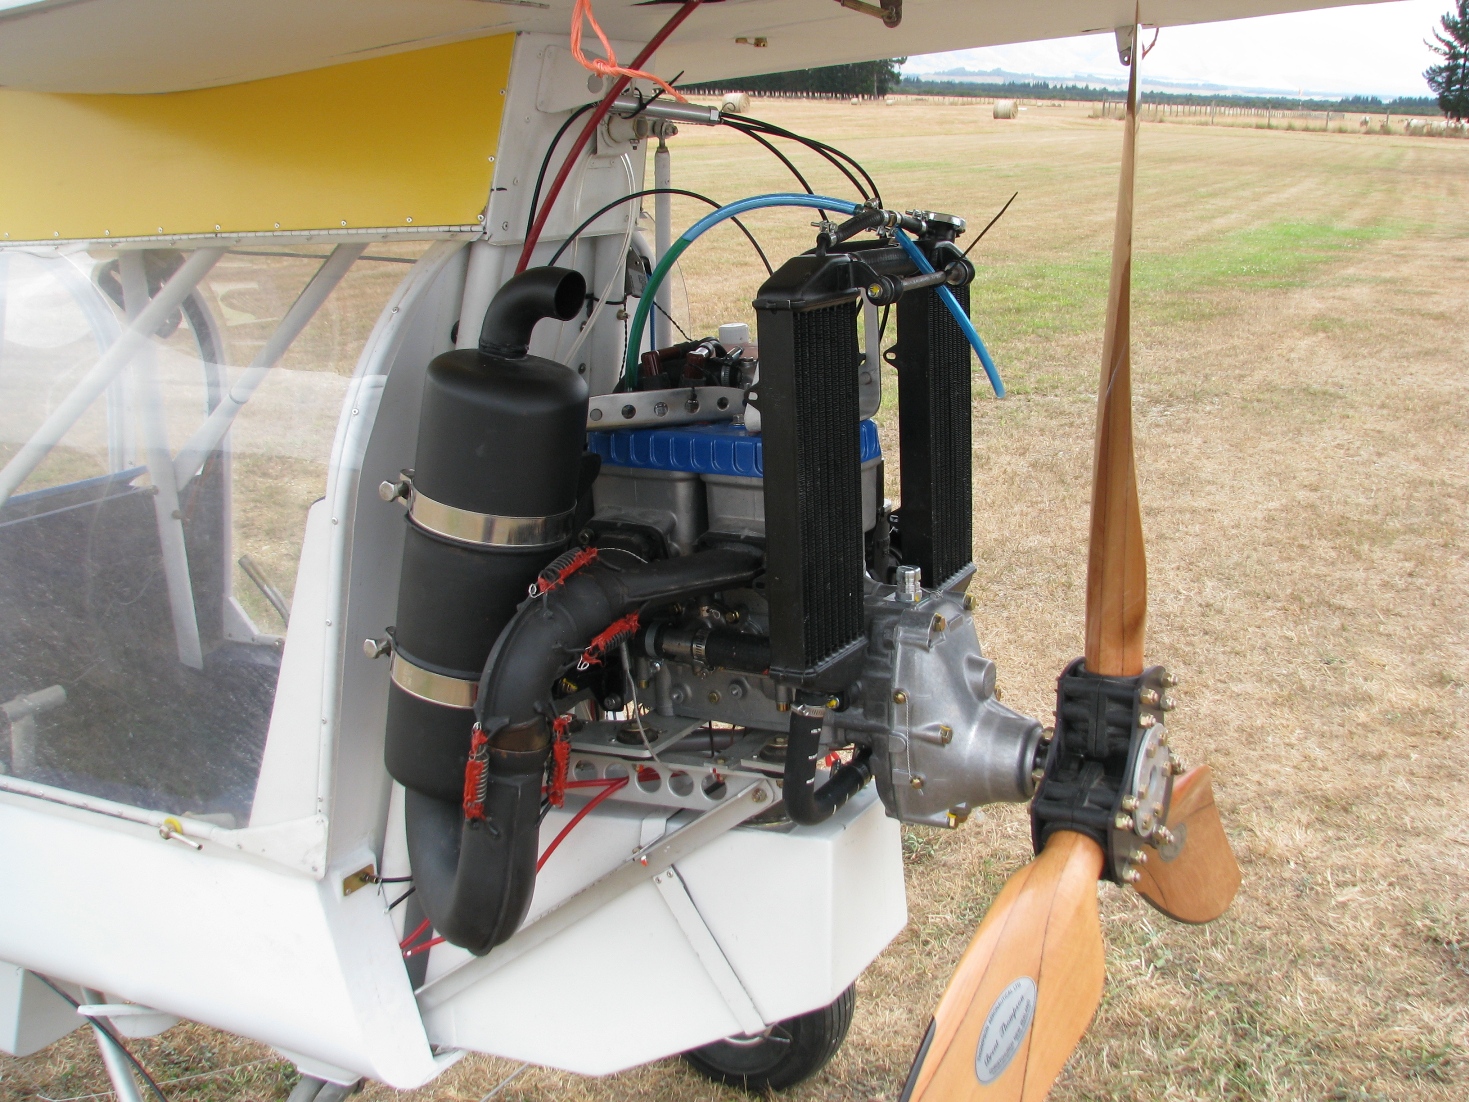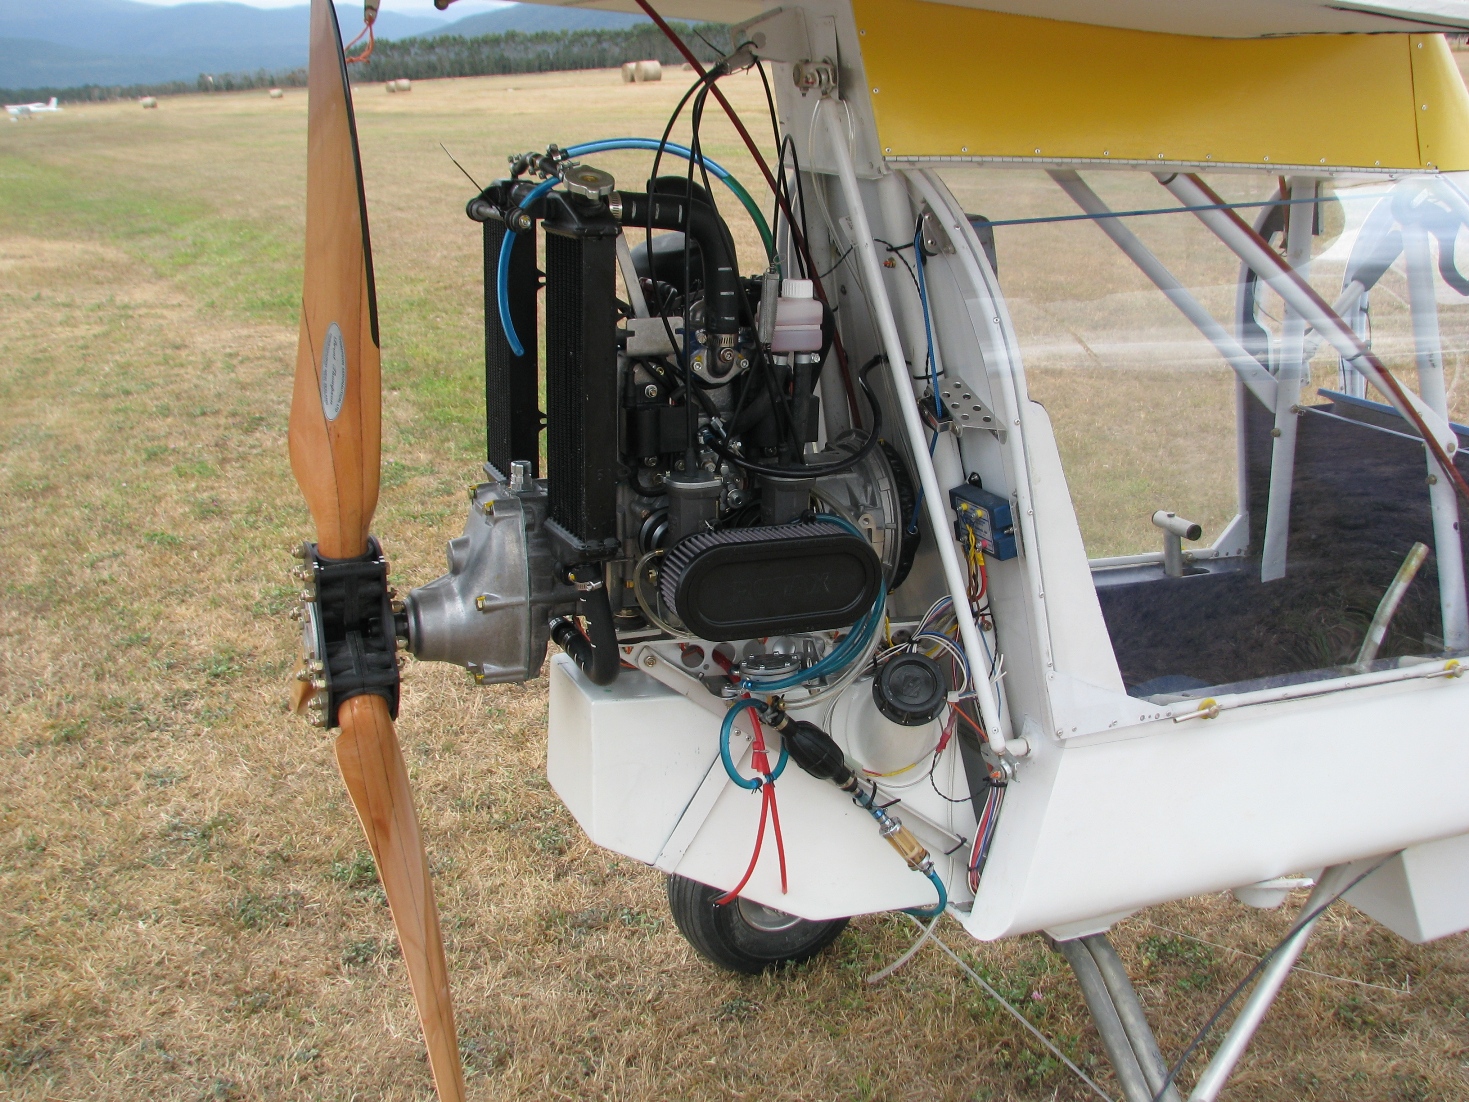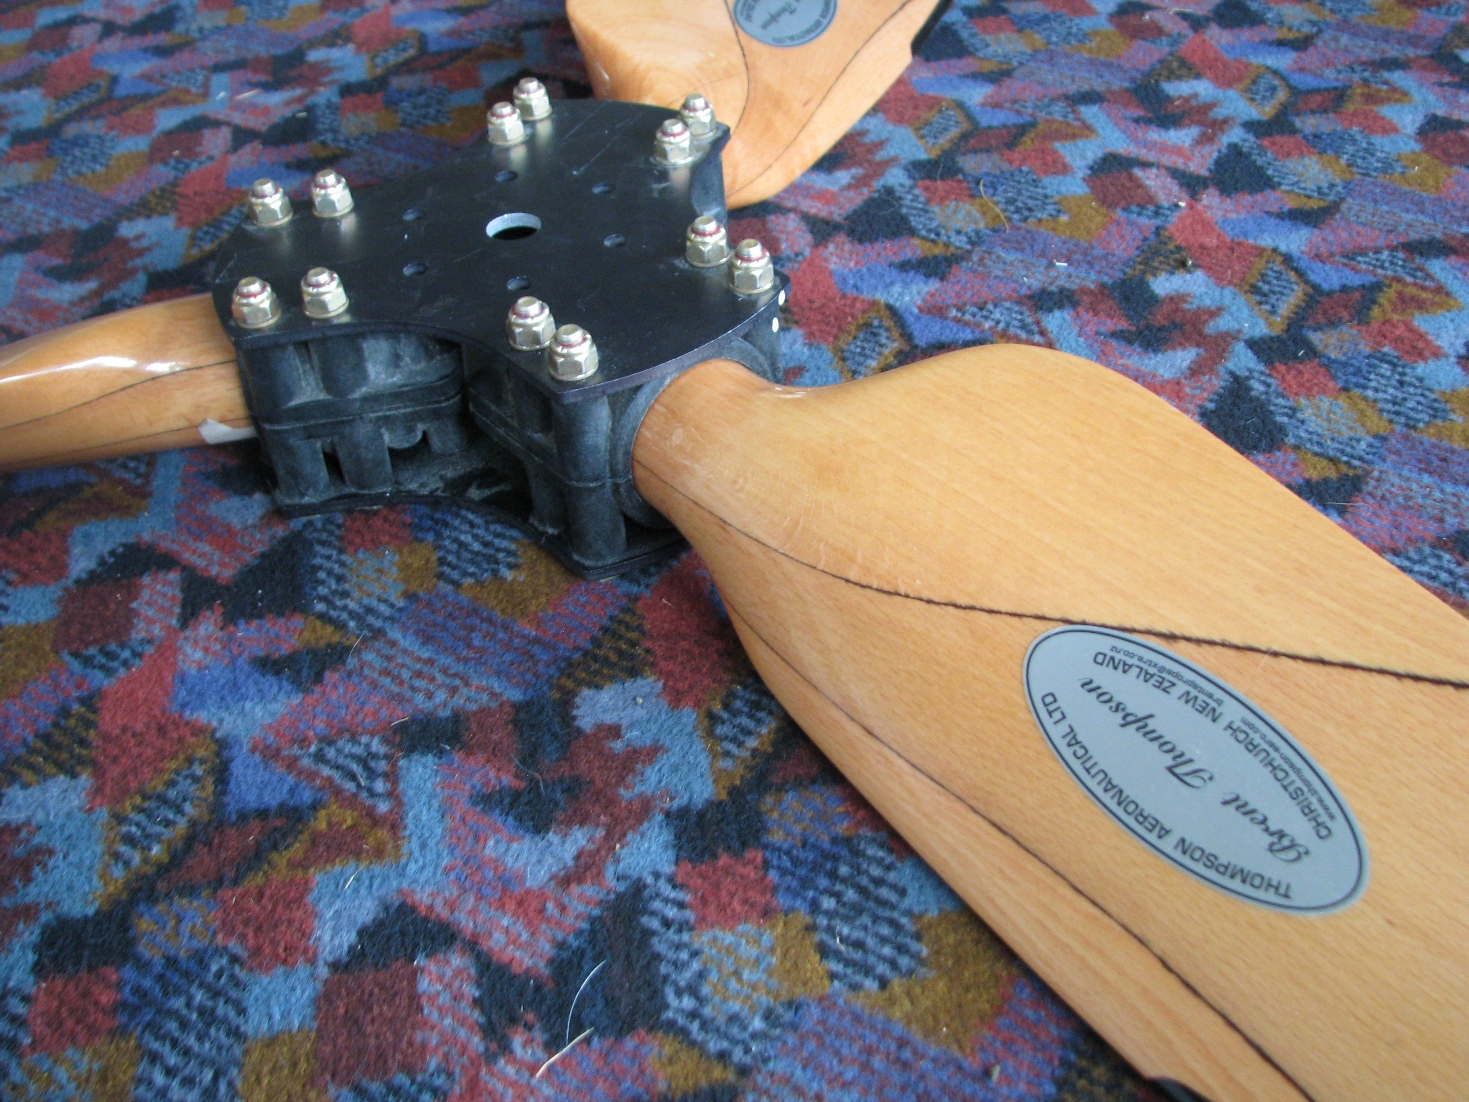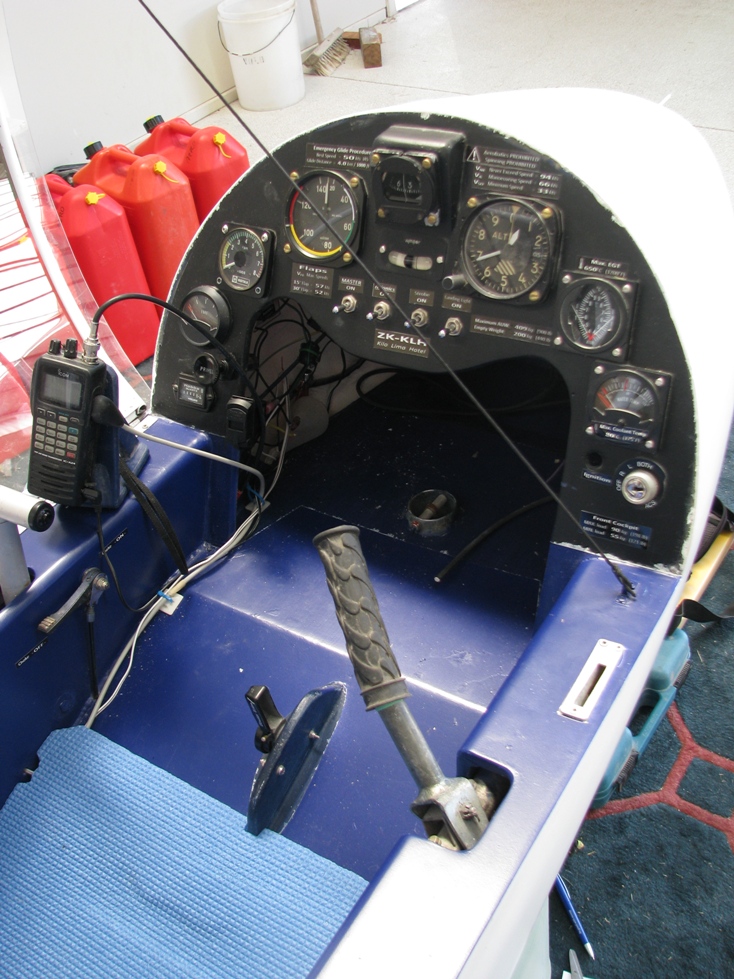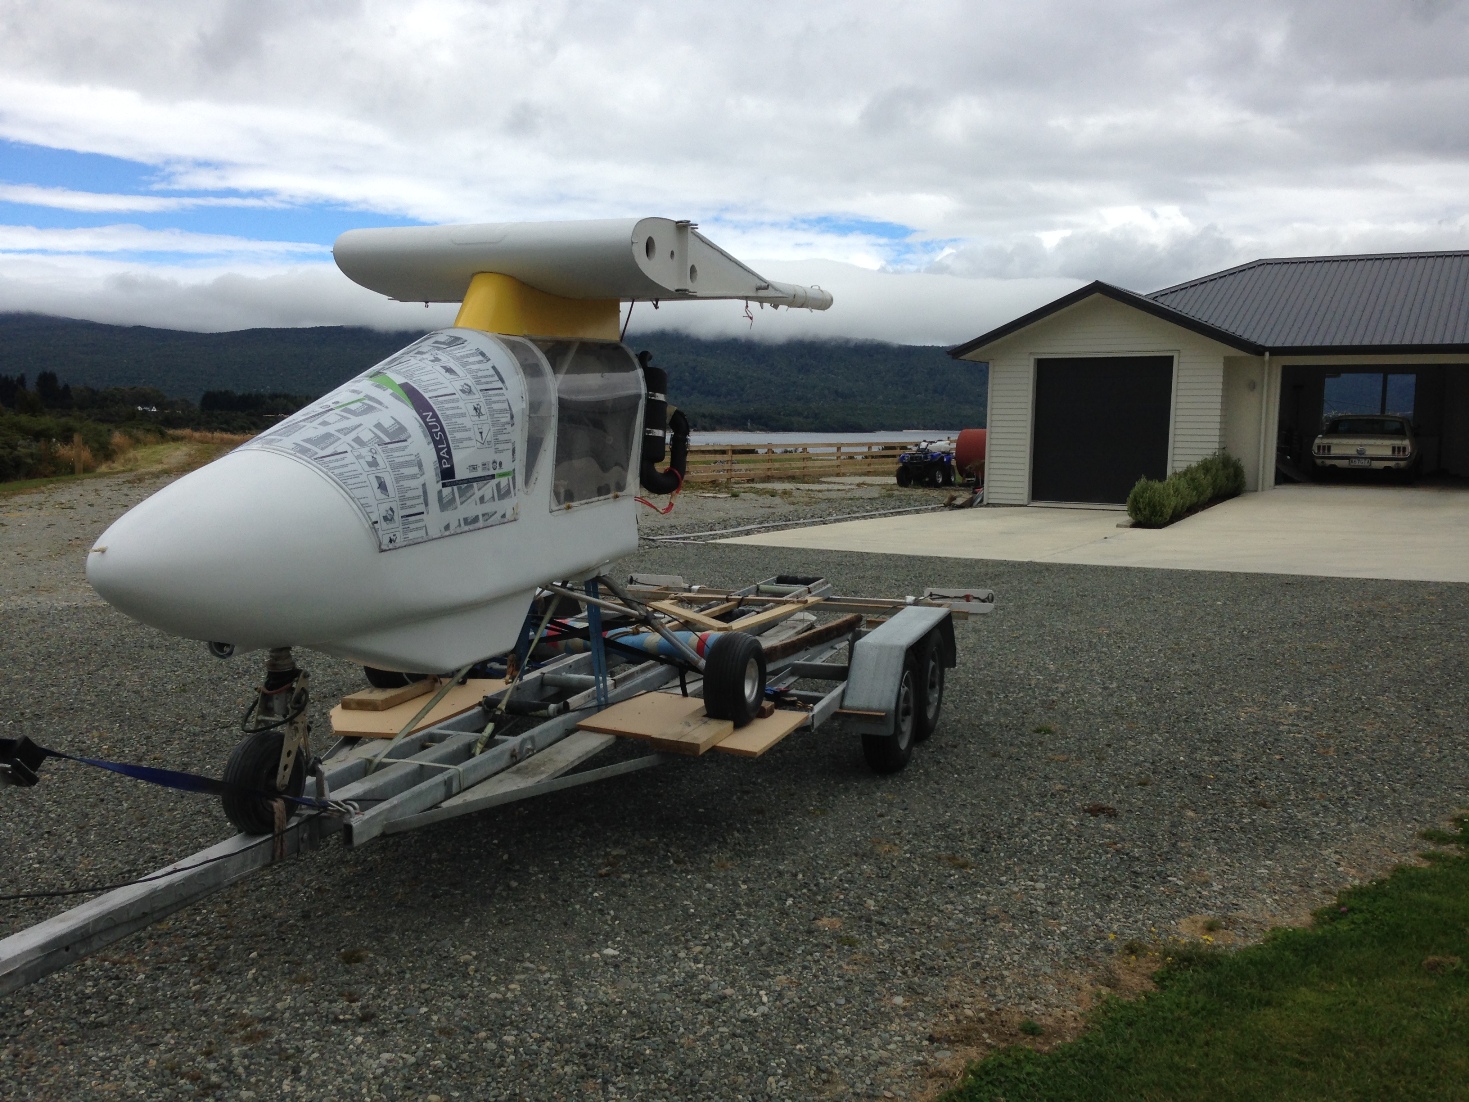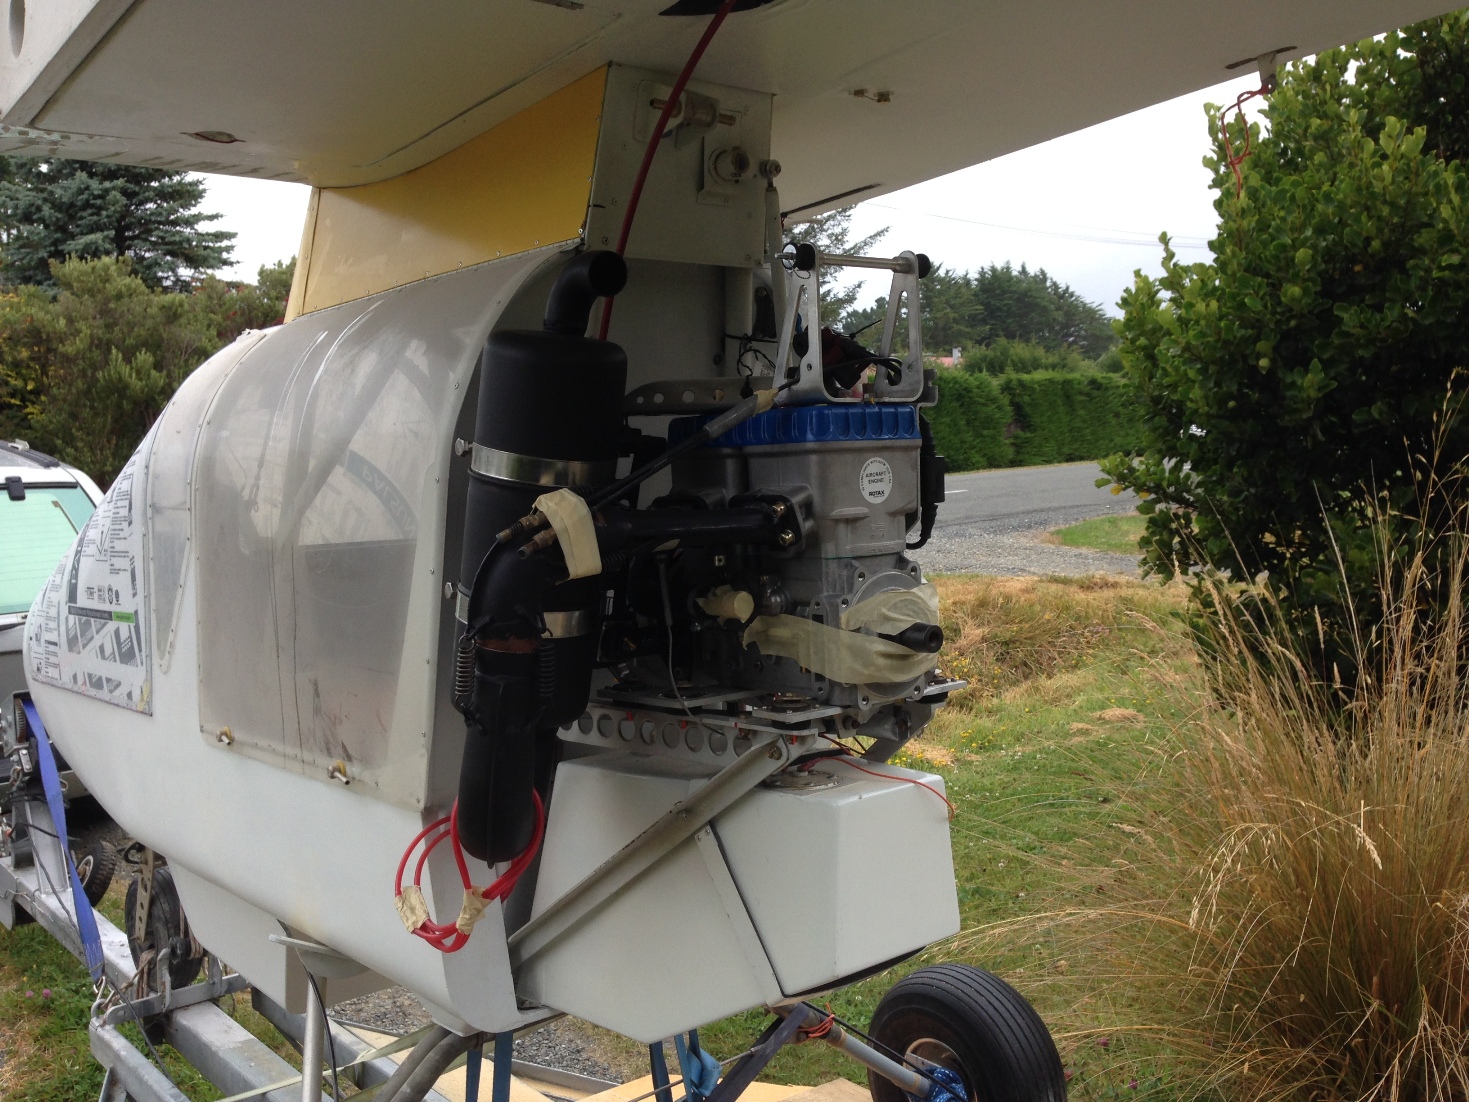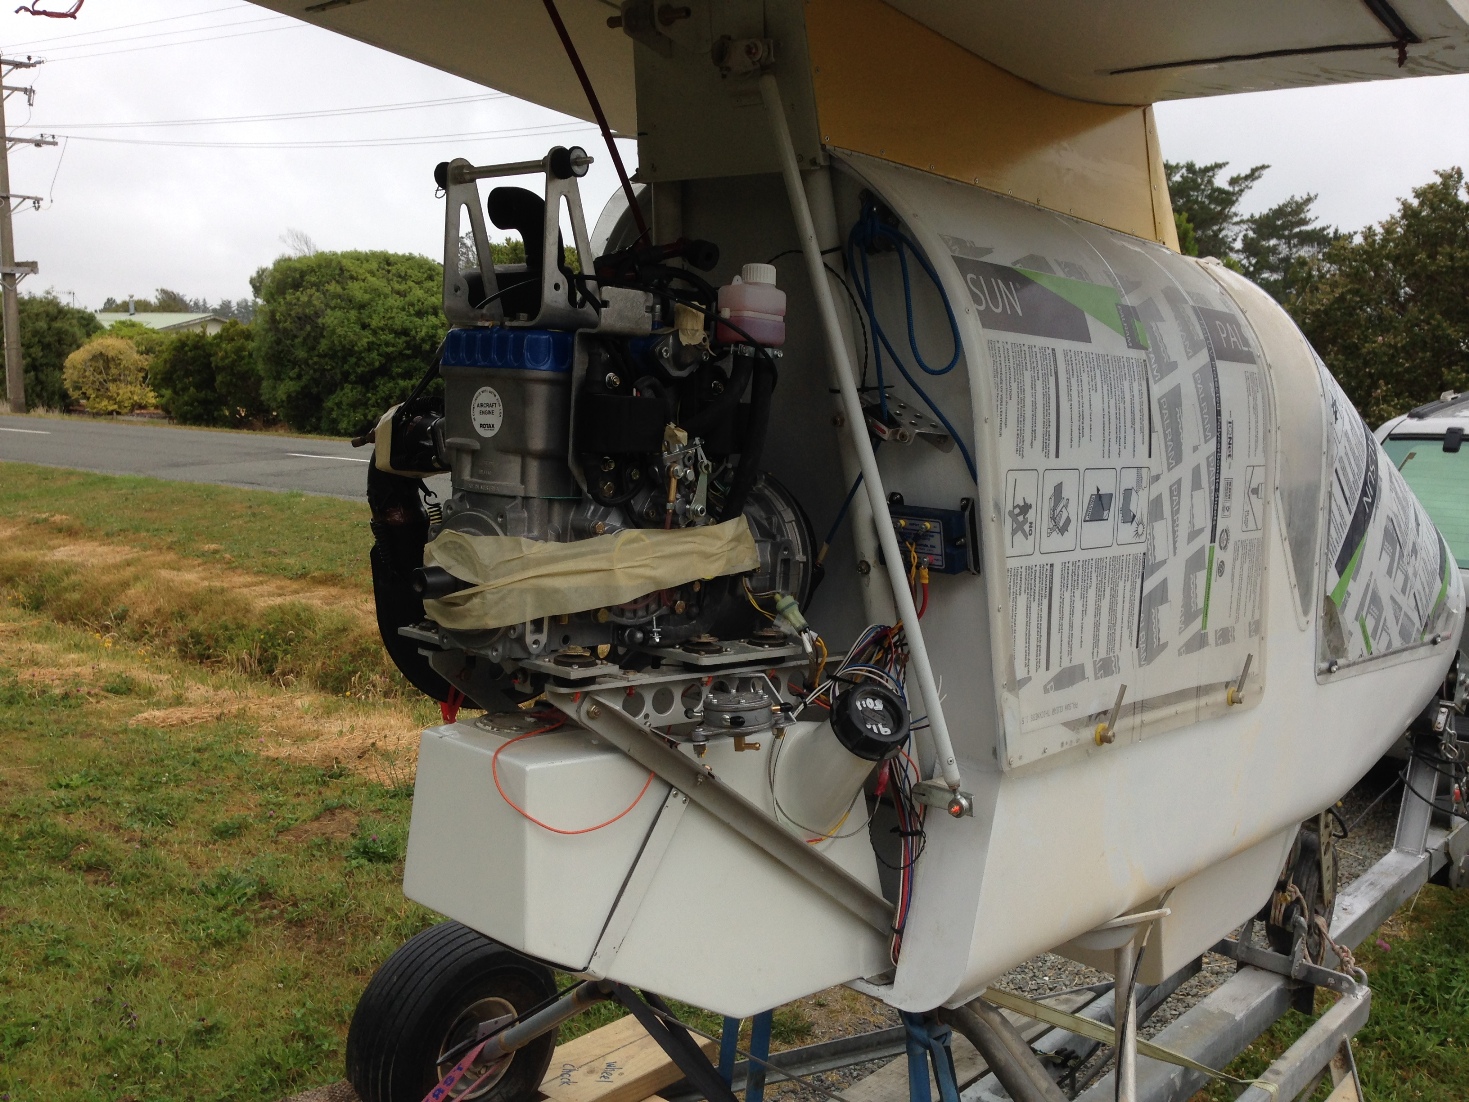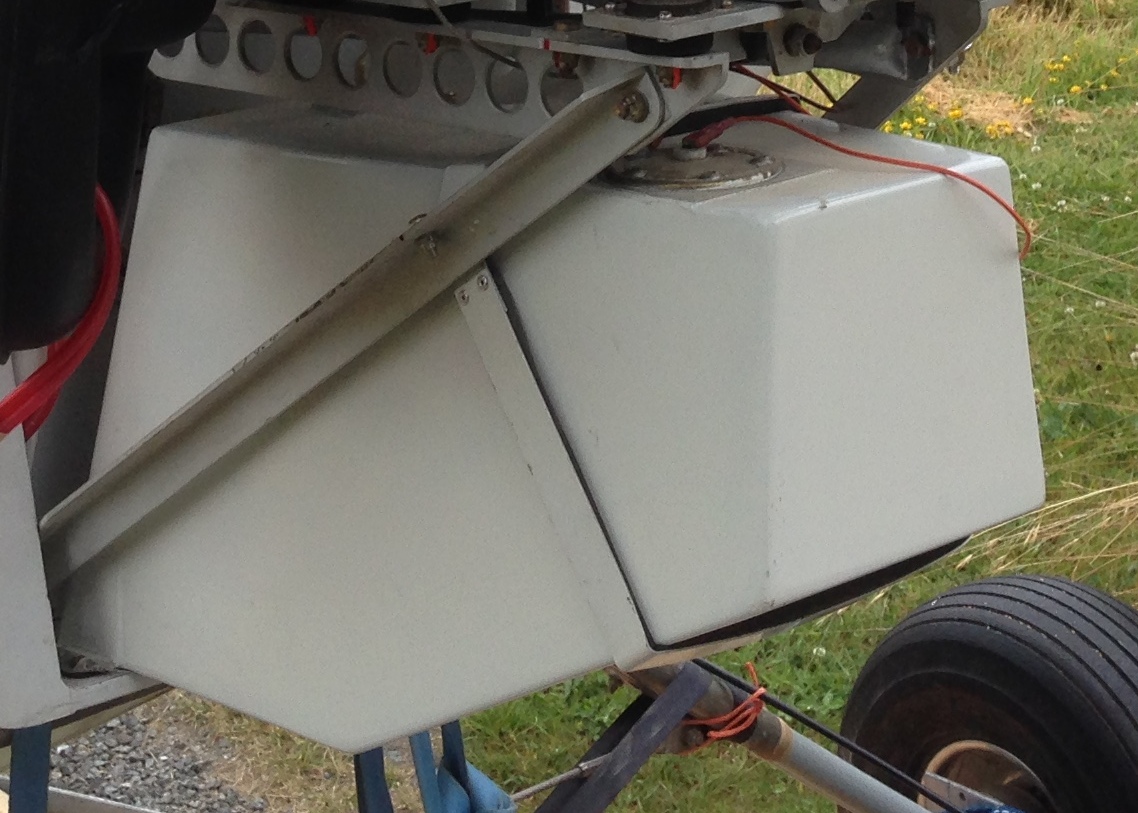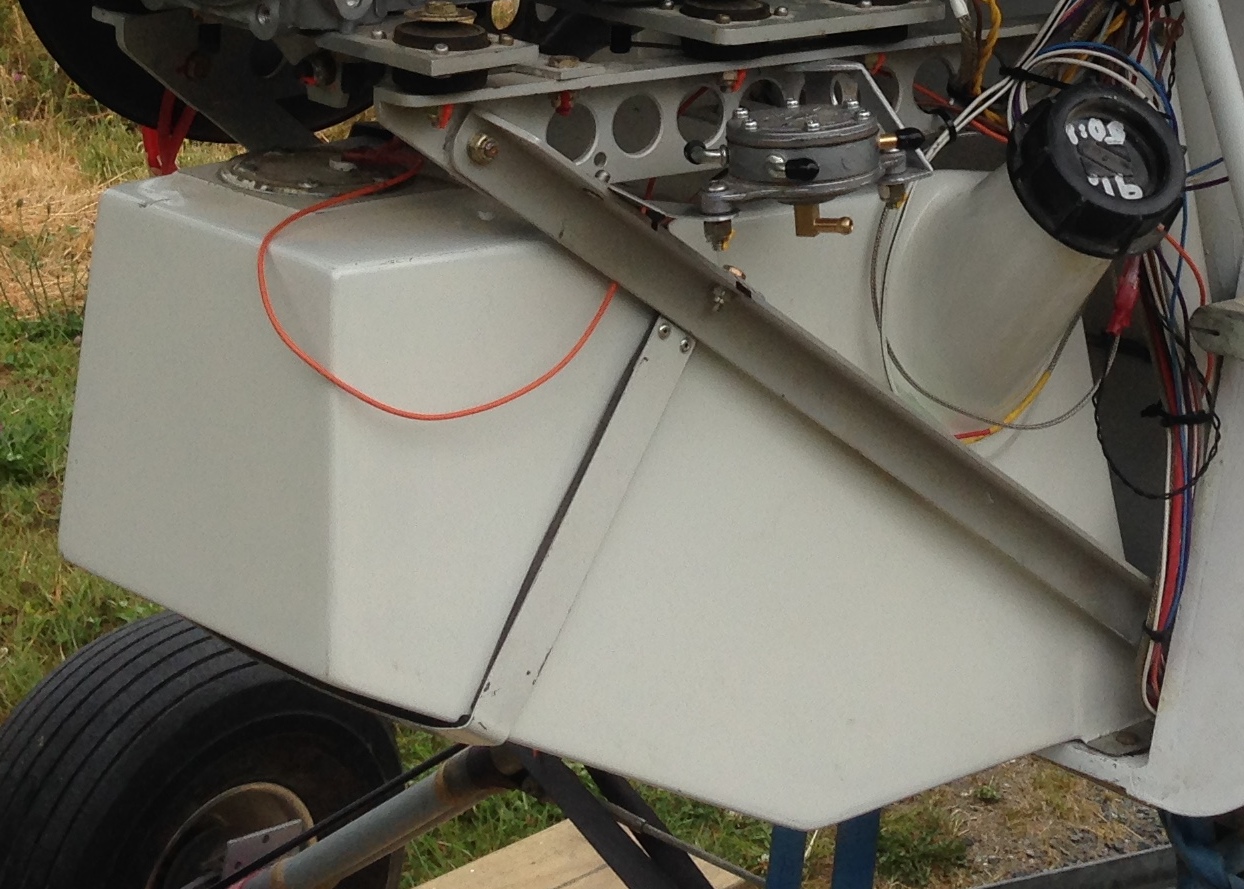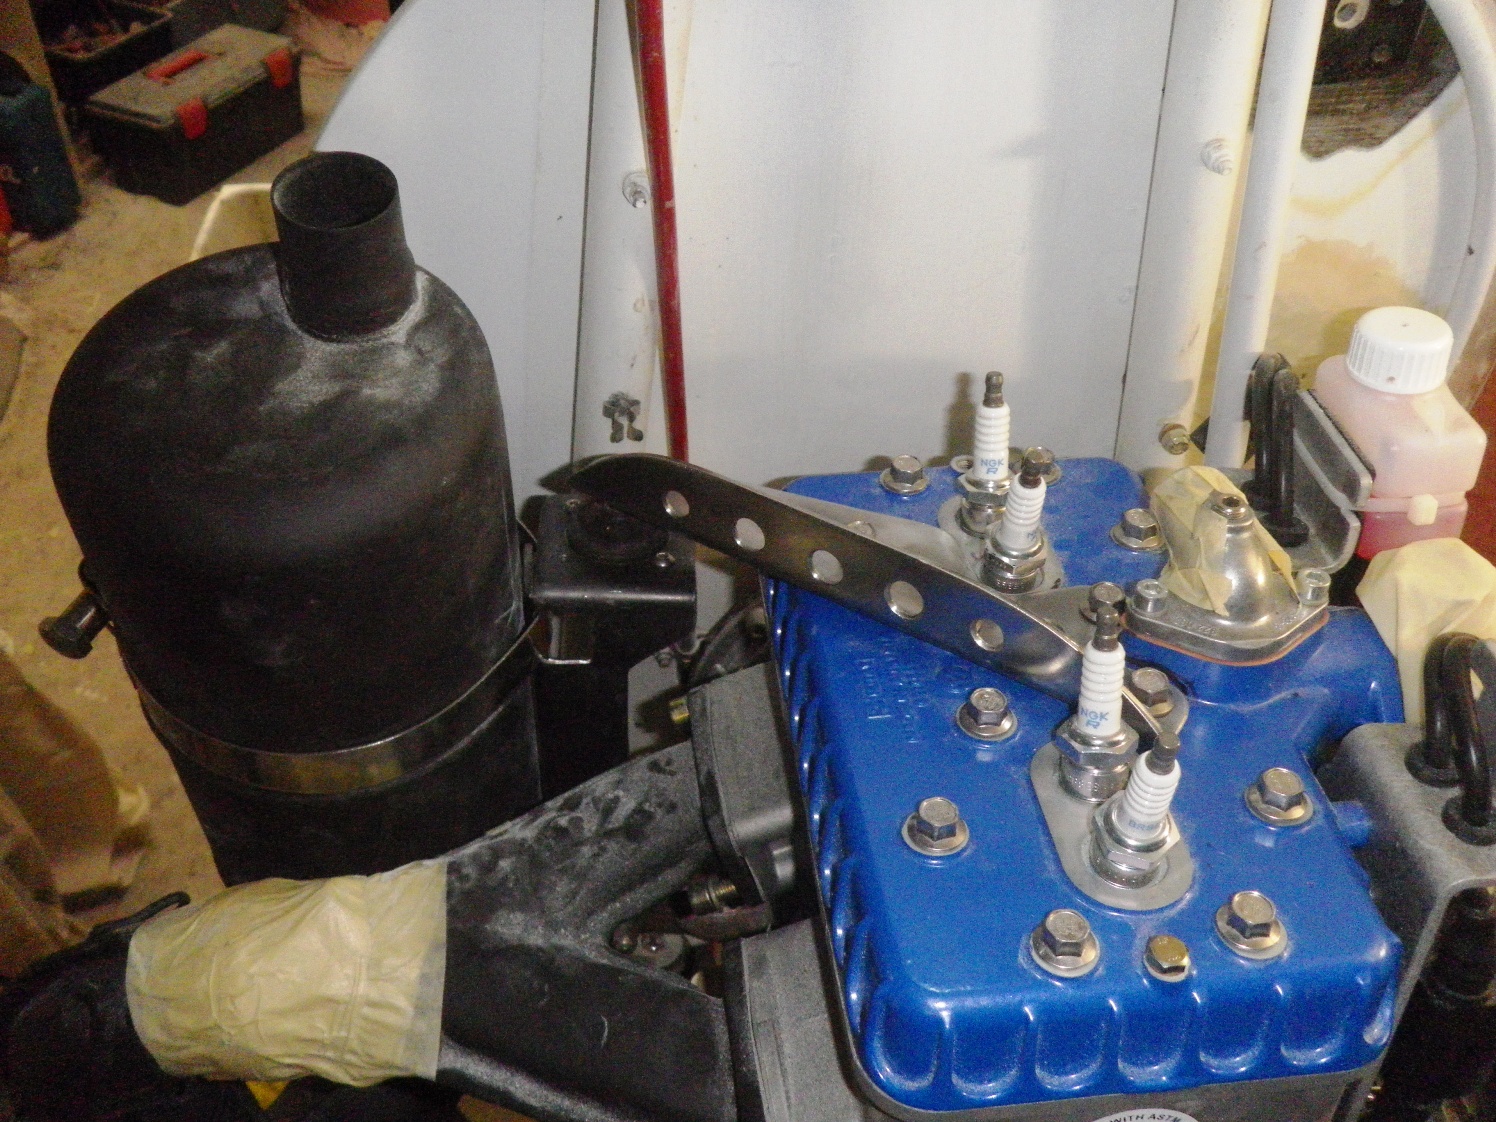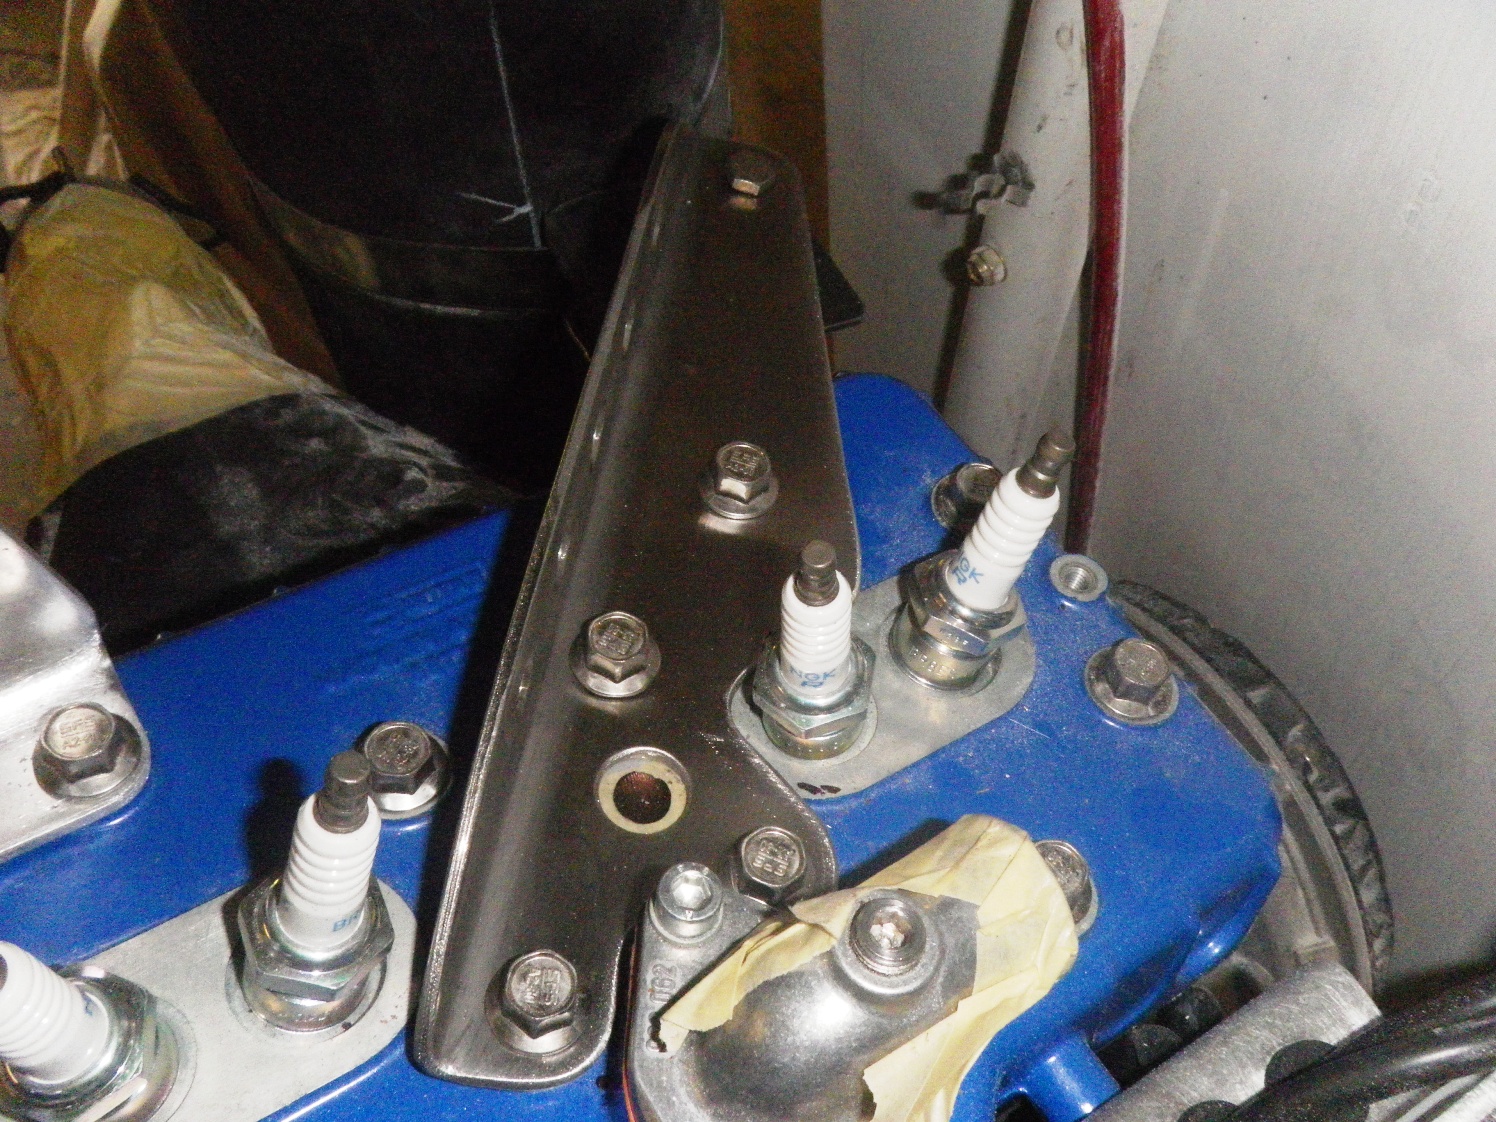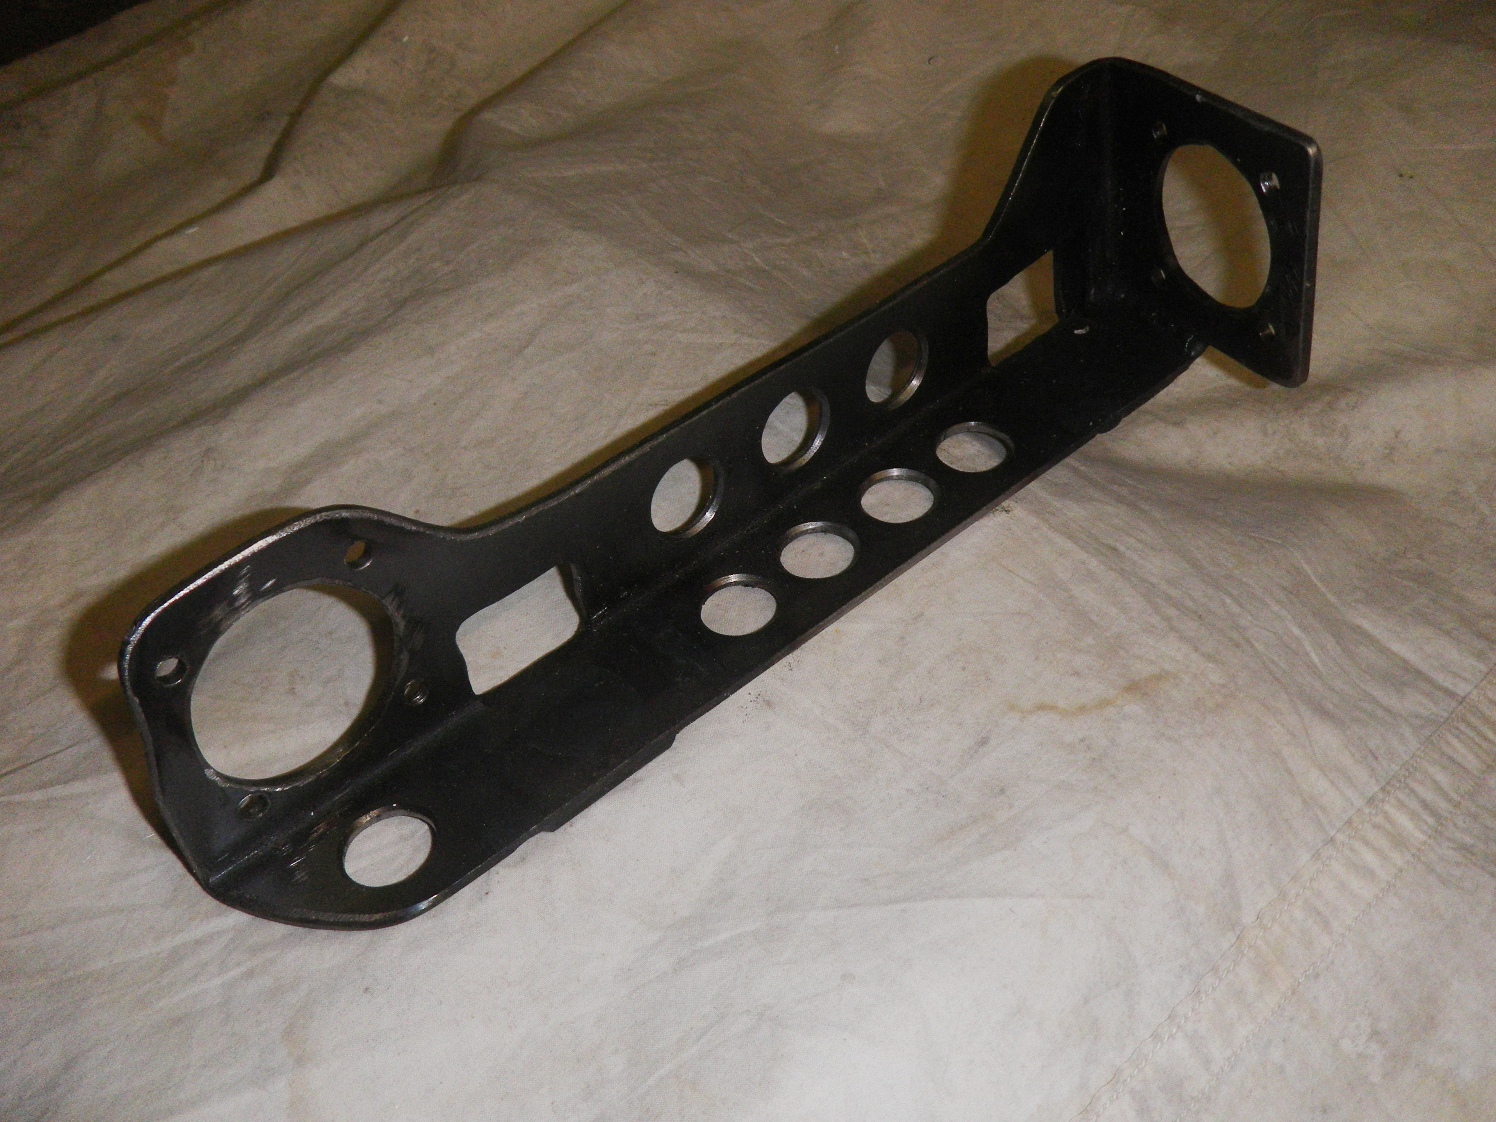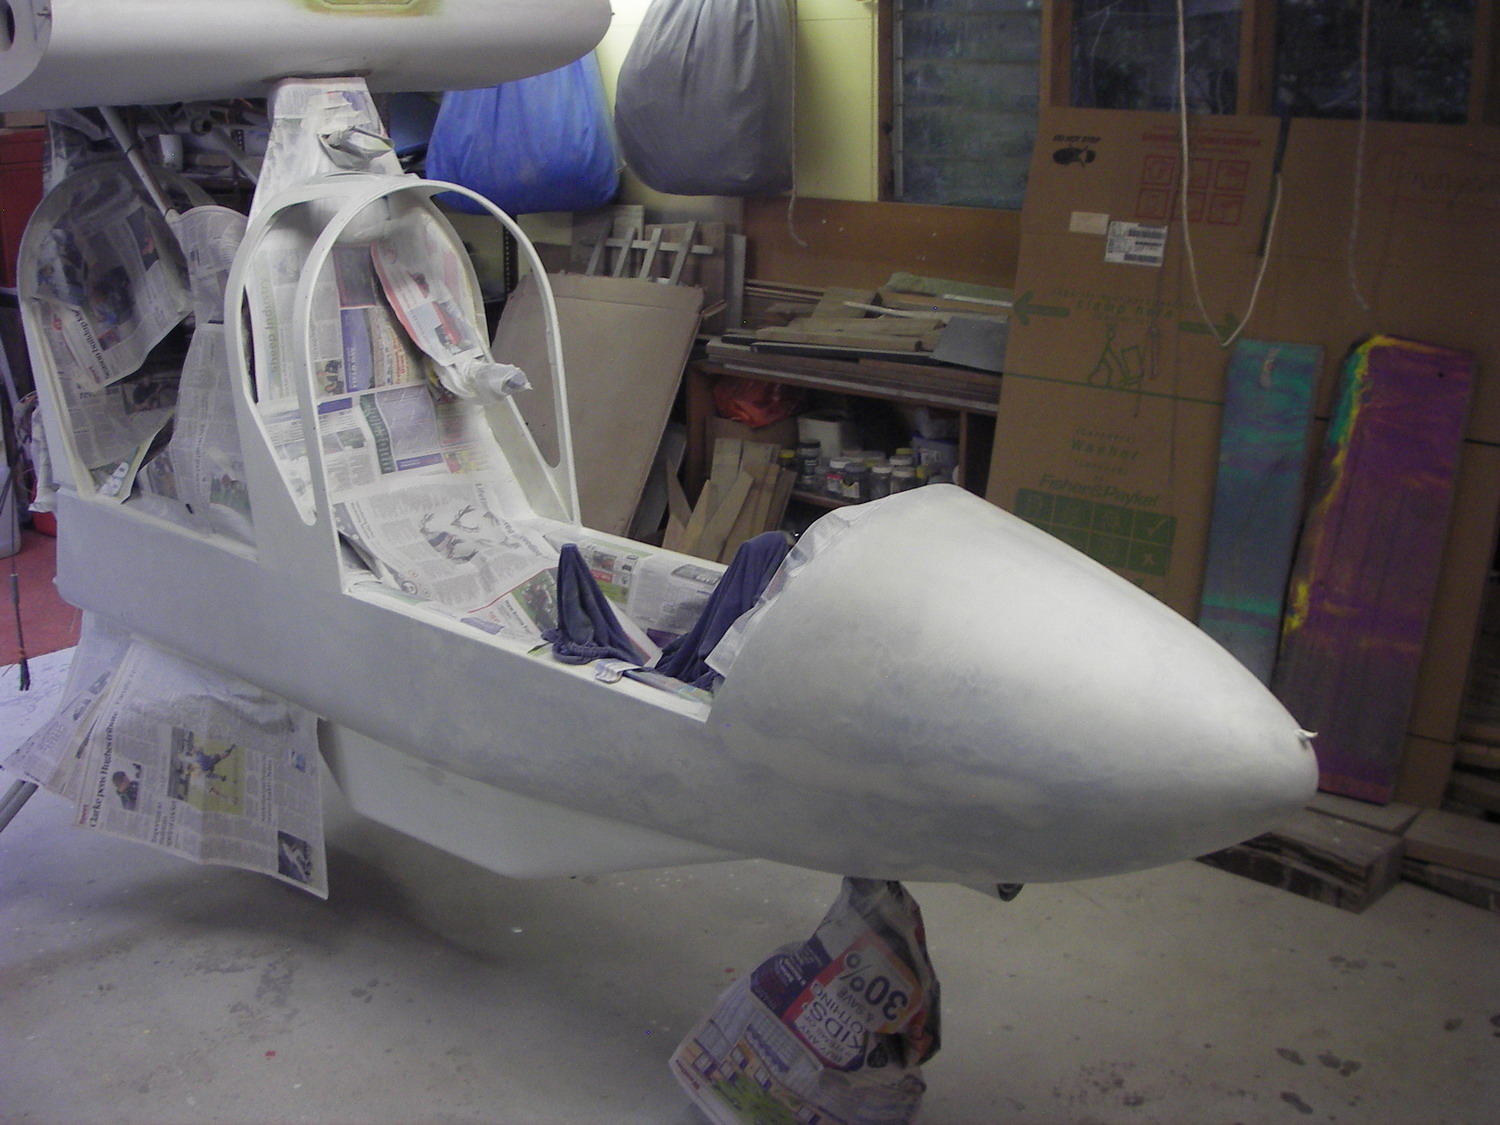
Sunday started as a dreary rain day. I beavered away at Manapouri Airport doing yet another pitch change to the prop, as well as cleaning the brake shoes/drums and making a larger elevator trim tab for the Shadow B-D microlight aircraft.
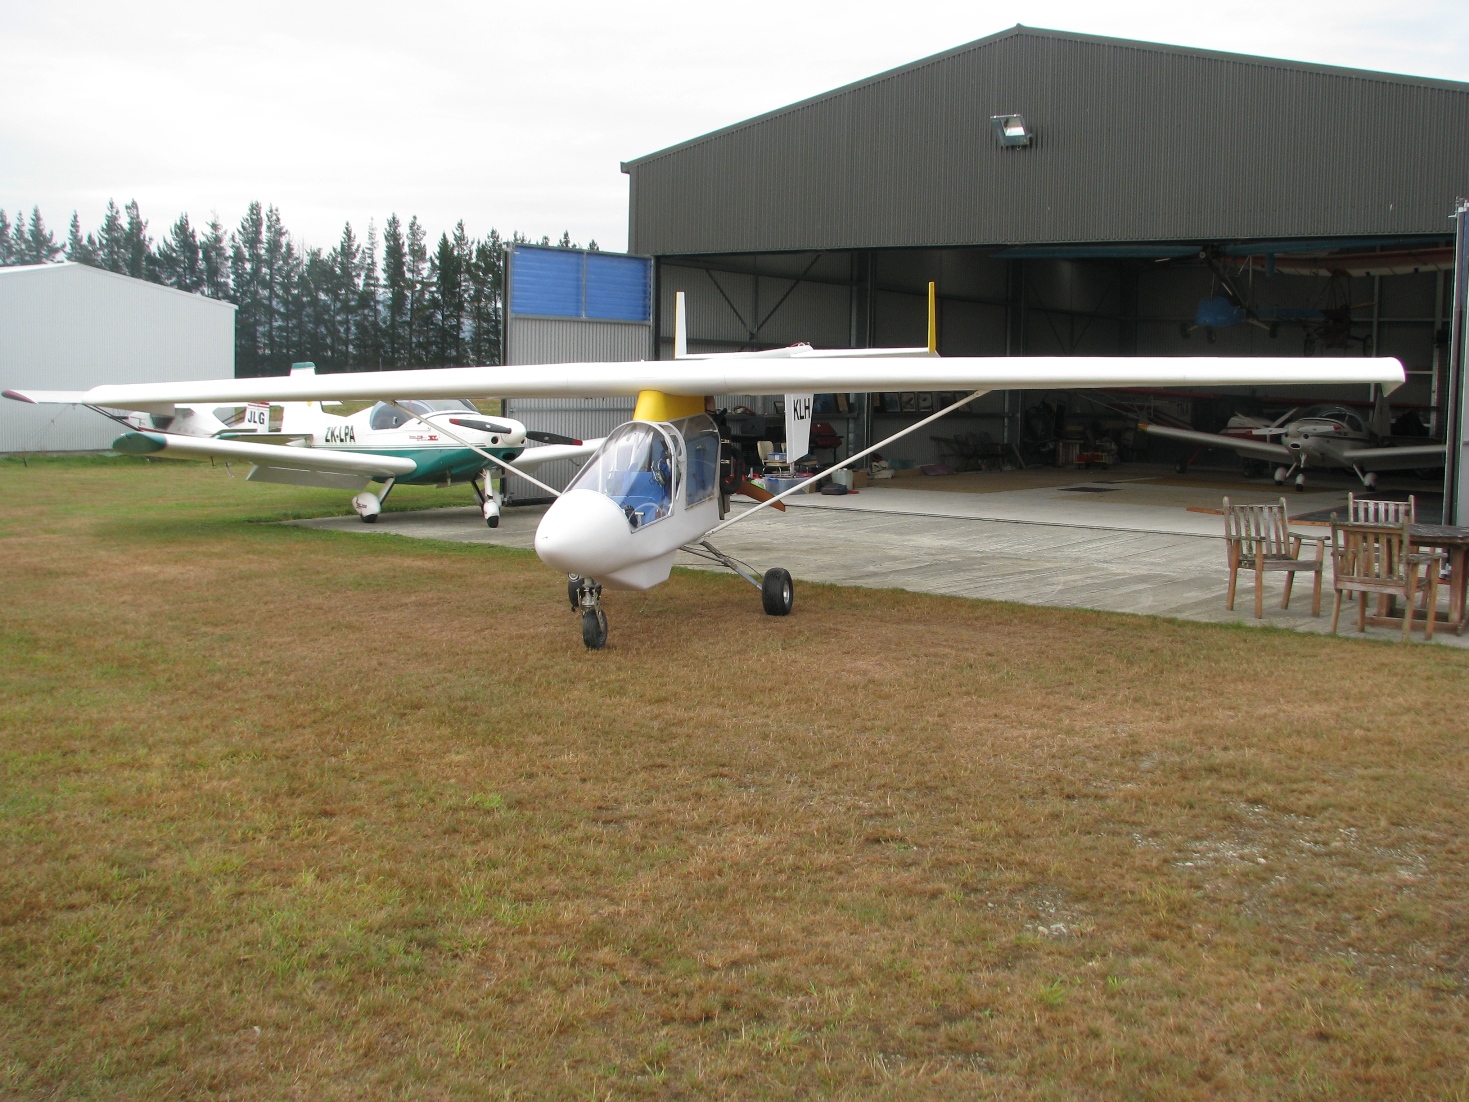
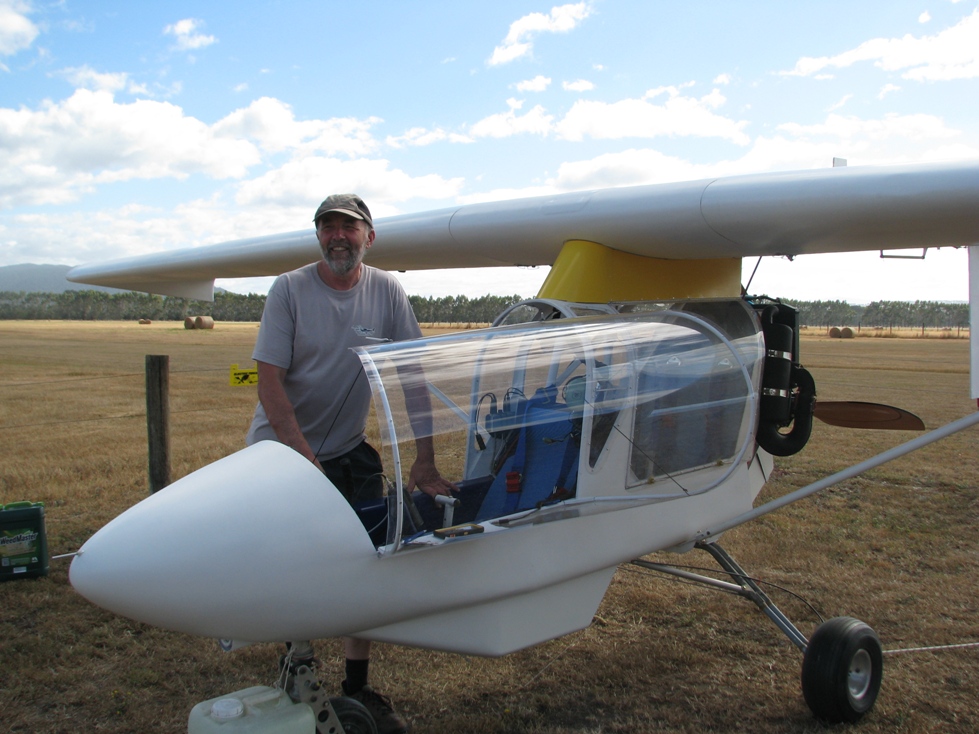
By mid-afternoon the rain had cleared. Murray Hagen declared that he would do some test flights. Having flown hundreds of hours in these machines, he was the best person to fly it for the first time since it’s restoration.
After a few long hops up and down the runway, Murray was off around the circuit. After this initial flight, we increased the prop pitch again.
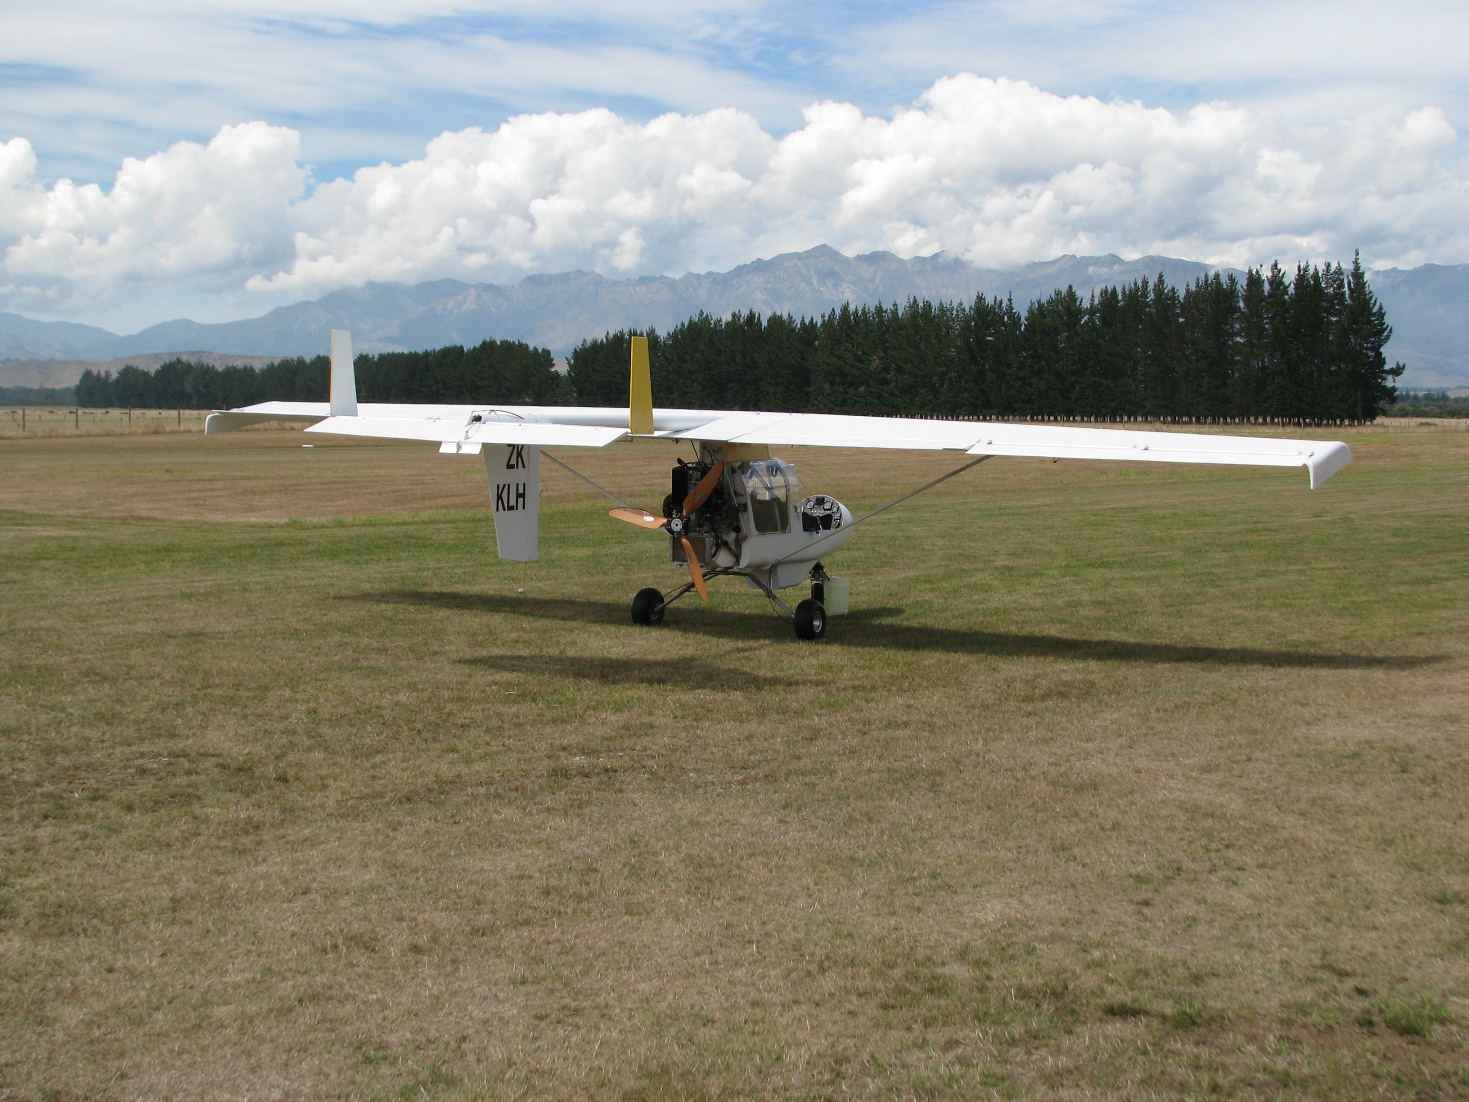
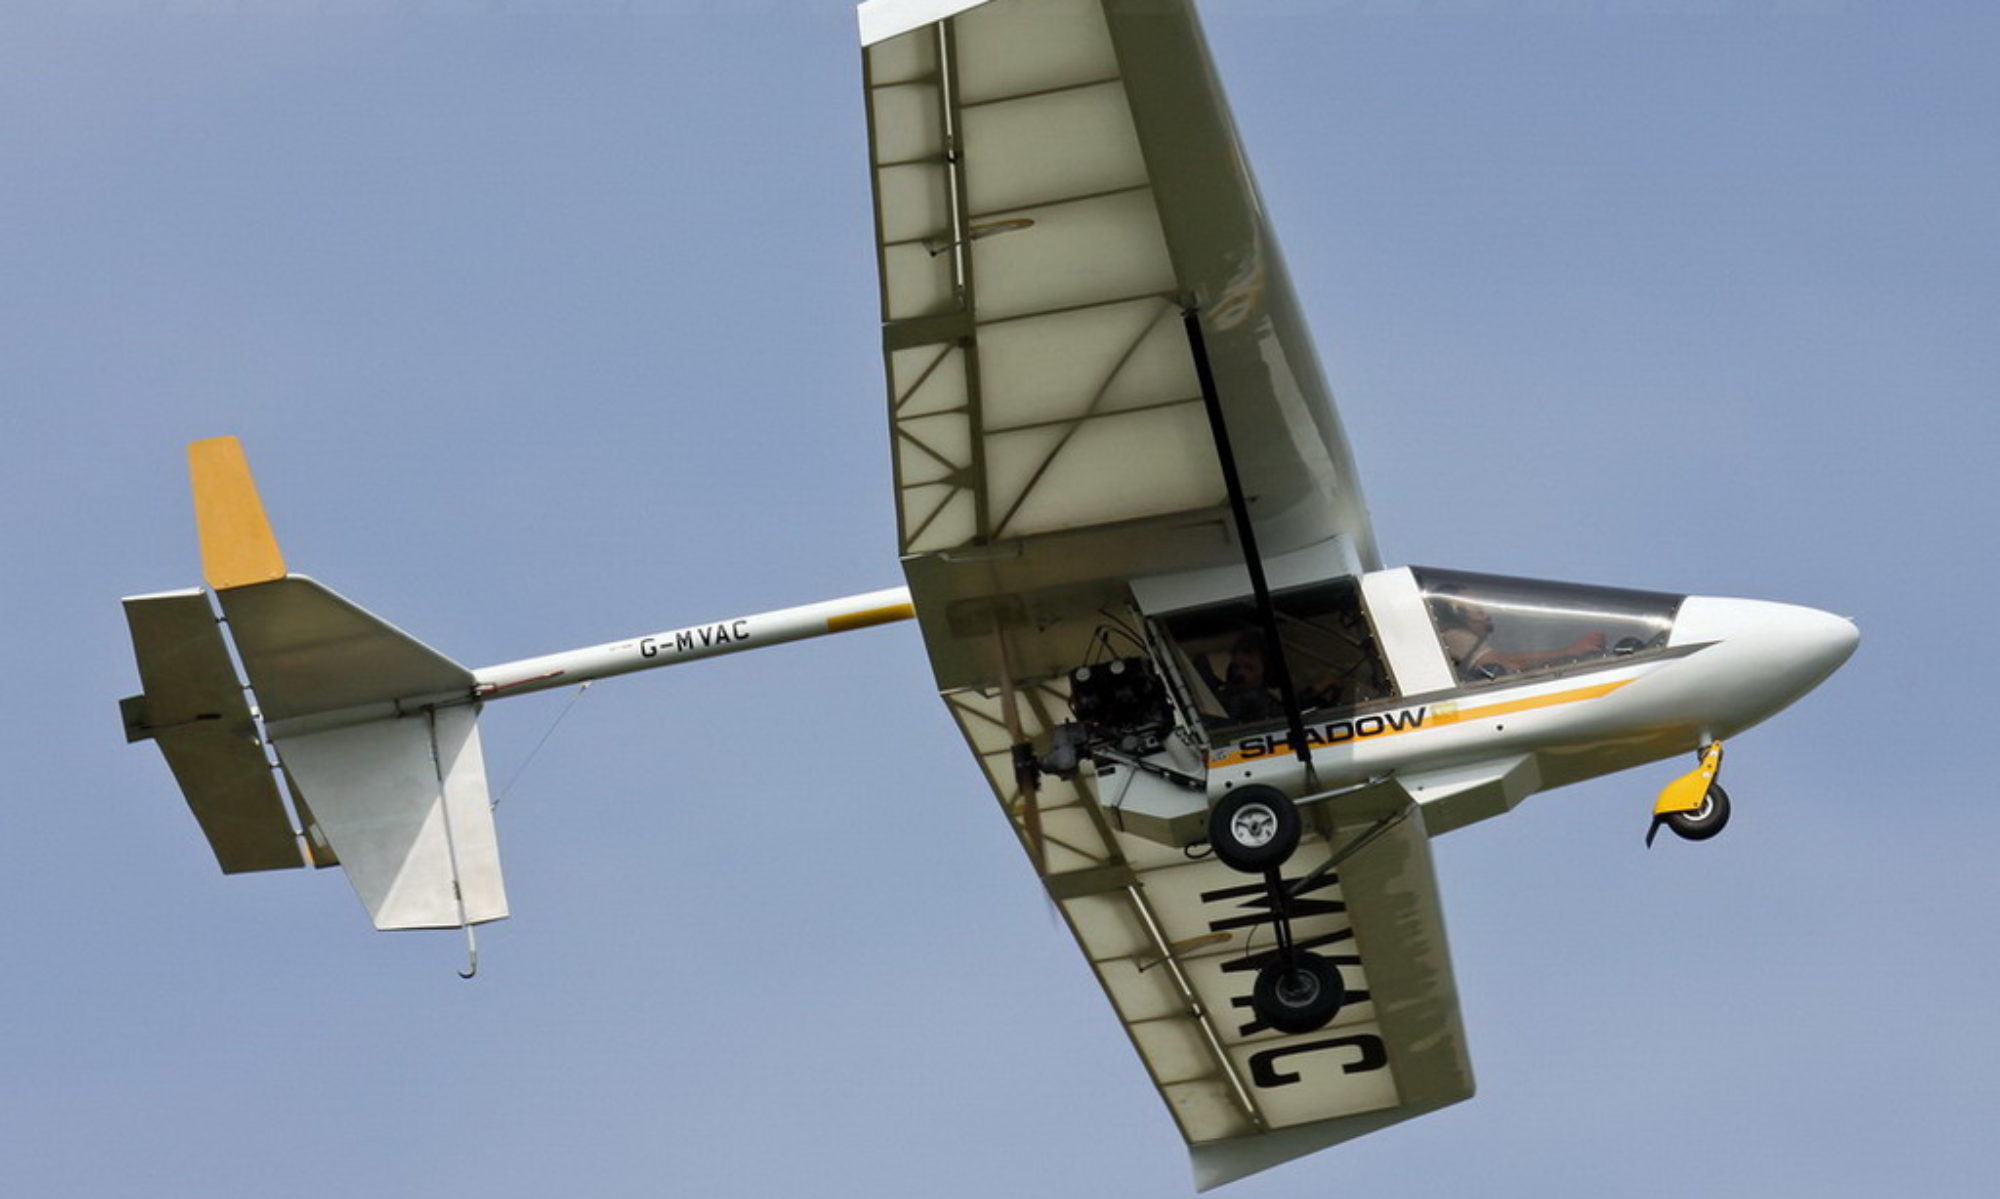
Late in the day, Murray headed out for a final flight. The Shadow looked great in the air and got round the circuit pretty quickly.
By this stage, Murray’s smile was very wide, “It’s a fun little aircraft to fly. I like it.”
We ran out of time for me to do more than some taxi runs, so I’m itching to return to fly the Shadow soon.
A long project with a successful conclusion. Thanks, Murray, for your help and encouragement.


Back story:
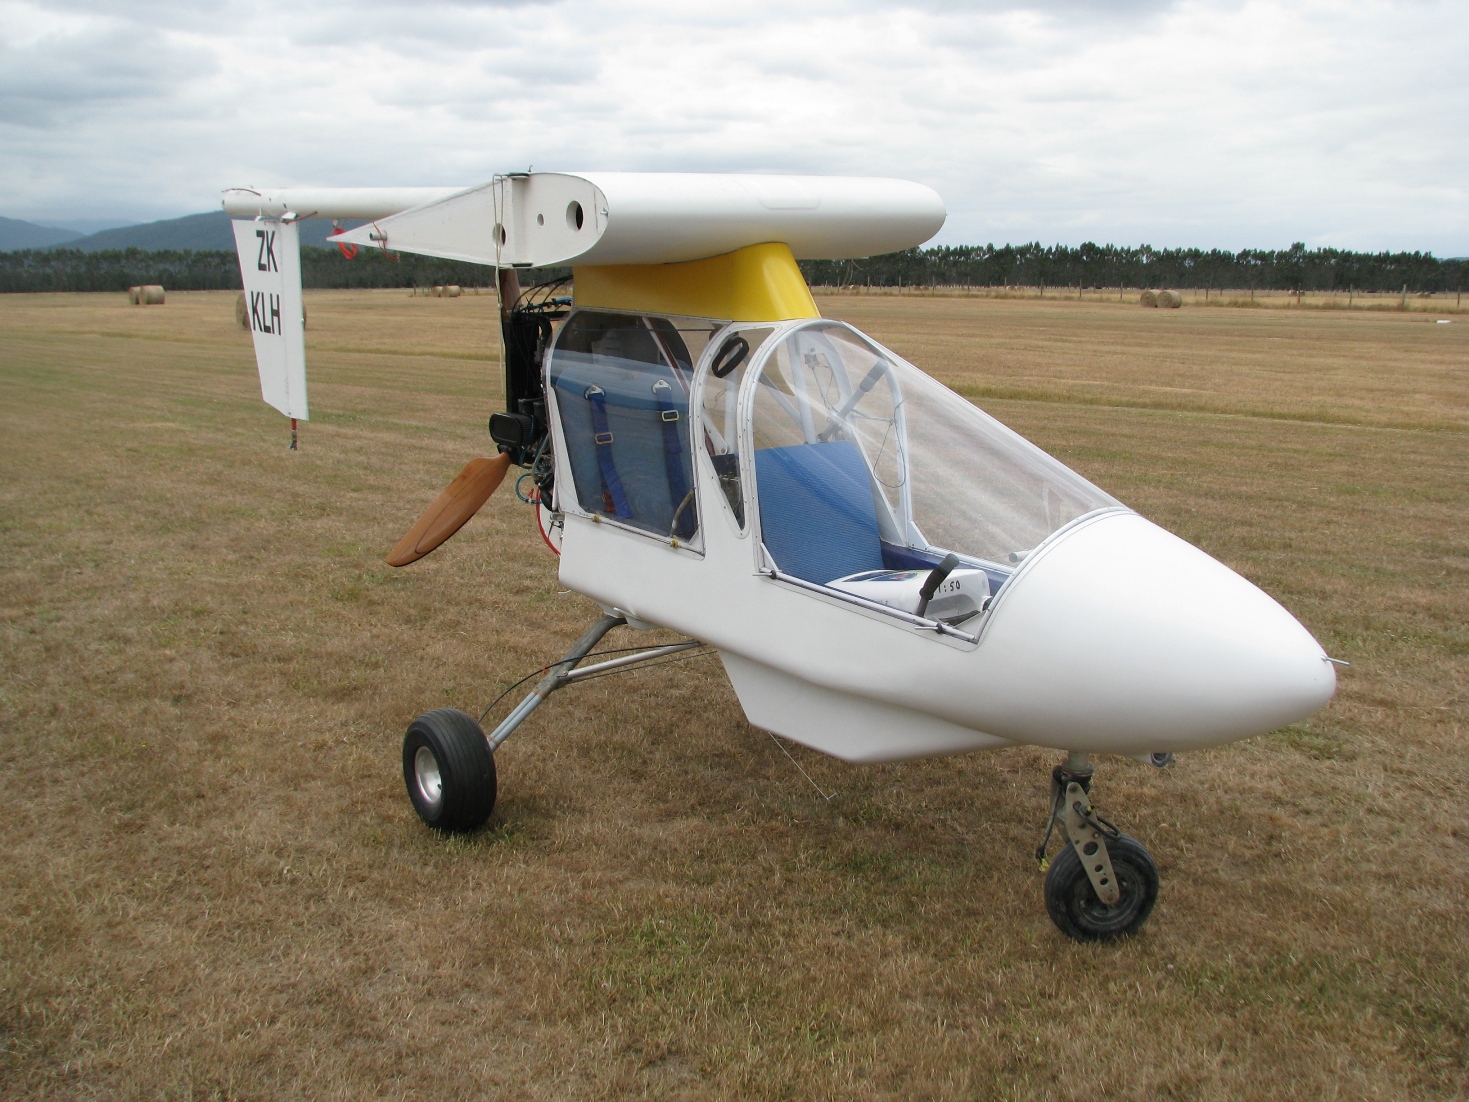
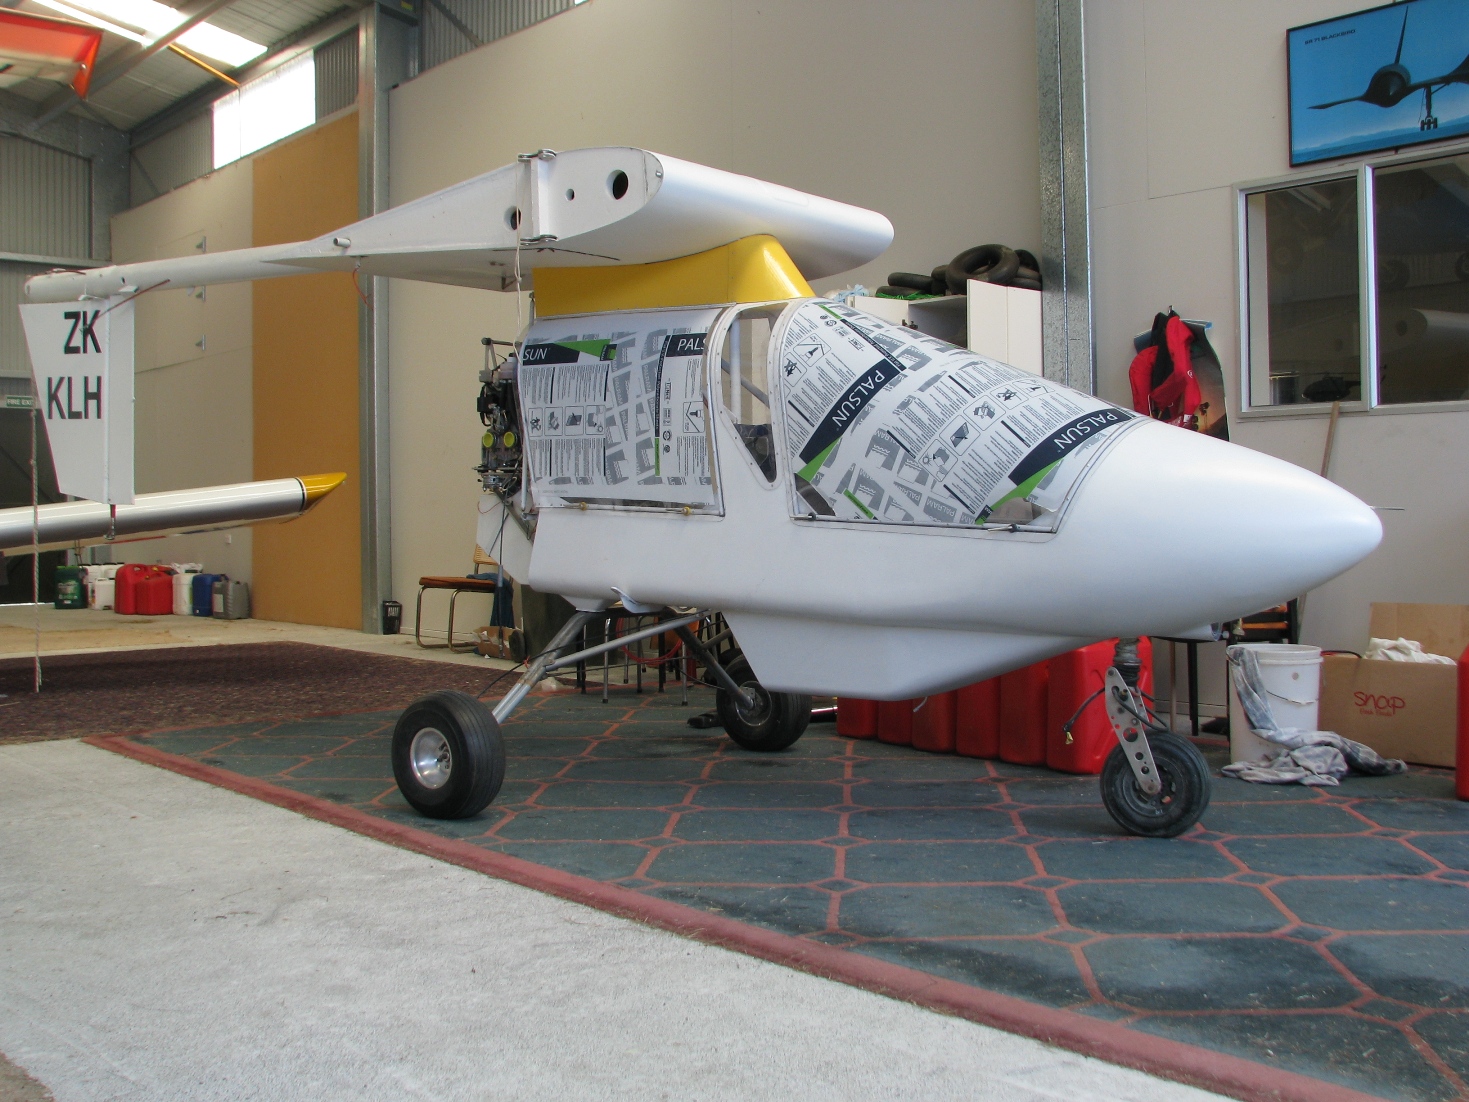
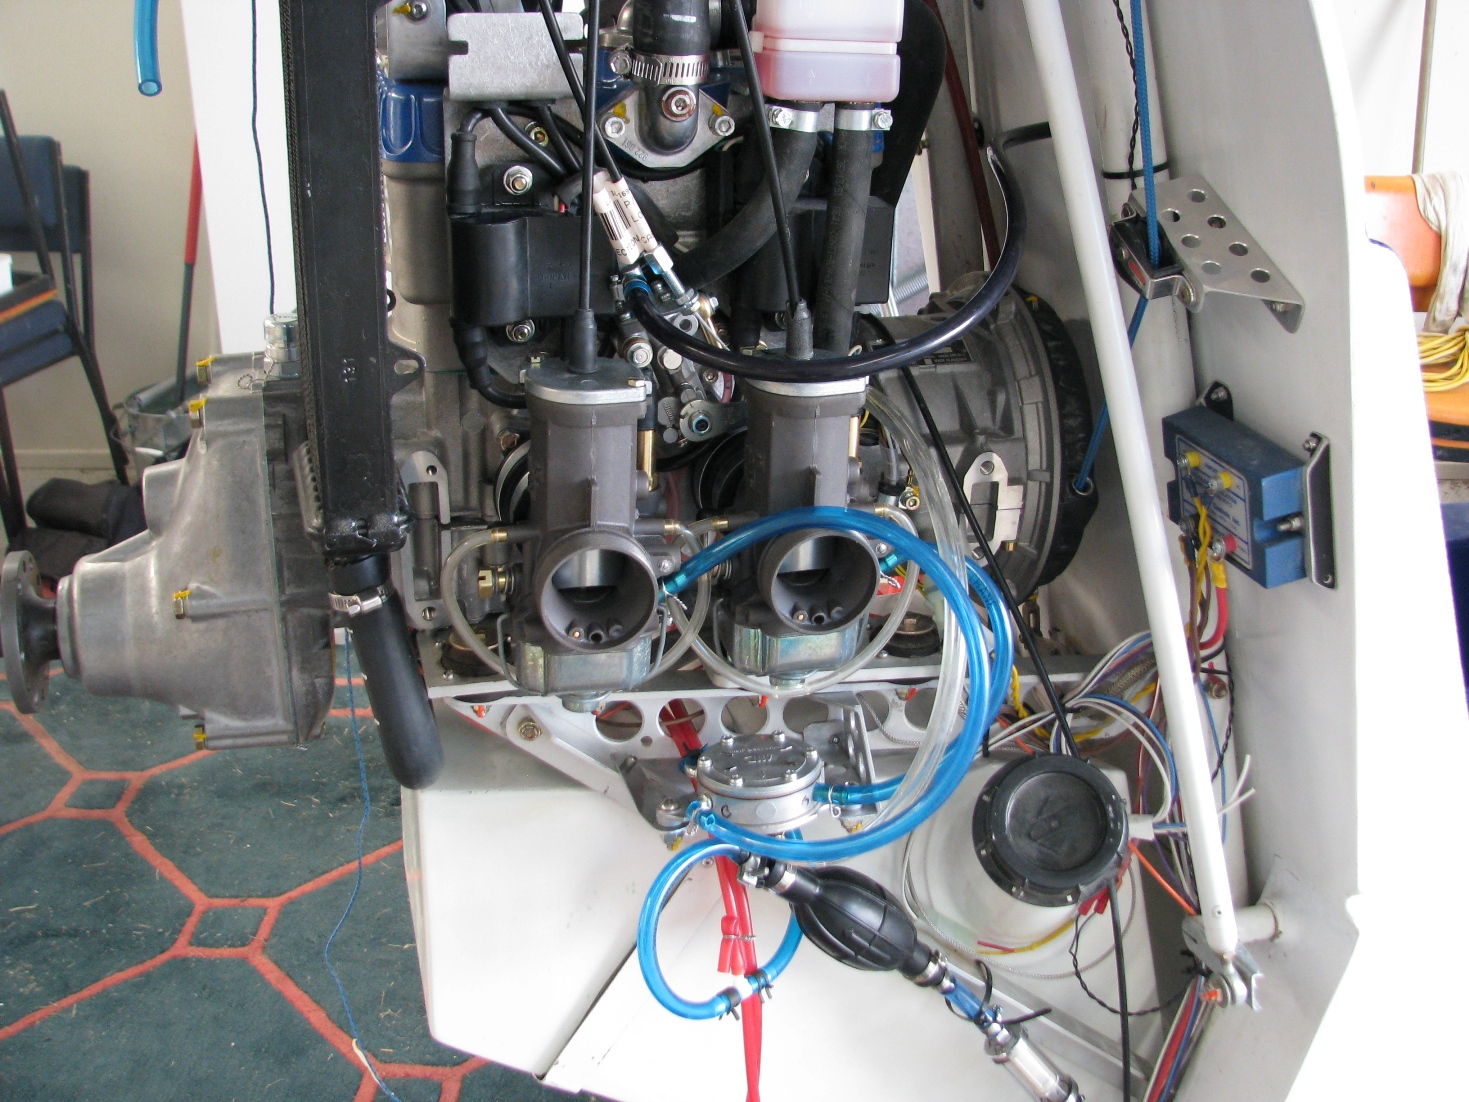
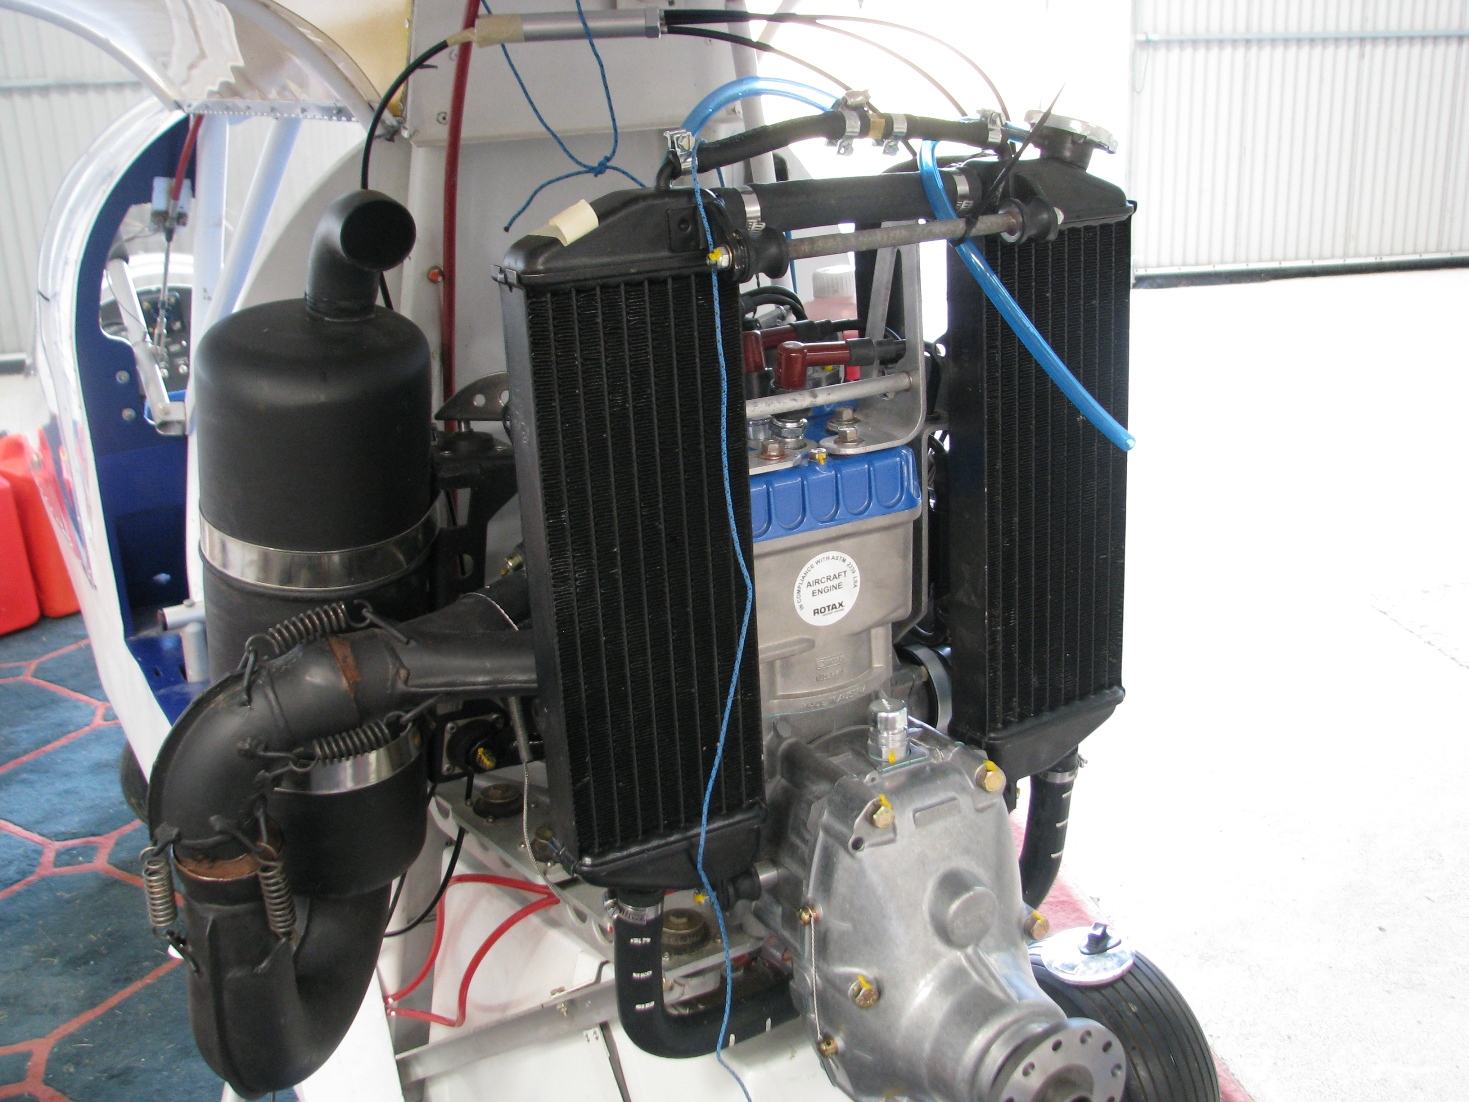
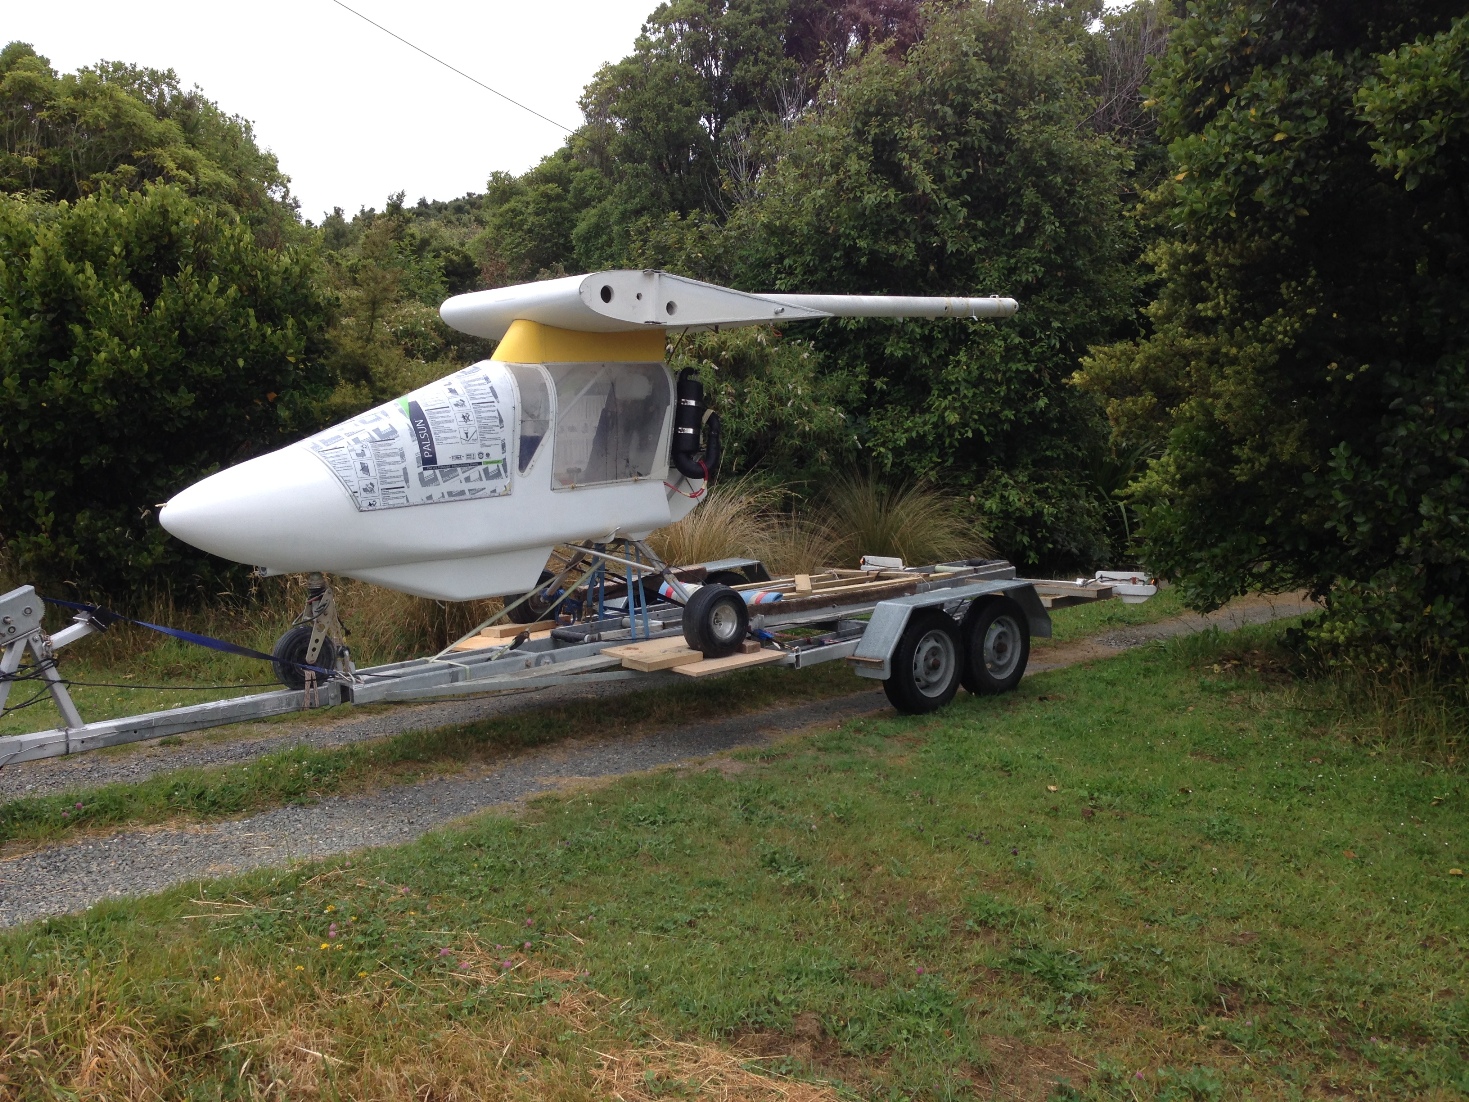
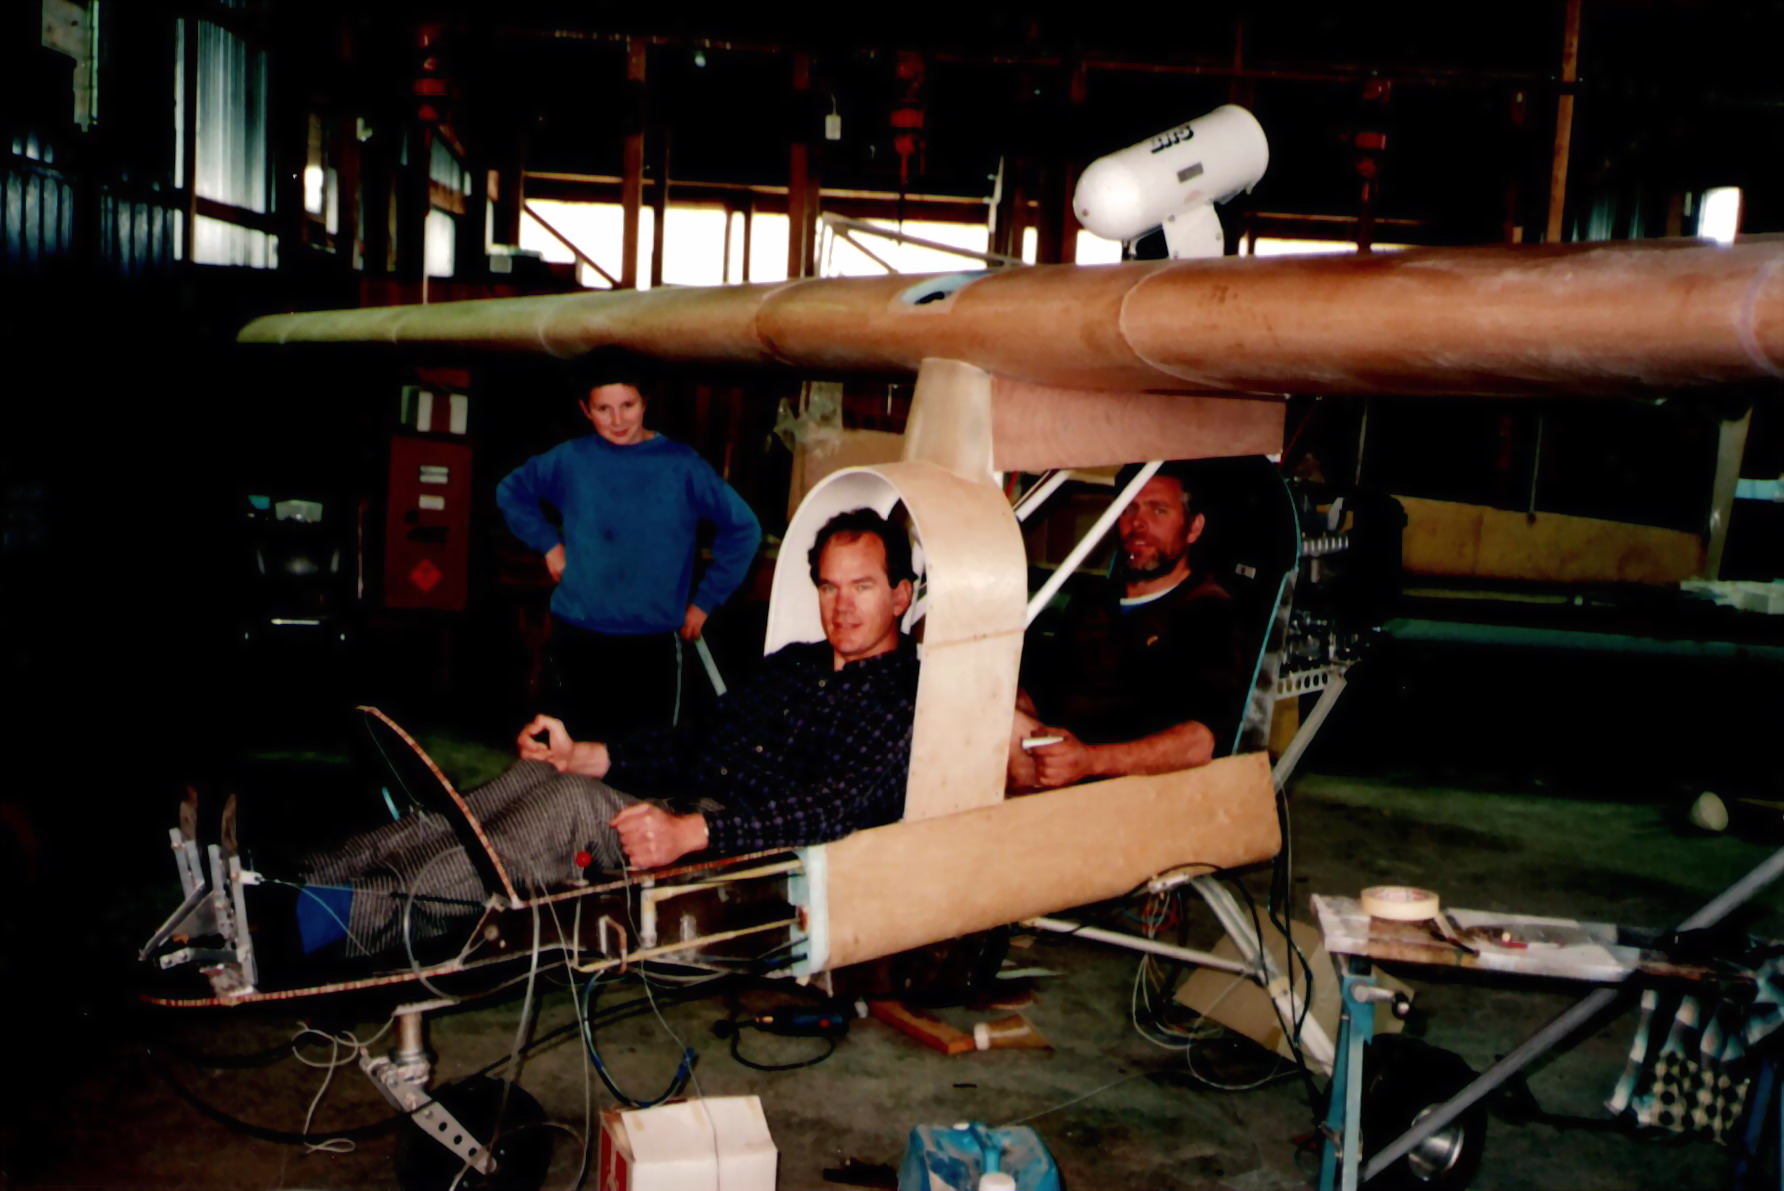
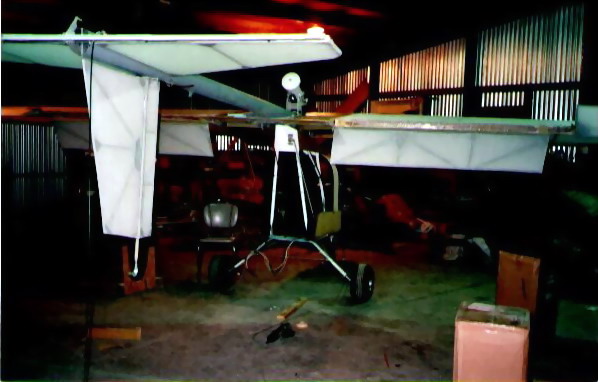
Murray and his friend built two CFM “Shadow” kits (ZK-KLH and ZK-TTE) in late 1988 in his farm woolshed at Pukemaori in southern New Zealand. Both microlights first flew in 1989 fitted with Rotax 532 water-cooled engines, the most powerful Rotax two-stroke engine available at the time.
Over the next few years, Murray flew ZK-KLH to lots of places in the South Island, until in 1995 it was damaged in a landing accident. Later he re-built the wings of crash-damaged ZK-MAX, so he is very familiar with the inner workings of the Shadow.