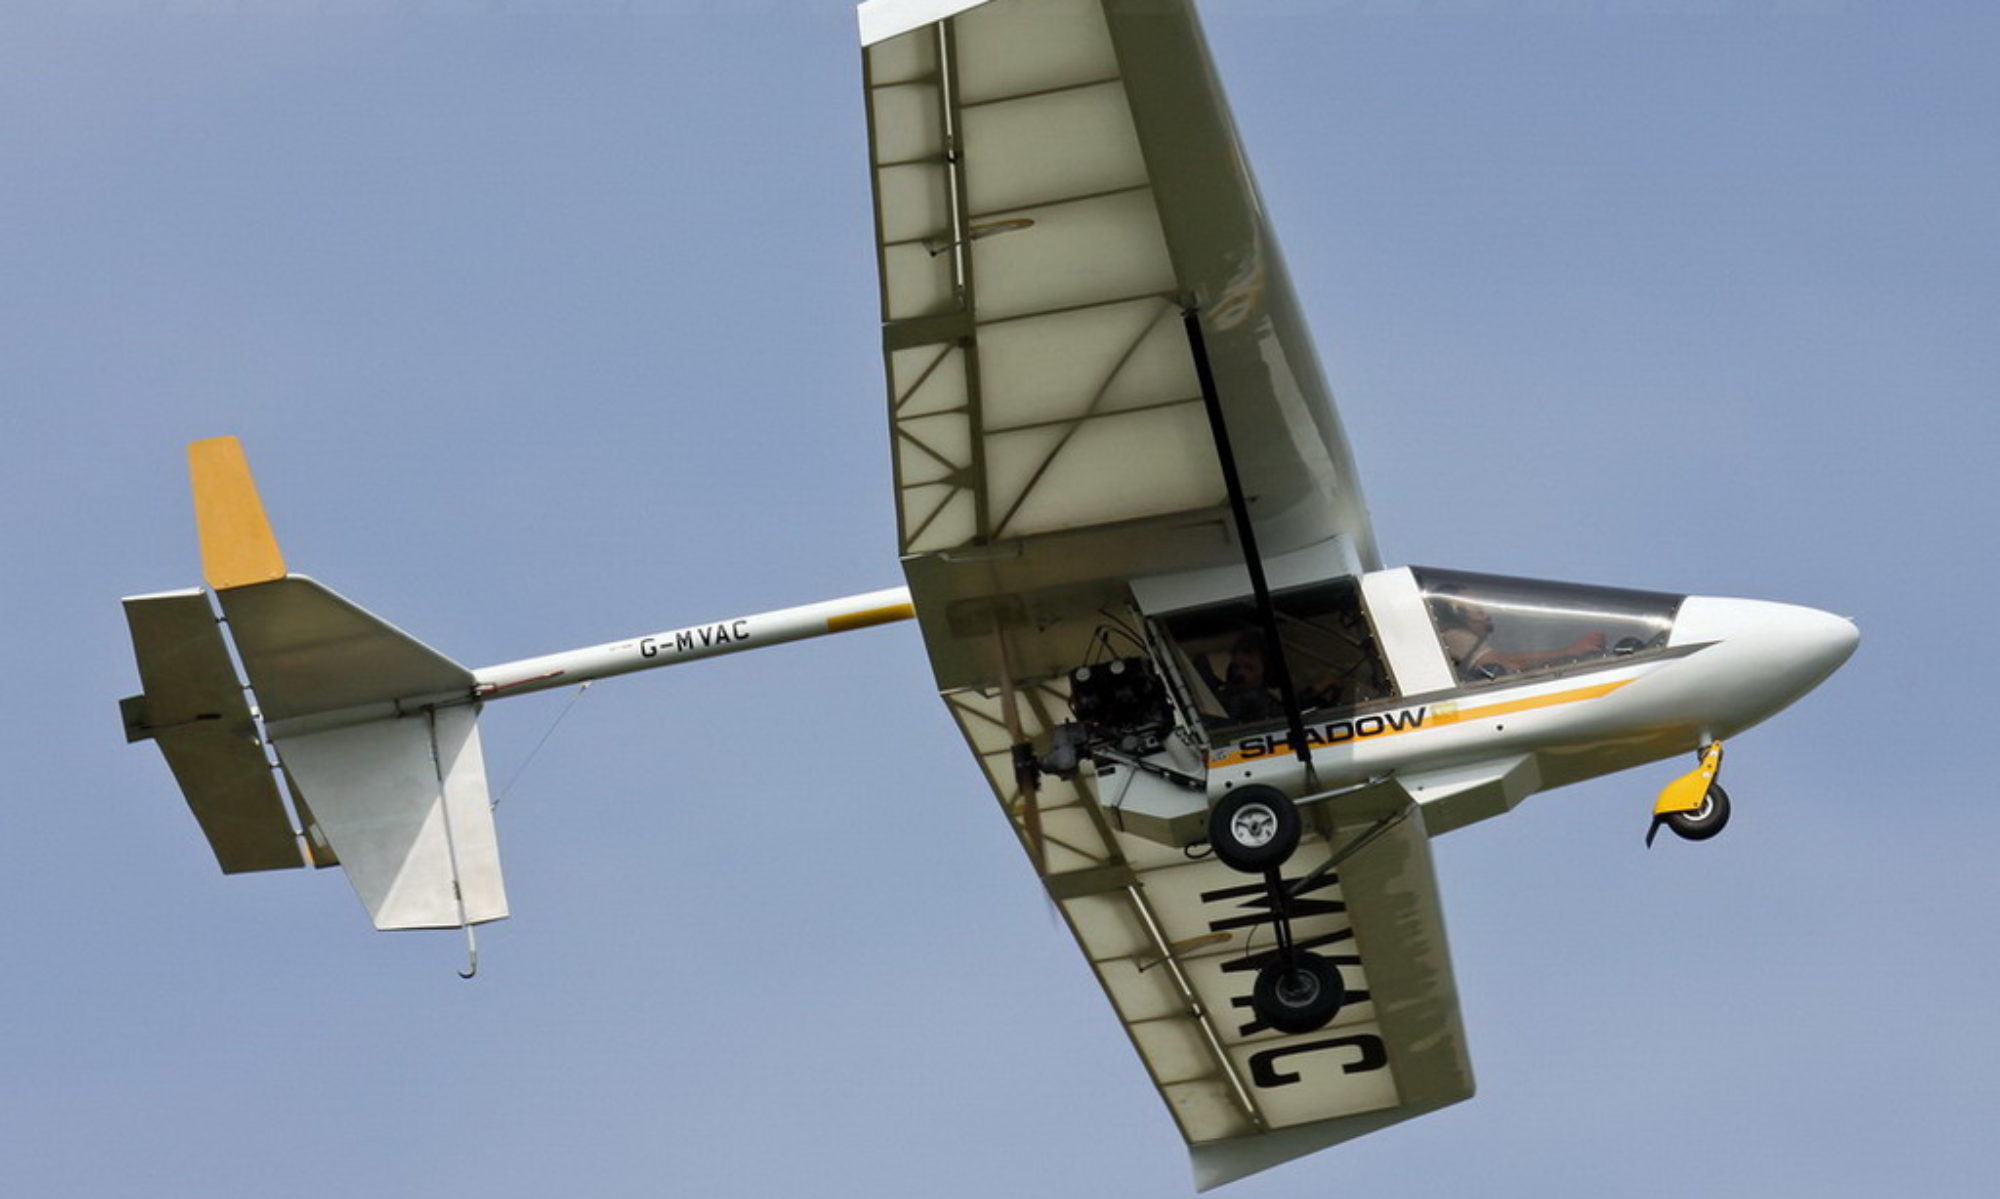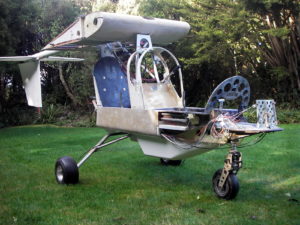
it’s starting to look like an aircraft again!

Today I wheeled the Shadow out of the workshop and took some photos to show progress on my re-build. It’s looking like an aircraft again.

It’s been a satisfying couple of days. Yesterday I’d attached the wing centre section and tail boom to the fuselage. Obviously the undercarriage had been mounted underneath to hold it off the ground.

Over the past week I’ve been able to tick off a whole bunch of tasks from my list, including assembling the polyurethane flexi-rod tail skid, mounting the fuel transfer valve with its on/off control rod, crimping the limit wires for the rudder pedals, nose-leg suspension and flap lever. In addition, I have sprayed the instrument panel black, made the polycarbonate side windows and finished sanding the  leading edge of the wing centre section.

Very pleasing to see this amount of progress in a week.

main undercarriage mounted on 40mm fibrelam spacers (to gain more prop clearance)


Main suspension with stronger ‘carry-thru’ (not butt welded) axles and upgraded pultrusion rods (made from Plexinate P-100 polyurethane resin with 73% glass content)
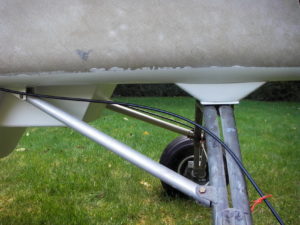
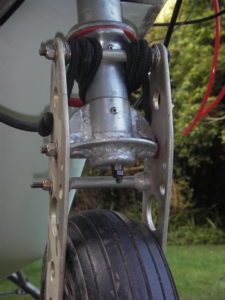
upgraded nose-leg with machined spacers, adjustable retaining strop and welded webs (supporting the trailing arm pivot)
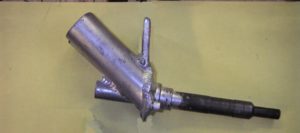
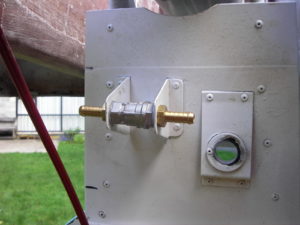
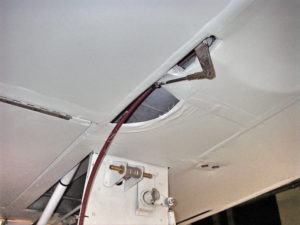
fuel transfer valve (wing tank to main tank) – 3/8″ bore shifts 28 litres in 10 mins


assembly has started

The tail boom has been fitted into the centre section and the nose cone has been repaired and trimmed to fit around the footwell fairing. Now its time for painting the fuselage.

Glass, fill, sand, fill, sand . . . . .

Recently, I’ve done hours of fibre-glassing, filling and sanding on the fuselage rear footwell and wing centre section to get them reinforced and smooth for painting. Side windows have been cut out (between the front and rear canopies) to widen the pilot’s field of view. An improved fuel transfer system has been fitted, so by twisting a lever the pilot can quickly transfer fuel from the wing tank down to the main tank. The wiring loom, new brake cables, new elevator trim cable and new elevator Teleflex cable have now been threaded into place, and the kevlar sides have now been glued onto the fuselage.

Mods approved

RAANZ has approved some mods, so Bruce has constructed an up-rated 450kg main undercarriage and added a deeper footwell for passenger comfort (with a streamlined fibreglass fairing). Lots of fun has been had machining undercarriage inserts, axle spacers, threaded inserts (for fitting rod ends) and window latch parts.

Bruce’s Shadow rebuild

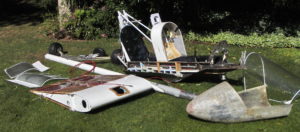
Shadow B-D (ZK-KLH) stripped down before restoration

Bruce’s personal project is re-building and modifying ZK-KLH, a Shadow B-D microlight. Murray Hagen originally built this aircraft in 1989, alongside its sister CFM kit plane ZK-TTE. After seven years of flying, dogged by many engine failures, one day the Rotax 532 finally gave up. The result was a ‘less-than-happy’ landing breaking the main landing gear and damaging a wingtip.

During storage one of the big Fiordland earthquakes damaged the wing leading edge, a prop blade was broken and pesky starlings had picked huge amounts of foam out of the centre section ribs. Fortunately Murray was able to supply spare foam, plywood, new wingtips, new main landing gear, a replacement prop (custom built by Brent Thompson) and an unused Rotax 582 engine.

The wing’s 1.2m plywood leading edge has now been repaired.  Much of the restoration work on the fuselage and wings has now been completed. The aluminium joining tubes of the tail feathers have been crack-tested – some replacements and reinforcing were neccessary. UHMWPE bushes have been fitted inside the tail boom to stop wear on the tailplane mounting tubes. The tail surfaces have been re-covered with polyester fabric.