Re-build carbon cowlings

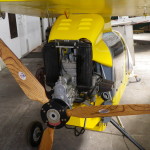
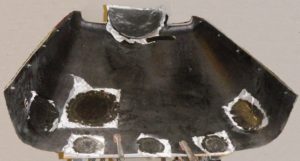
The top and bottom cowlings of a Rans S6 microlight needed quite a bit of re-building after a prop blade parted company with the hub just on take-off.  For a brief moment, the engine thrashed on its mountings and did lots of damage. The area behind the spinner was smashed and the cowling mounting holes where torn.

I carefully grafted in new carbon and repaired the cracks, taking care not to increase the laminate thickness.  The cowling mounting holes were reinforced with alloy inserts.  Since a different type of engine was being fitted a few changes were made to oil inspection flap, exhaust pipe cutaway, etc.

Pitching a Rans S6

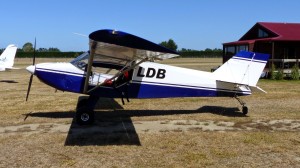
Rans S-6 ZK-LDB (Rangiora)

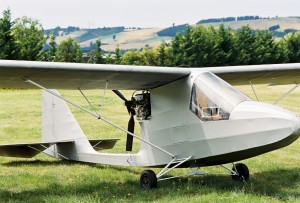
I helped a Rans S-6 owner to adjust the propeller pitch on his microlight.  It was not going very fast in cruise mode, yet it would take off quite quickly. He figured something was not quite right.

He desperately wanted some more speed before he convoyed long distance to Rangiora with a Tecnam ‘Eaglet’ and my Skyleader ‘GP One’, both of which cruised easily at 100 knots.

We checked the blade pitch using a bubble protractor and found up to 1/2 degree difference between blades. Then we carefully adjusted it to have one degree more pitch. The result was pleasing – an increase of over 5 knots in cruise airspeed (now 85 knots at 5000rpm revs), but only a small decrease in take-off/climb performance.

Don’t sit on my Bantam nose. Oops – too late!

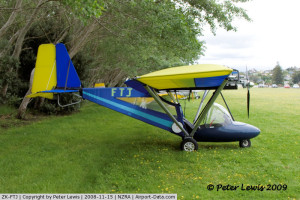
Bantam ZK-FTJWhile doing a factory upgrade on the tail fin of the Skyleader GP One, one of the local U-Fly instructors asked me to repair a nasty crack in the nose cone of his Bantam microlight. A customer had sat down on it while waiting in the hangar, causing it to collapse under the abnormal load. A big crack had appeared in the fibreglass.

Since I already had all my glassing tools and supplies on hand, it was very quick to sand, mask and glass the crack. The owner was delighted to have a professional job done, instead of attacking it himself with a ‘surfboard repair kit’ from the local hardware store.

Paint and Power

Dec 2014 - painting the Shadow fuselage

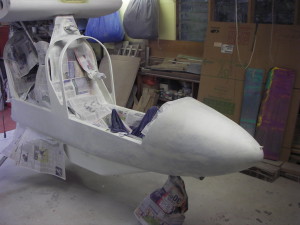
Last weekend, the Shadow microlight project took a big step forward towards completion. That occurred when the fibreglass nose cone was glued onto the honeycomb fuselage tub.

Then began the long job of mixing lightweight fairing powder with 2-pot epoxy and carefully filling every hole, crevice and hollow. Once the epoxy has set, I spray on a faint guide coat of colour paint, followed by even more hours of sanding down the filler. The coloured guide coat shows up any imperfections in the surface, so the process needs to be repeated until you’re happy with the smoothness. Since the aircraft is old, I stopped well short of perfection – it will look OK from a distance..

Today I masked up the fuselage, then sprayed an adhesion coat onto the fibreglass nosecone, kevlar side panels and thin plywood canopy shroud. Hopefully that will help the water-based paint to stick well.

A few weeks ago, the new Rotax 582 ‘Blue-top’ engine arrived. It is fitted with oil injection and a by-pass cooling system. This system is an improvement over the 582 ‘Silver-top’ model because it keeps the coolant circulating within the engine block, while the engine is warming up. When the thermostat does open, it diverts hot water to the radiators and closes off the by-pass.
new Streak kitset nearing completion

Tim Walker - Streak 1000px

Recently I had the opportunity to visit some Shadow owners in England (as I was en-route to the Skyleader factory in the Czech Republic).

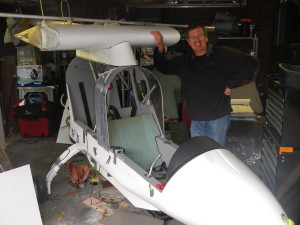
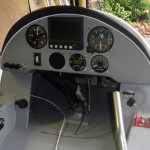
I visited Tim Walker near Manchester who is building one of the last wide-body Streak kits to come out of the CFM factory. It’s fitted with a 75hp Rotax 618 engine, carbon-composite main landing gear and a digital cockpit display. It should be exciting to fly.

Since I hope to upgrade some components of my 1988 CFM Shadow microlight (e.g. main landing gear, cooling shroud, etc), I was pleased to see beneath the surface of his Streak, get close-up photos of construction details and make some measurements.

It was neat to spend time with yet another enthusiastic Shadow owner. I hope that Tim will be flying his Streak soon.

Tim Walker - Streak panel 1000pxTim Walker - Streak elevator 1500px

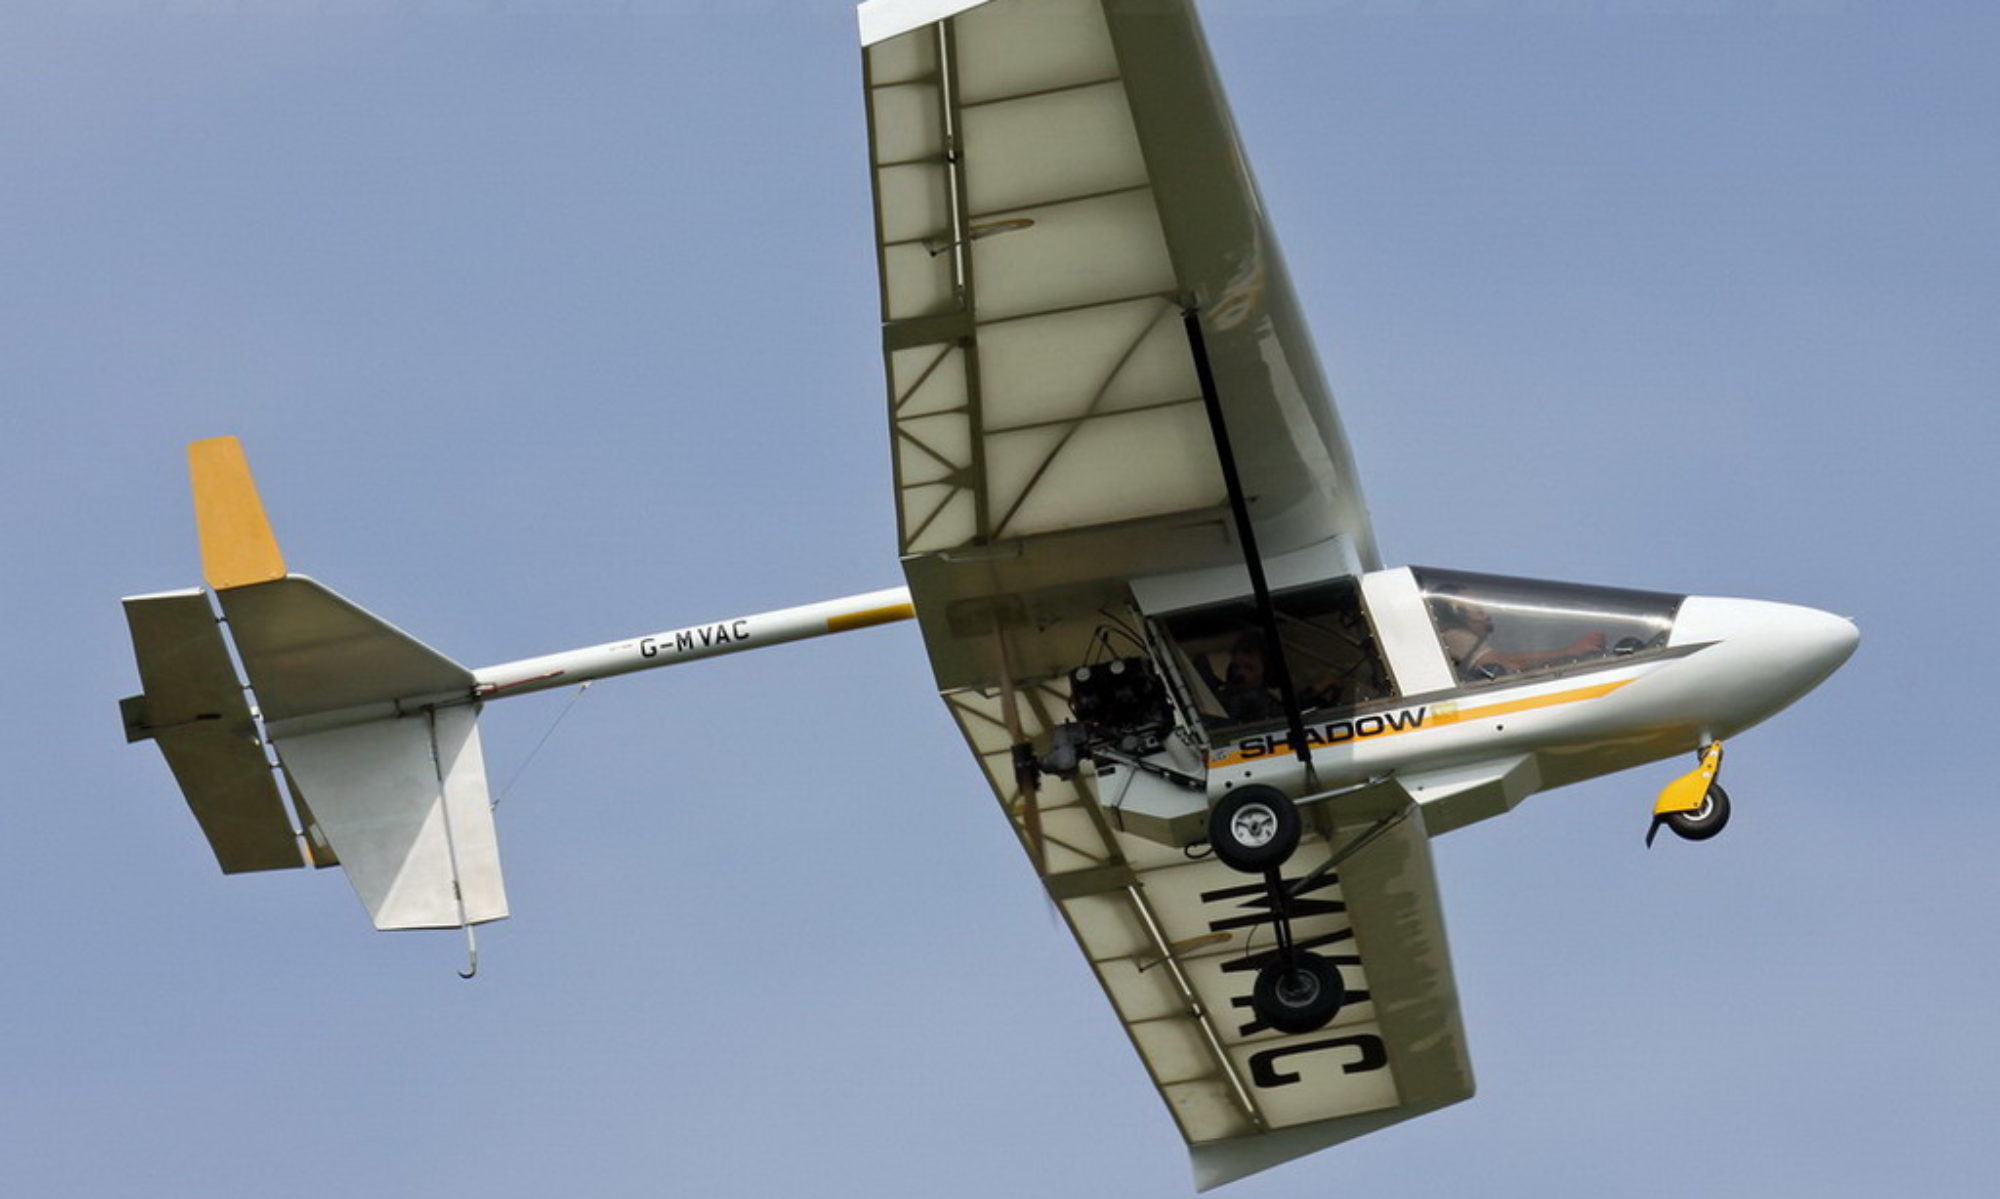
G-MVAC – the Shadow in my website’s header image

SFC Shadow C-D G-MVACWhat a surprise? When I was in Shadow Flight Centre’s hangar at Old Sarum airfield, I spotted G-MVAC hiding beneath its covers.

This is the very Shadow that I have used for the main header photo on my Fly Micro website.FlyMicro webpage

I love MVAC’s simple colour scheme, with yellow and grey fuselage stripes. Maybe I’ll paint my Shadow in these colours?


Shadow Flight Centre @ Old Sarum

SFC hangar G-MWVG 'George' 1500pxMy personal project is restoring a 1988 2-seat CFM Shadow microlight. Recently, as I was en-route to the Skyleader factory in the Czech Republic, I had the opportunity to visit some Shadow owners in UK.

One stop was at the iconic Shadow Flight Centre near Salisbury. Fiona Luckhurst and Raymond Proost host a myriad of C-D and Streak variants in their hangar at the Old Sarum airfield. They have built up a vast knowledge of the CFM Shadow series, having operated a flight school for many years and repaired/maintained a lot of these classic microlights.SFC Shadow CD G-MWVG 'George' 1500px

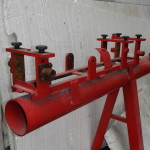
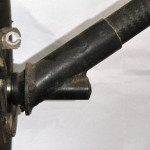
Raymond was kind enough to show me some of their unique equipment. The ‘historic’ red boom jig (for accurately making replacement Shadow or Streak booms) allowed me to definitively solve the mystery of the correct tailplane incidences on the 582-powered Shadow D-D and Streak models. Raymond also has a nifty pattern for getting the nose leg wires correct. I inspected a brand-new Crosbie undercarriage – it was reassuring to find that the mods I have done to strengthen the undercarriage of my Shadow in New Zealand are along very similar lines.

SFC Streak 1500px SFC boom jig 1000px Crosbie u-c axle 1500px

Old timer in the air again

ZK-JPA
‘Williams Mk4’ historic NZ homebuilt (ZK-JPA)

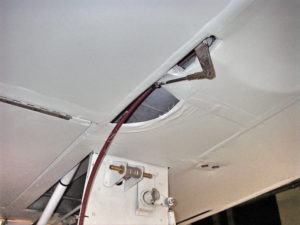
ZK-JPA, an historic Williams Mark 4 homebuilt, needed some TLC recently. Before it could be issued with an annual Permit-to-Fly, a cracked stringer underneath the fuselage needed to be repaired .

Mike Nicolson, the current owner, asked me to tackle the job. Although it was very easy to glue the spruce, it was tricky to work in such a confined space with access only from underneath.

It was great to see the inner structure of such an aircraft. It reminded me of the plywood/spruce frames of 1950’s canvas canoes. everything was nicely sanded and still well-sealed with varnish.

Job done, JPA is once again airborne and awaiting a buyer.

electric spaghetti


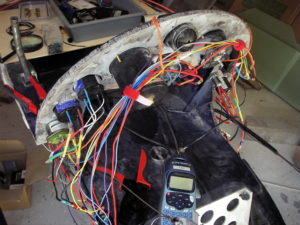
Wiring up electrical systems gives me the ‘heebie jeebies’ – I’m never very sure whether the sneaky little electrons will go where I want them to go or if the wires will suffer a melt-down (thereby letting ‘the smoke get out’ of them).
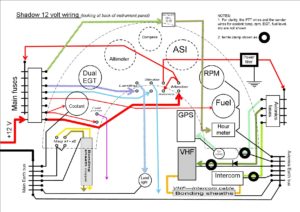
I’d already spent hours on the computer working on wiring diagrams – colour-coded wires, switch banks, earth buses, filtered avionic supply, etc. That’s all very nice, but eventually someone has to cut
actual wires and crimp on actual connectors. I’ve sat at the nose of the Shadow for quite a few hours tentatively cutting, labelling and crimping. After the first session, I’d done five wires, and only made two mistakes! One was too short. Another had the wrong label.


The final result is OK I think, but needs a better way to support the bundle of wires.

centre section covering

Now completed the covering of the wing’s centre section.
With the help of my brother-in-law and his wife, we flipped the fuselage/wing centre upside down (and carried it back into the workshop) so I could work on the underside of the wing stub. It was very easy to cover it with lightweight Poly-Fiber fabric and then gently heat shrink it smooth. I was pretty pleased with the zipped access panels that I’d sewn in before gluing the fabric on.
The brushed-on sealing coat was Wattyl “Solagard Gloss” water-based roof paint (with Floetrol conditioner) thinned with BarsBugs. This flows across and through the weave, gripping the polyester fibres much better than conventional fabric sealers. Next were several sprayed coats of Solagard Gloss/Floetrol thinned with water.
My brother and I carried the inverted fuselage/wing centre out of the workshop and flipped it back onto its wheels. Then, I could cover the top surface of the wing’s centre section. It took some ingenuity to sew and glue fabric shelves along each side of the tail boom, so that I could eliminate the foam shapes that normally surround the boom as it exits the centre section.

I also fitted the underwing luggage locker. It’s a hinged divinycell tub, which can hold a sleeping bag and small tent. In the open position it give easy access for connecting the port-side aileron pushrod. When its closed the luggage is prevented from fouling the pushrod.  The starboard-side aileron pushrod is accessed thru the zips mentioned above. There is a 28 litre fuel tank above and aft of the pushrod, which more than doubles the Shadow’s range.