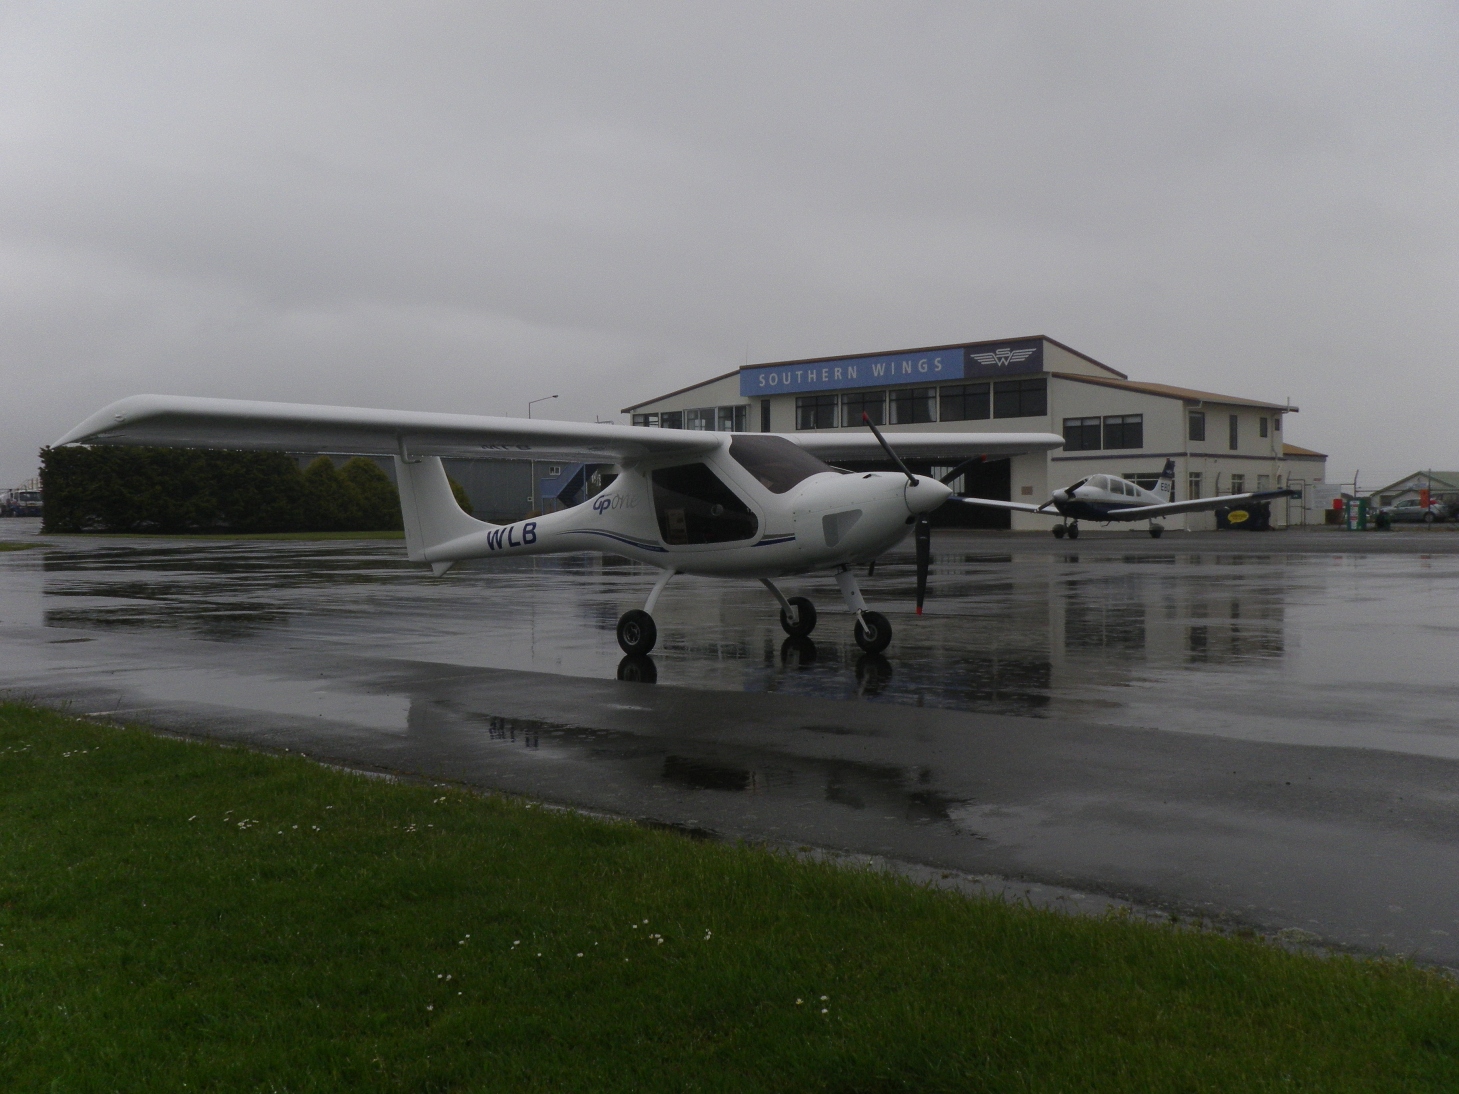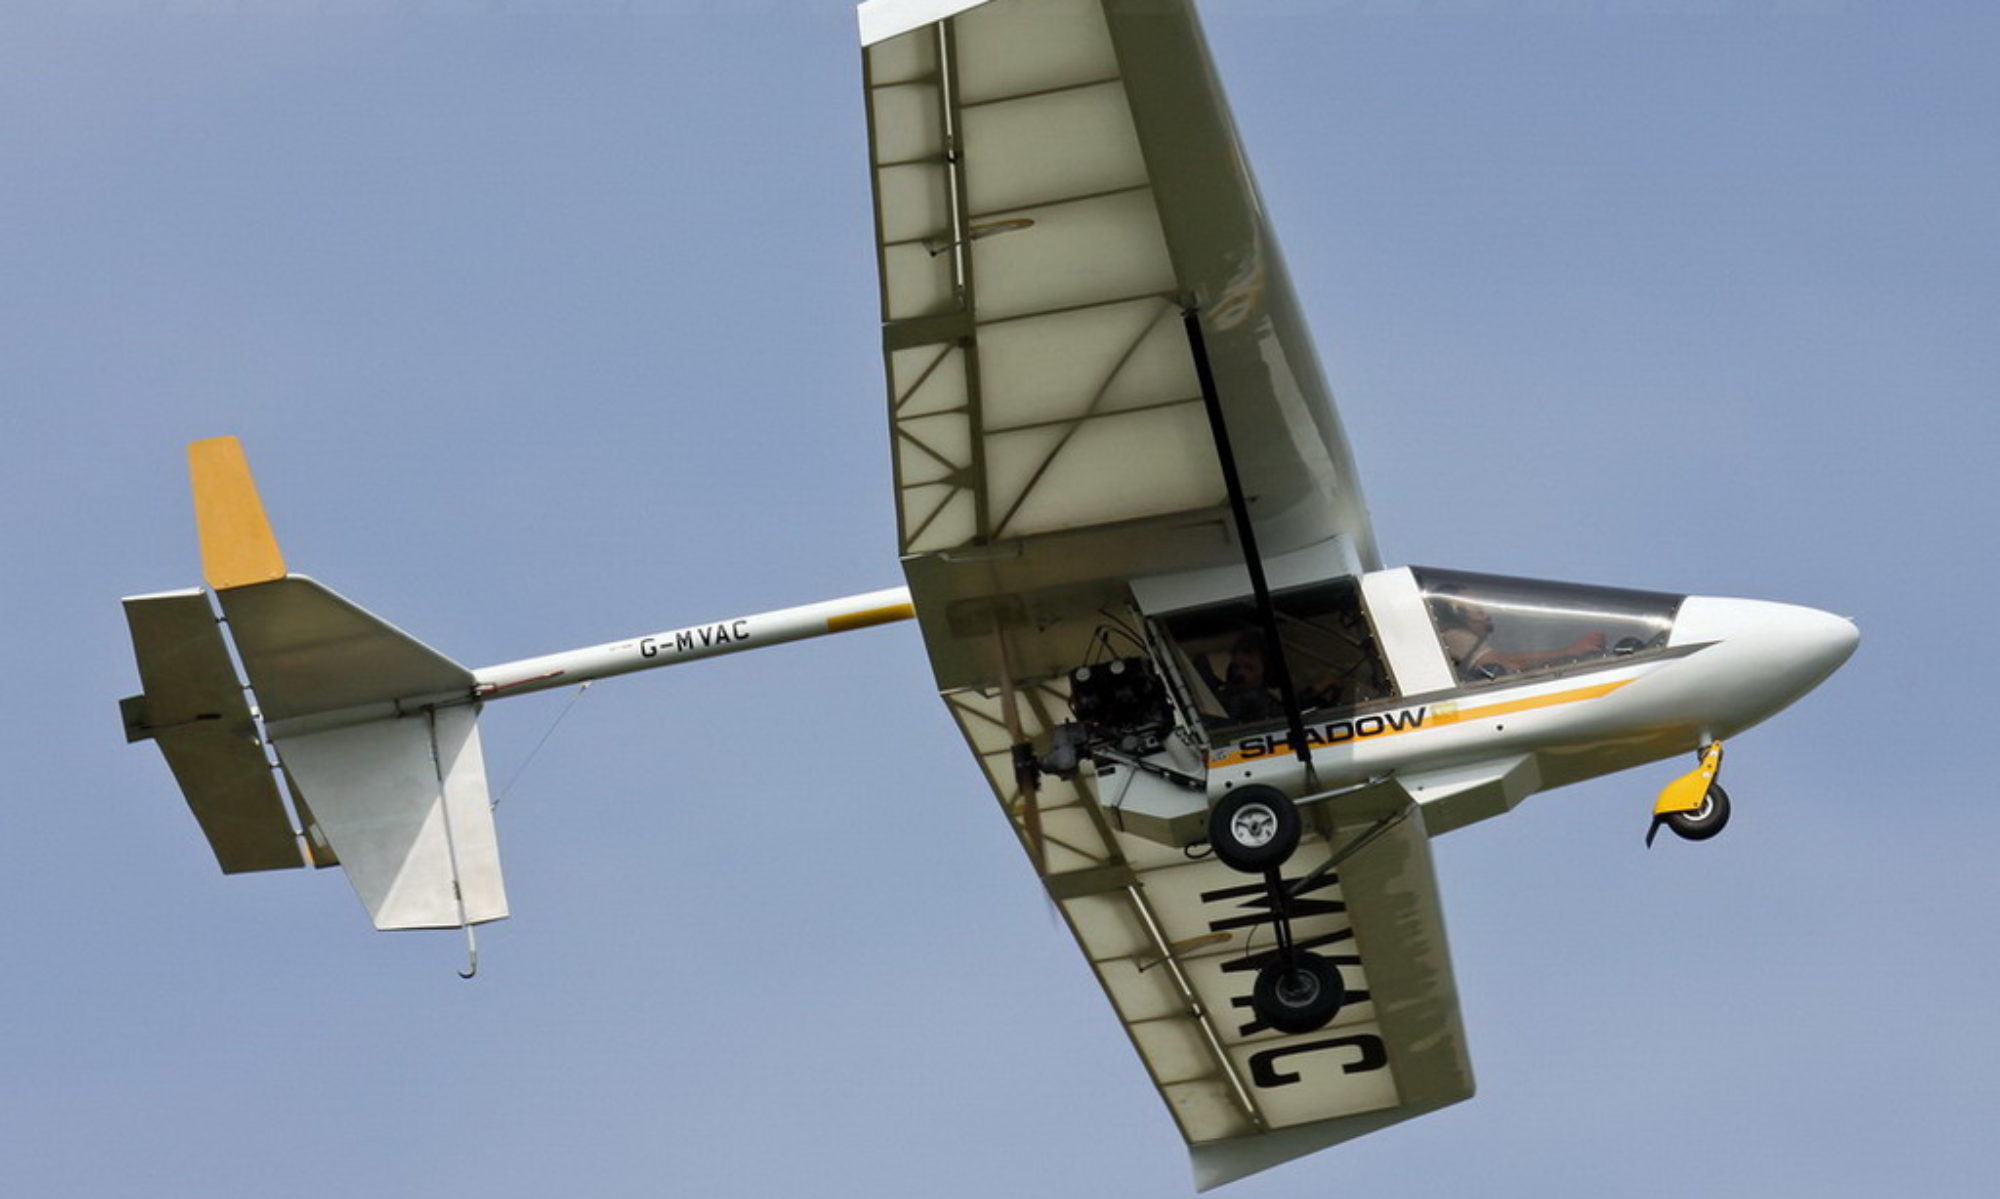
 Over the past few weeks, I’ve been able to return to re-building my 1989 CFM Shadow ZK-KLH.
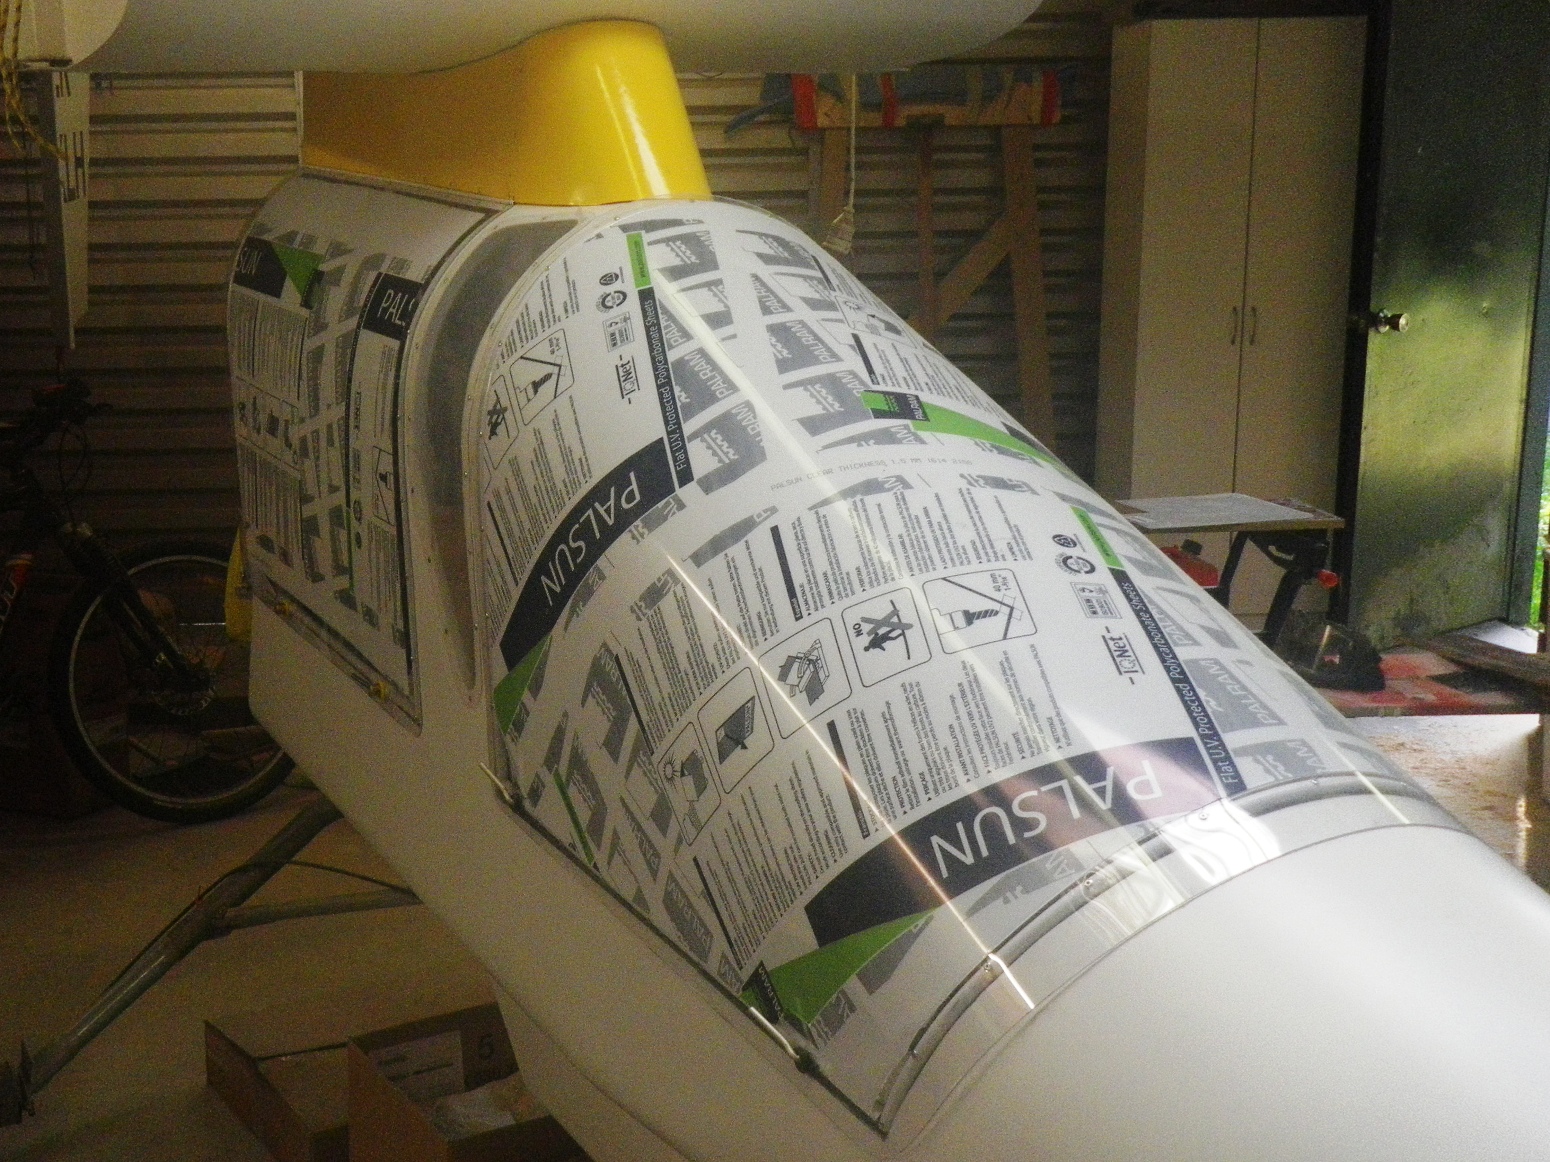
The next task was to make new canopy windows. Unfortunately, I couldn’t source tinted 1.5mm polycarbonate in New Zealand, so had to settle for clear windows. The old windows made good patterns, not only giving me the correct outline shape, but also allowing me to pre-drill the rivet holes.
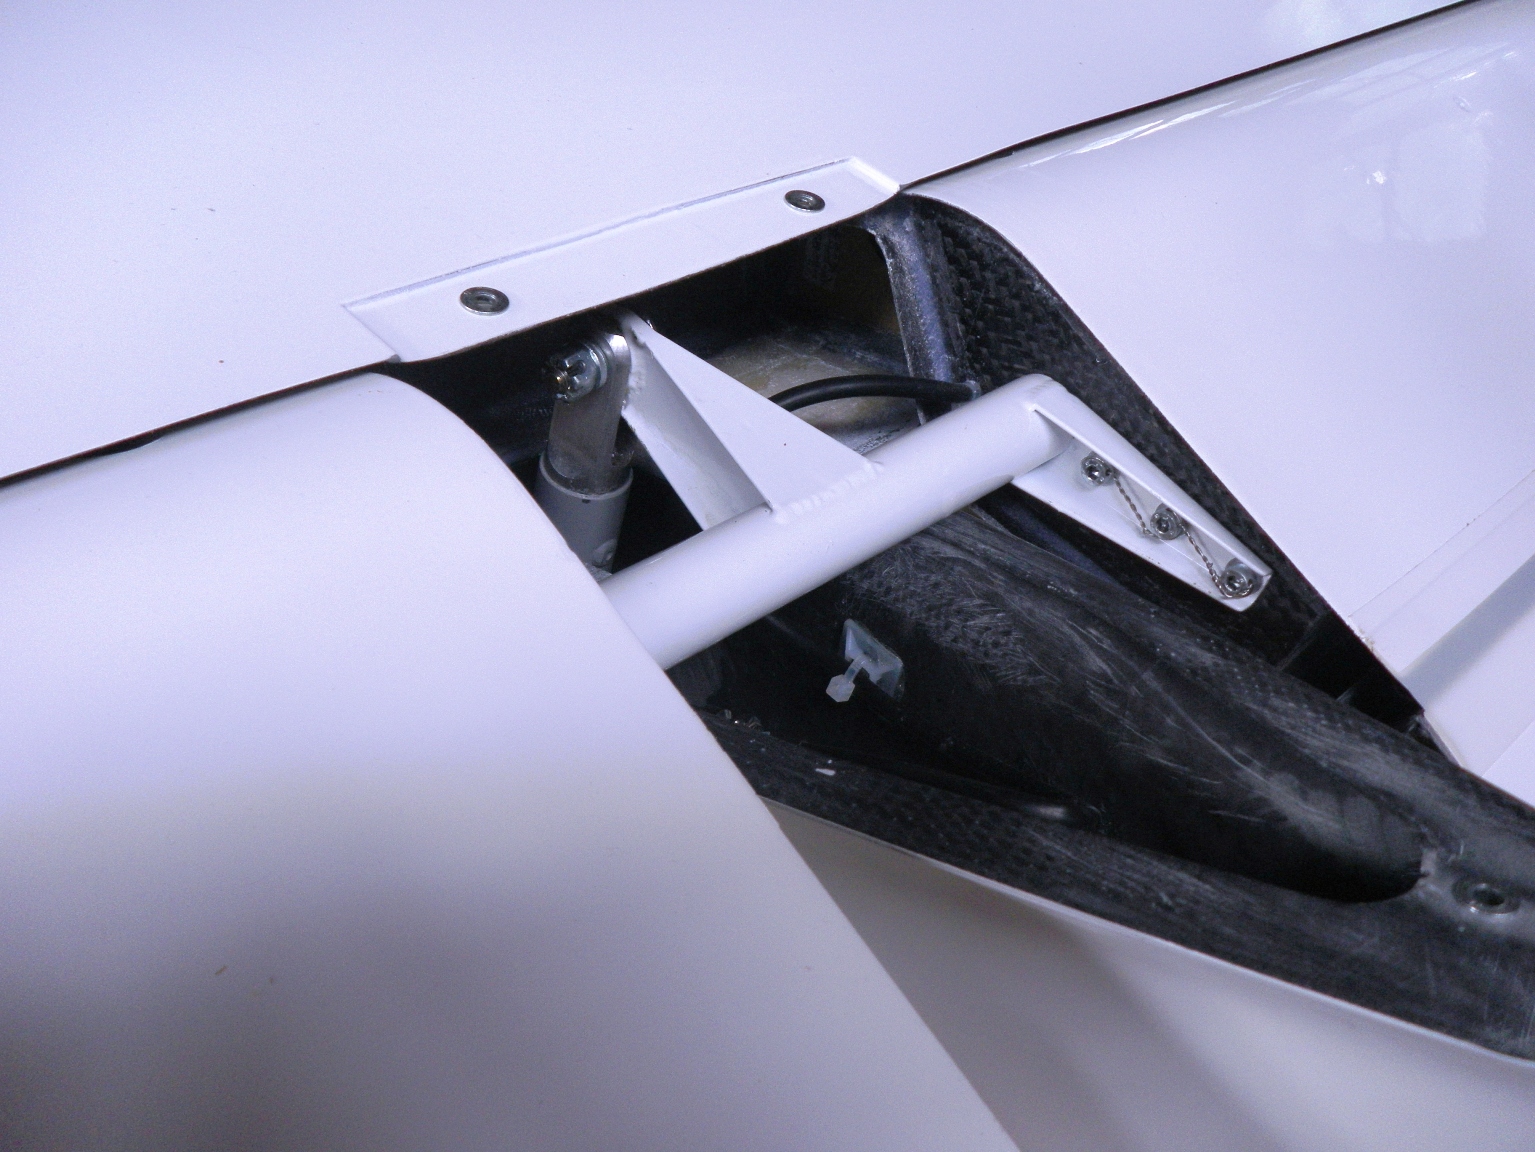
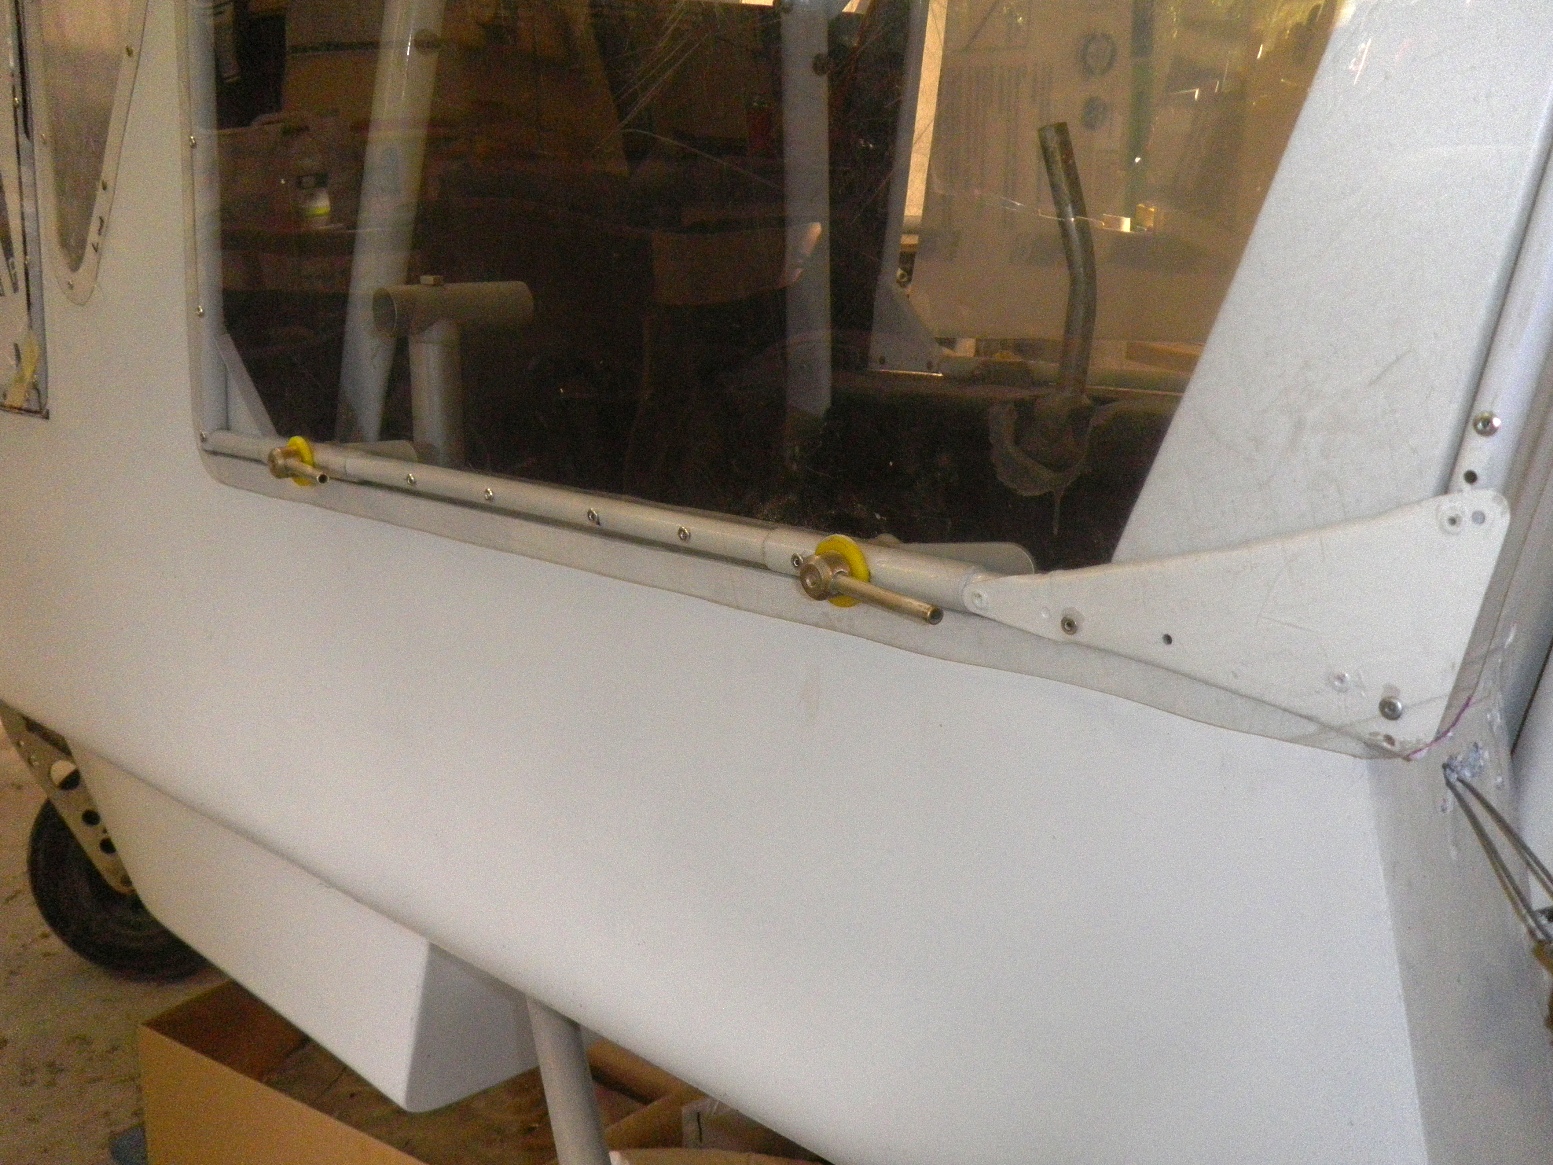 Each rear window had a single central latch which resulted in bent lower tubes, so I opted to replace these with twin latches to securely hold the window closed. I machined new latch axles from solid alloy and filed two ‘flats’ to positively locate each inner lever (i.e. it no longer relies on friction to stop the inner lever from rotating out of alignment). Overall, these new latches are stronger and more secure, but only a few grams heavier.
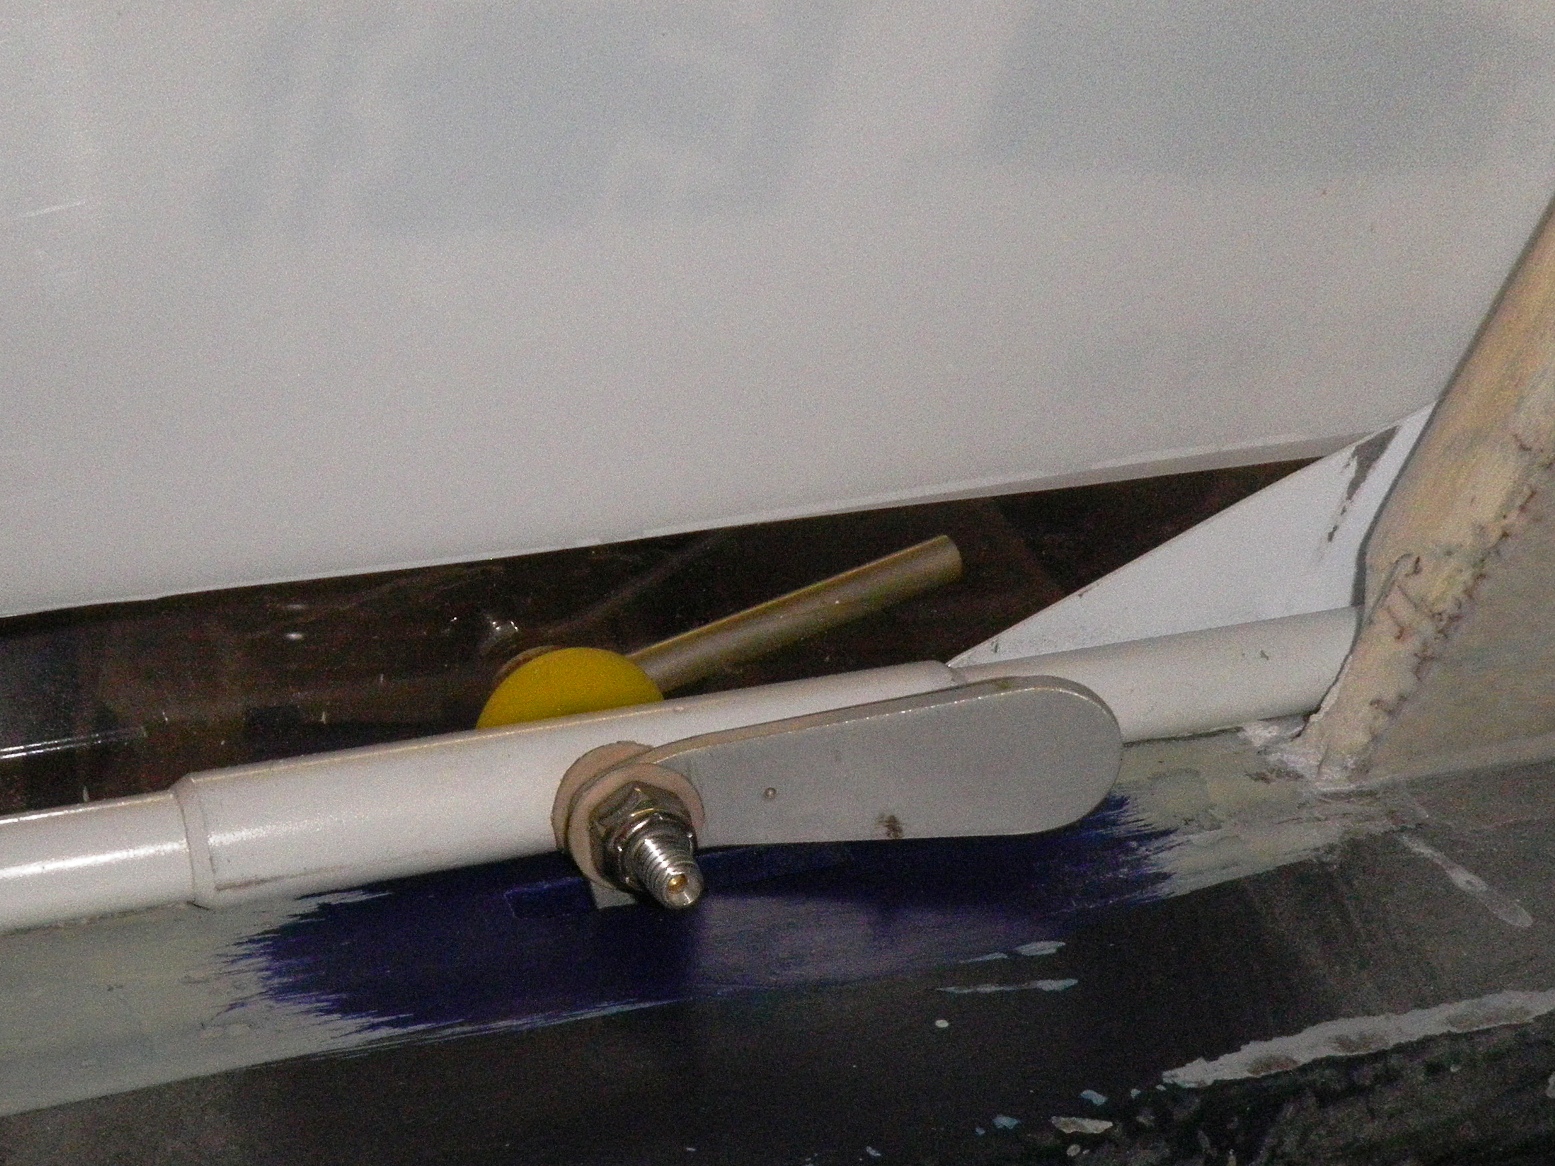
The rear windows also have a full-length lower tube (with a matching horizontal cut-out in the rear bulkhead), so that the lower rear corner of the window is not floppy. Where each latch is drilled, there is an alloy sleeve to strengthen the tube and reduce the tendency for the axle hole to wear.
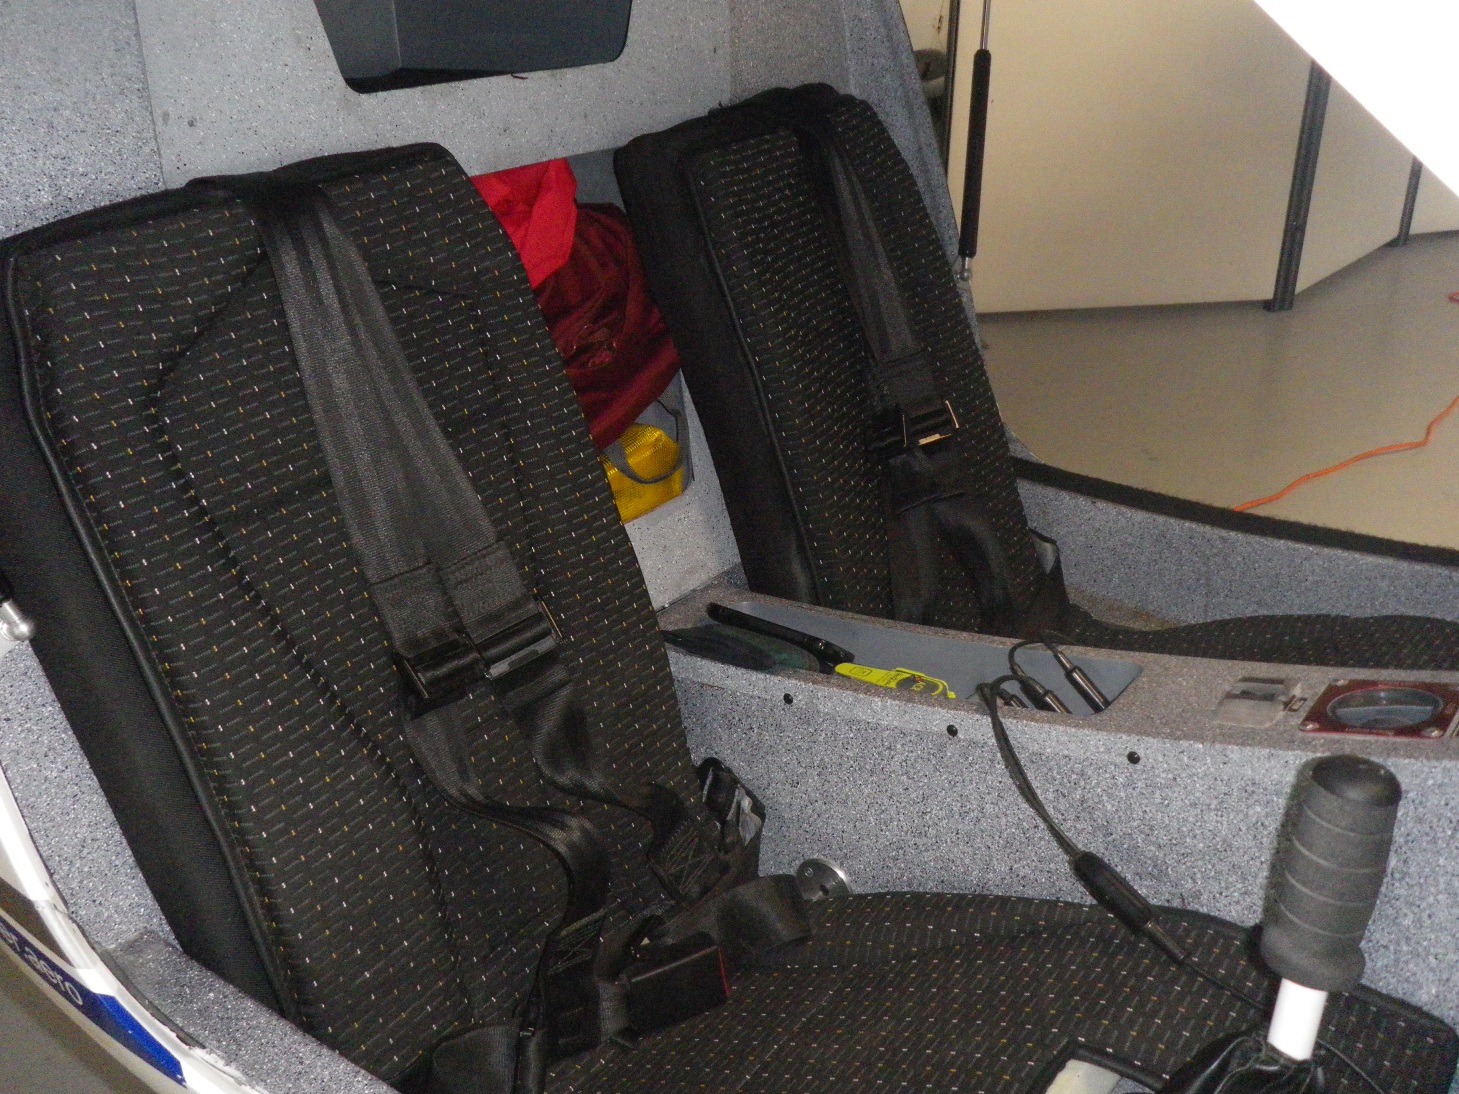
PS: You can see the small side windows that were added to the canopy shroud. They will give the rear passenger a better forward view.