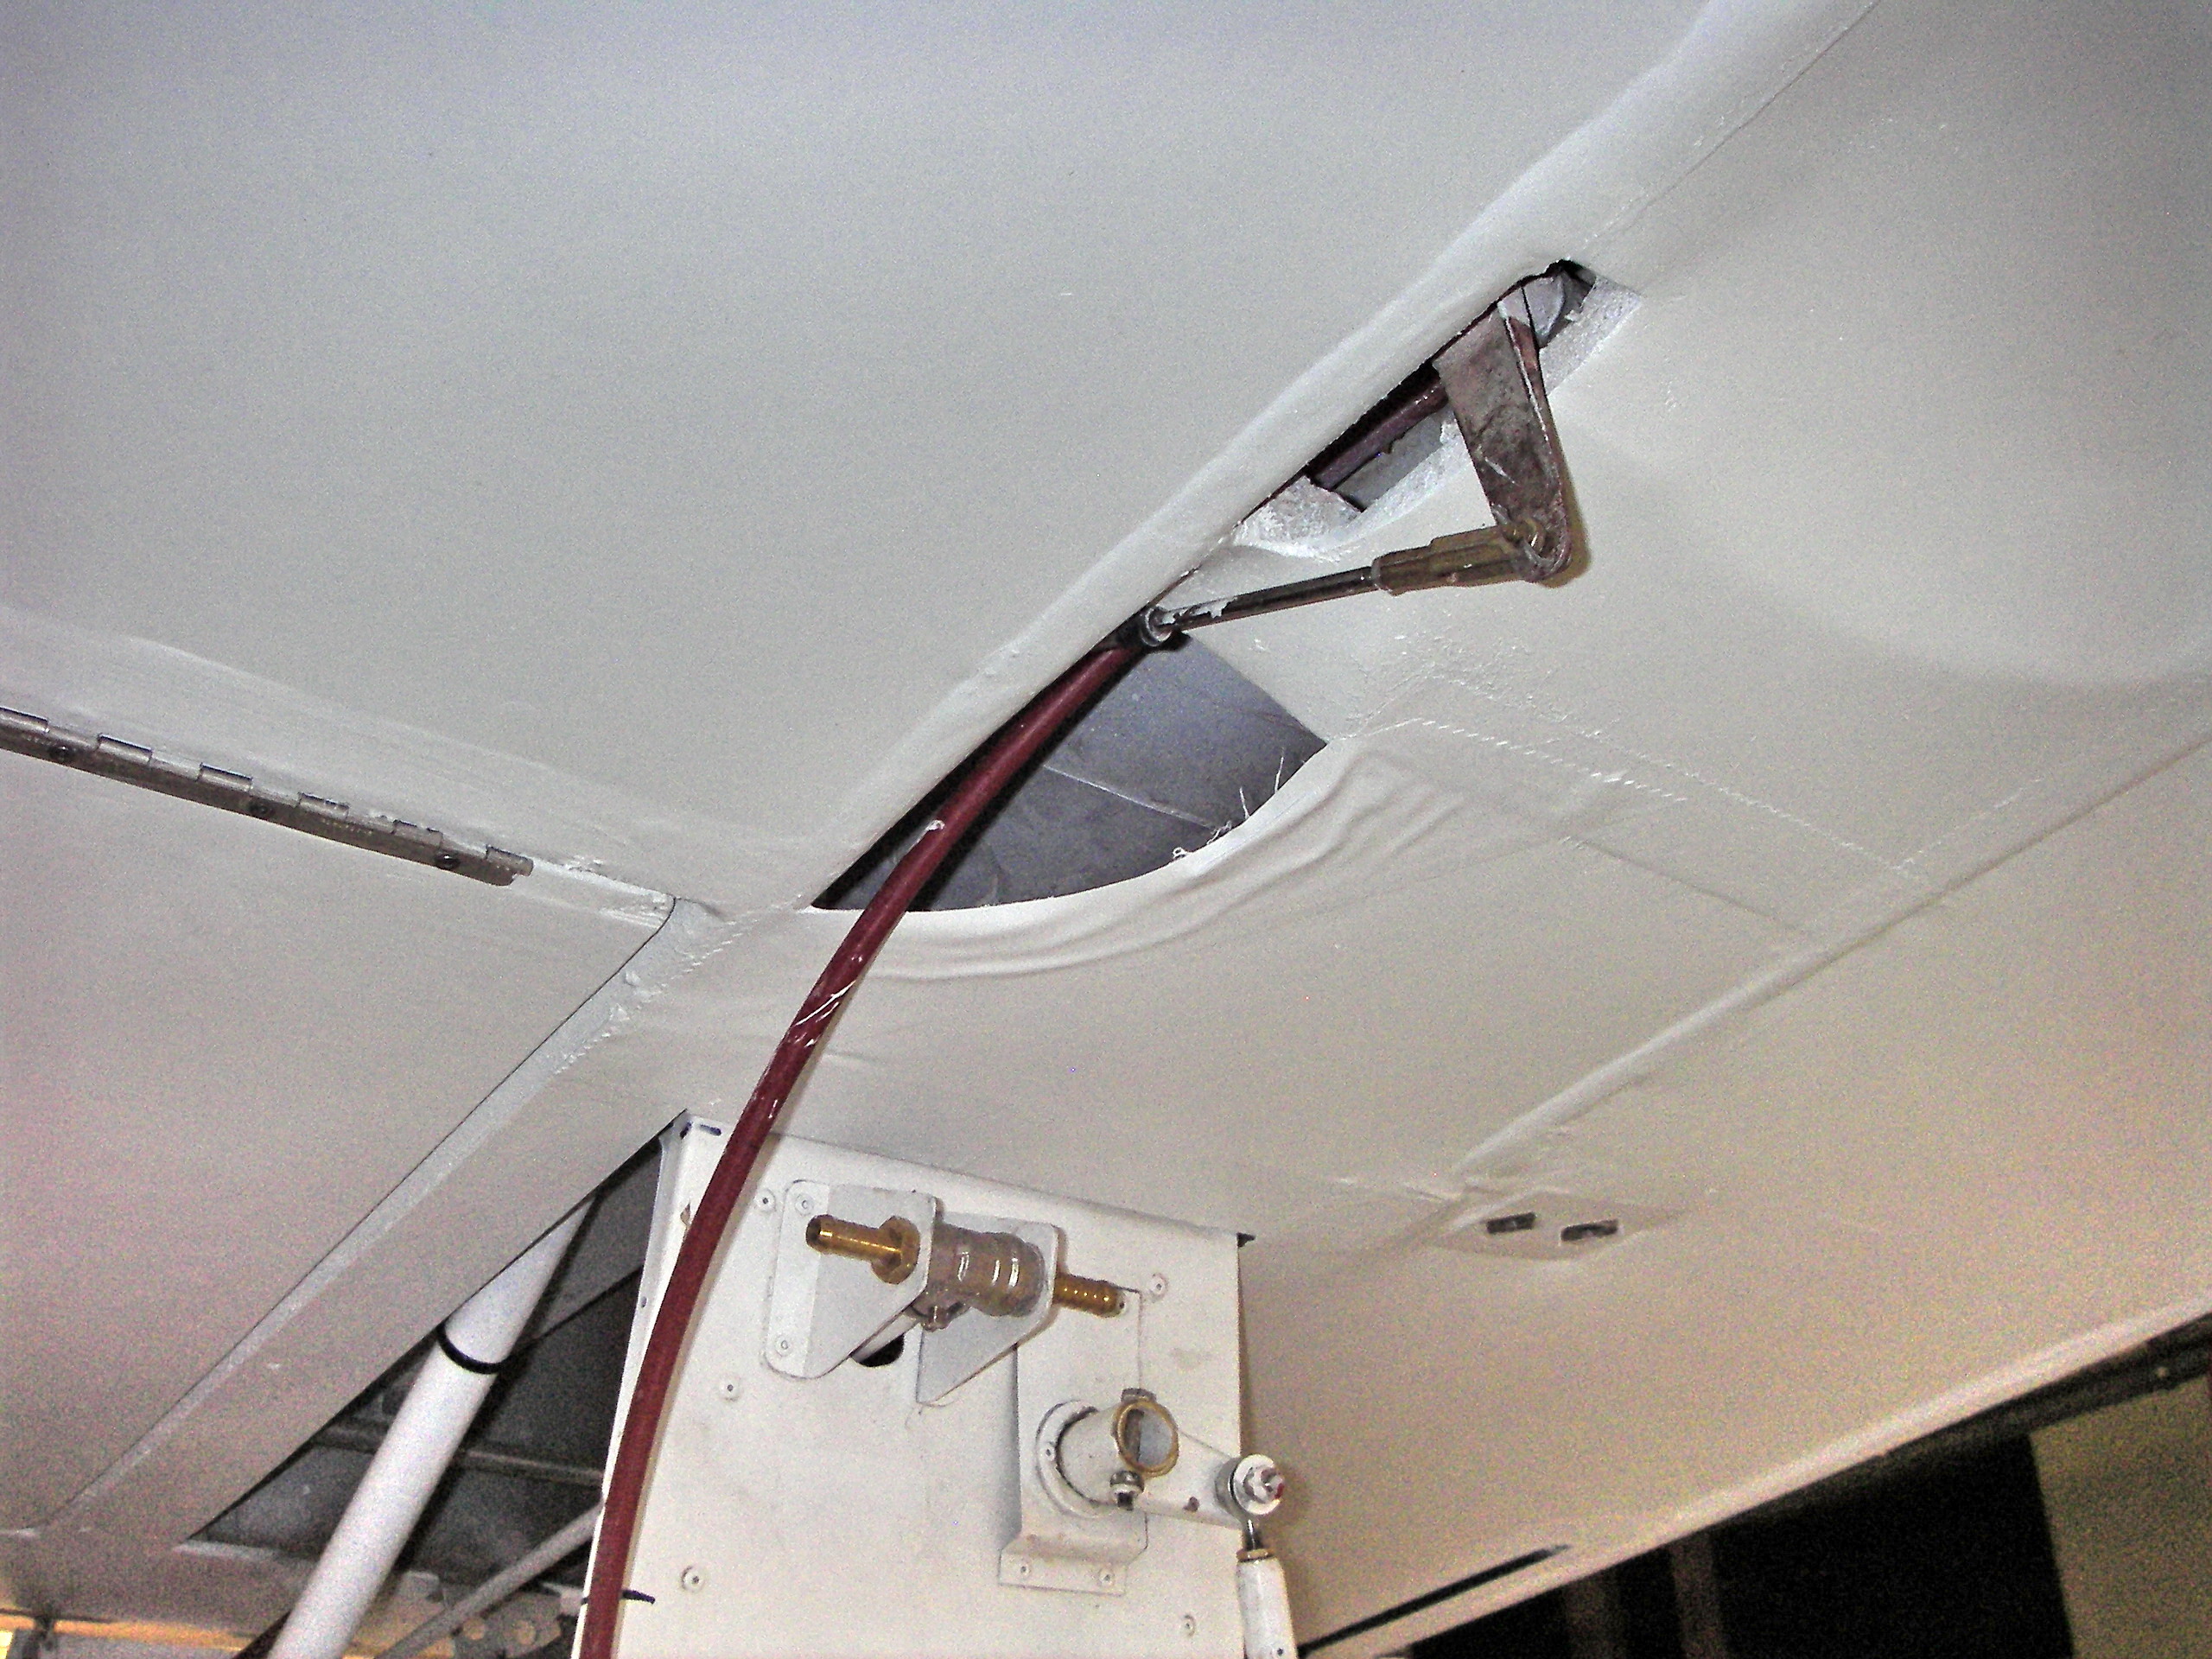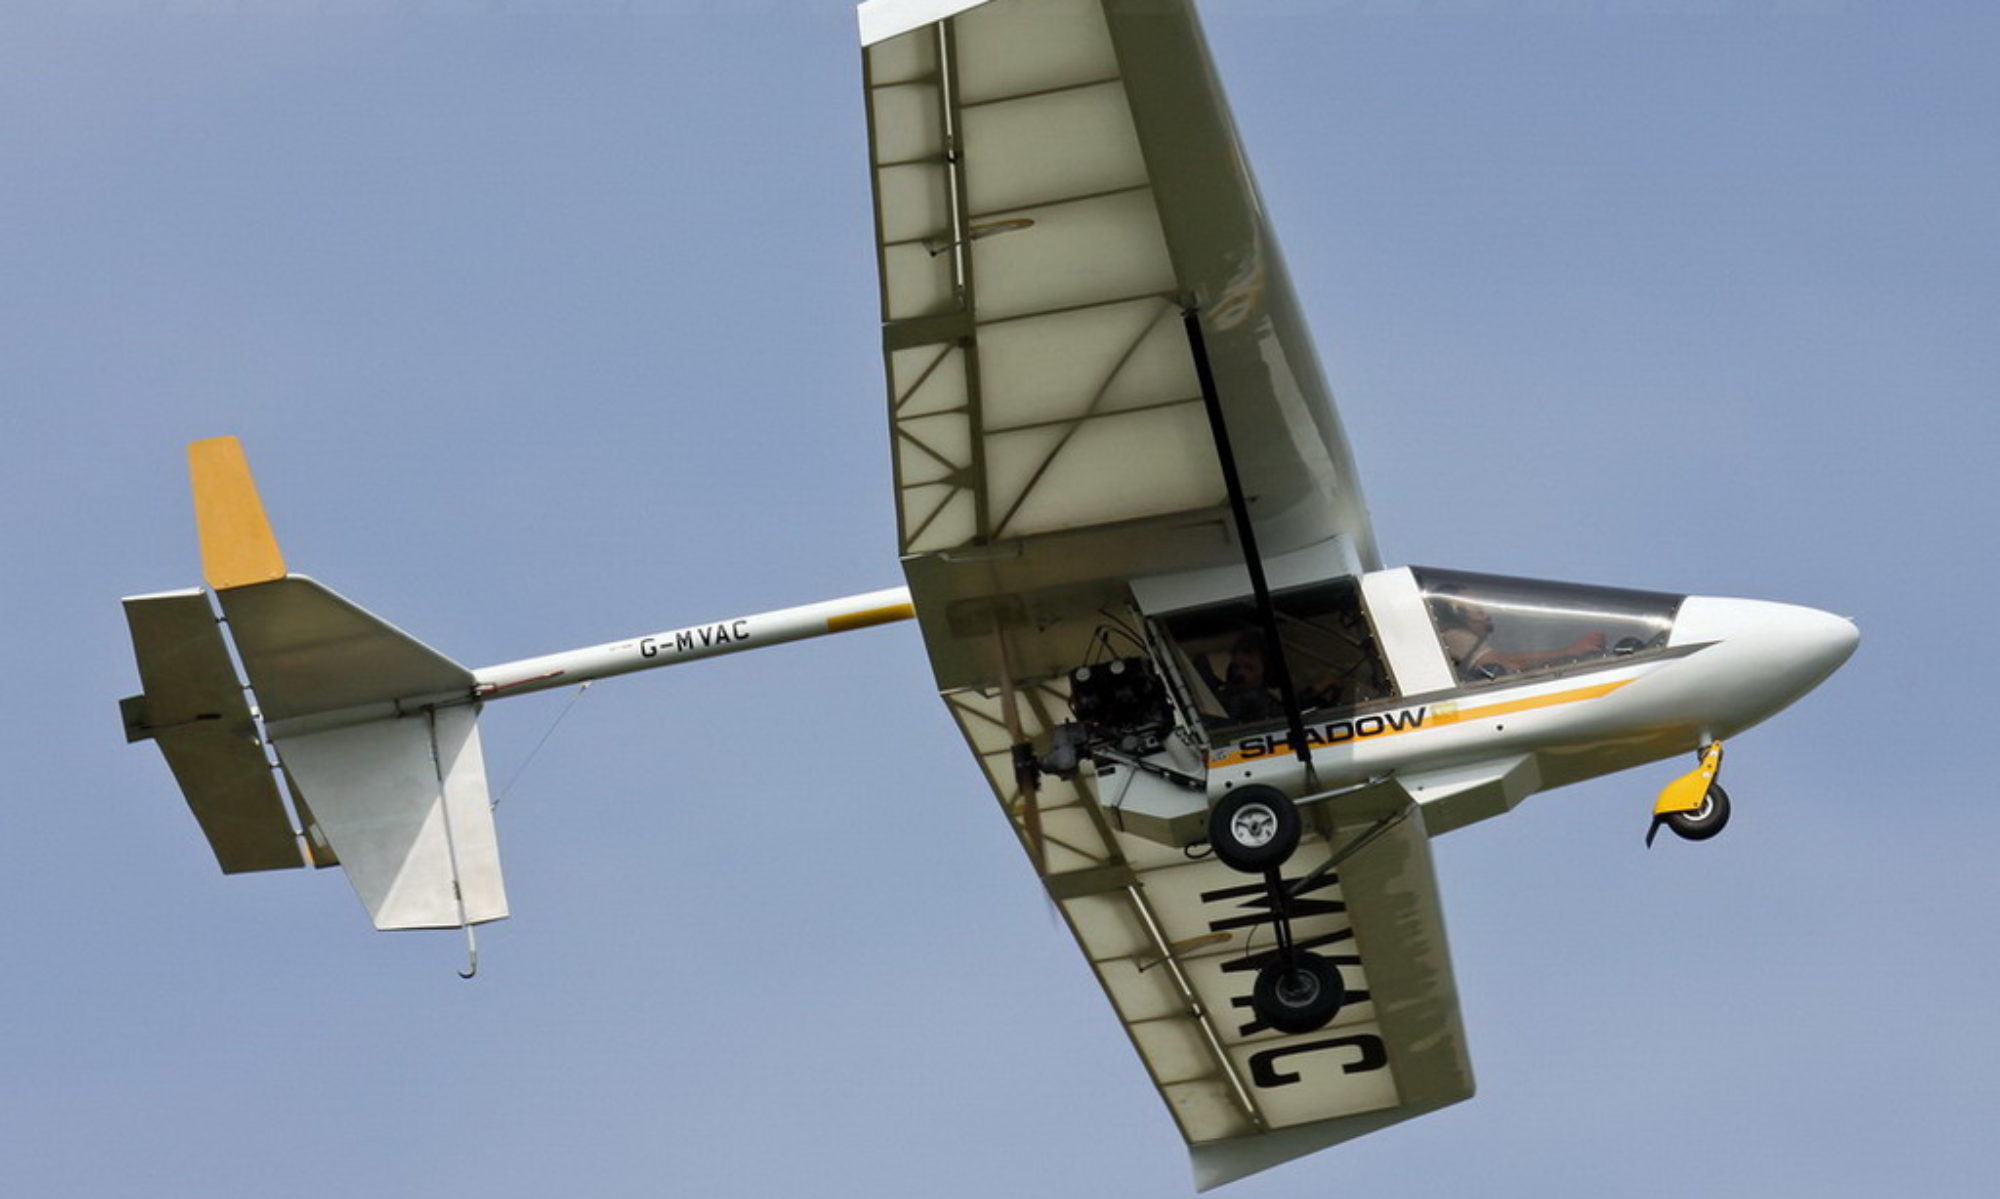
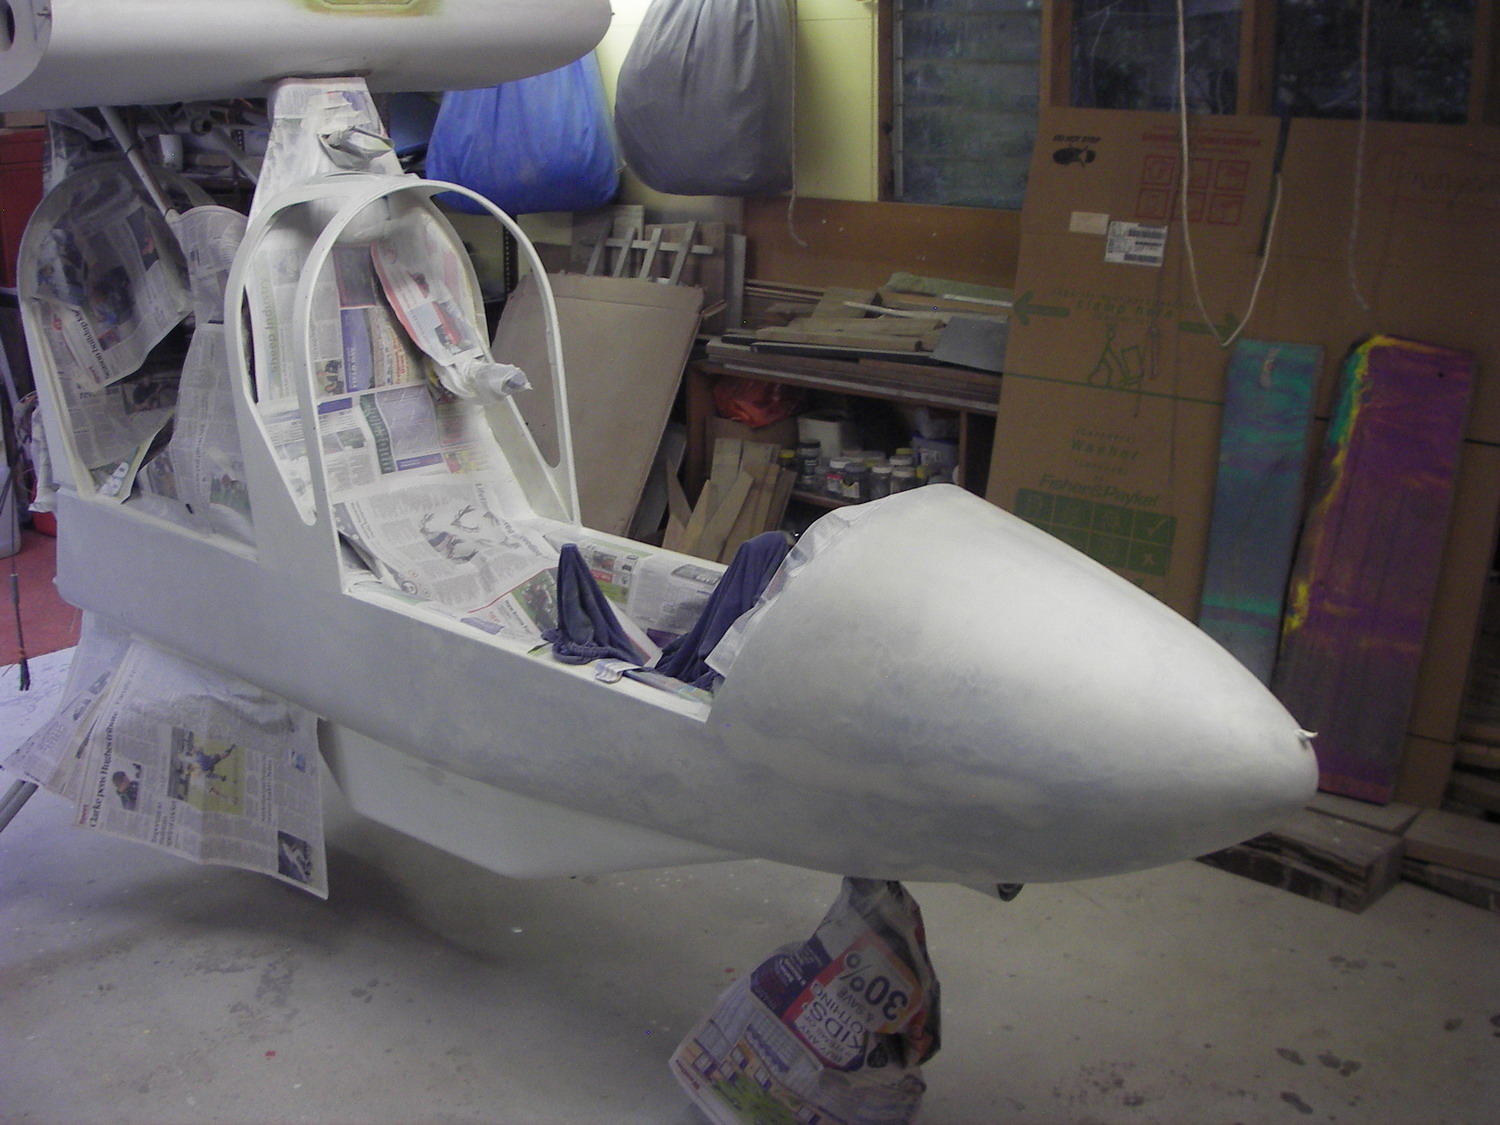
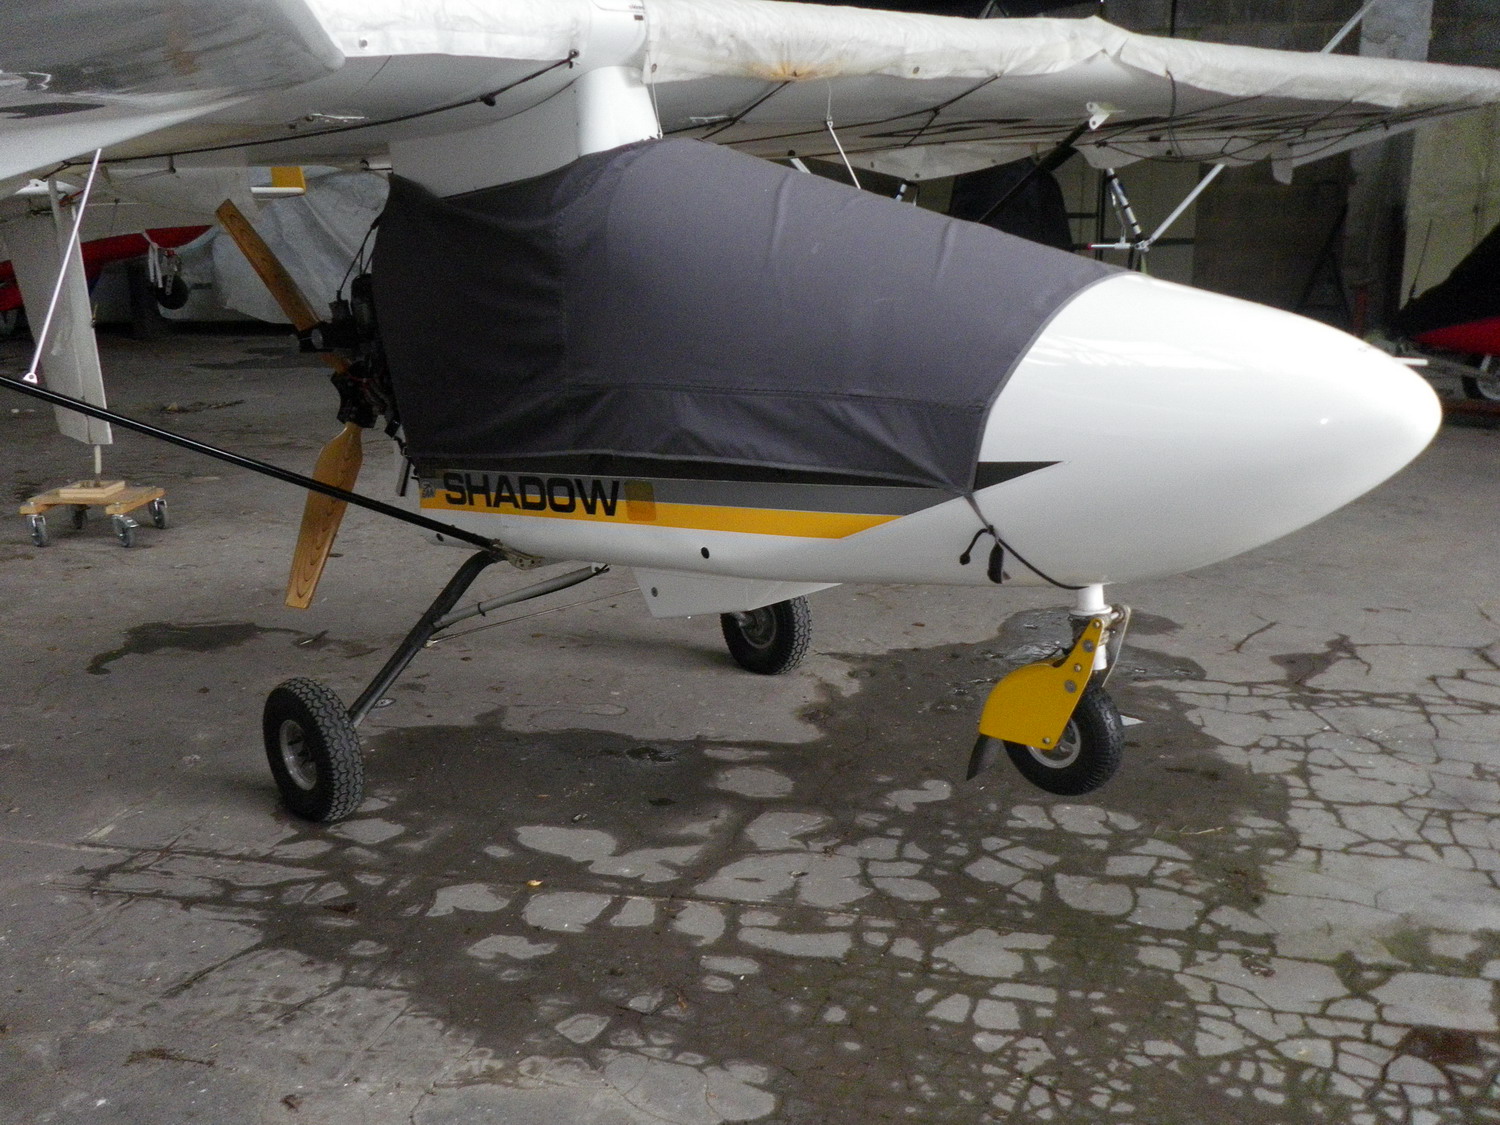
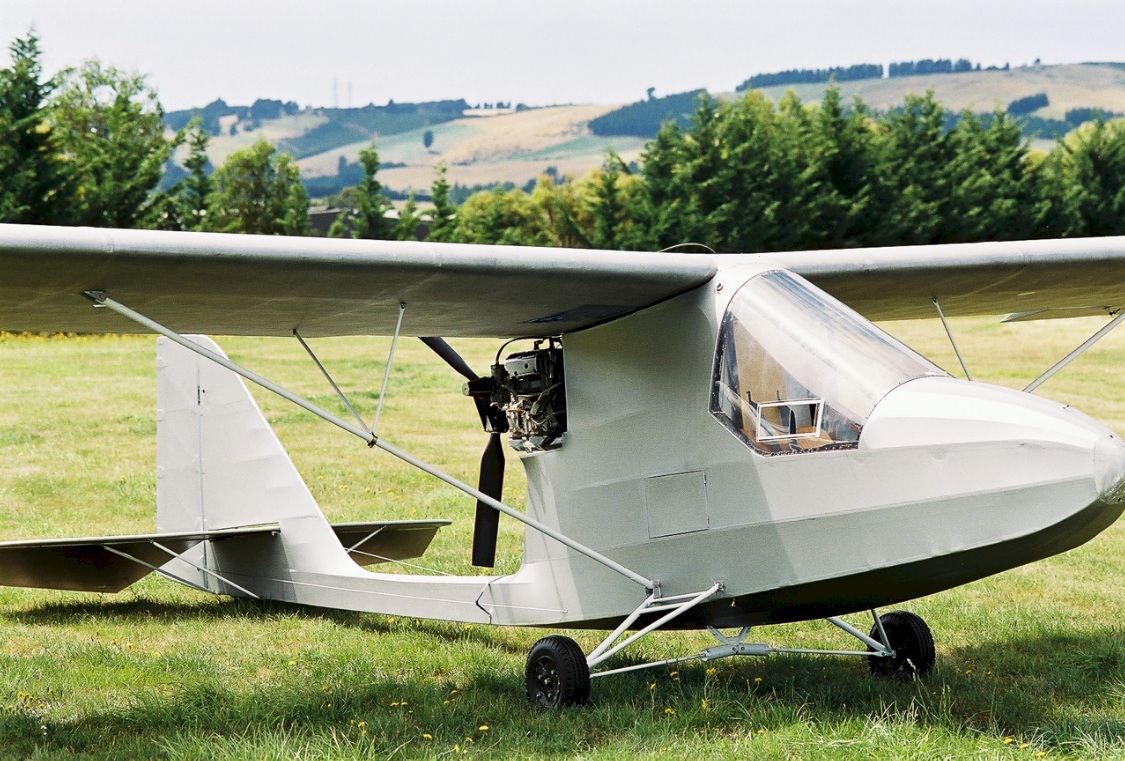
Last weekend, the Shadow microlight project took a big step forward towards completion. That occurred when the fibreglass nose cone was glued onto the honeycomb fuselage tub.
Then began the long job of mixing lightweight fairing powder with 2-pot epoxy and carefully filling every hole, crevice and hollow. Once the epoxy has set, I spray on a faint guide coat of colour paint, followed by even more hours of sanding down the filler. The coloured guide coat shows up any imperfections in the surface, so the process needs to be repeated until you’re happy with the smoothness. Since the aircraft is old, I stopped well short of perfection – it will look OK from a distance..
Today I masked up the fuselage, then sprayed an adhesion coat onto the fibreglass nosecone, kevlar side panels and thin plywood canopy shroud. Hopefully that will help the water-based paint to stick well.
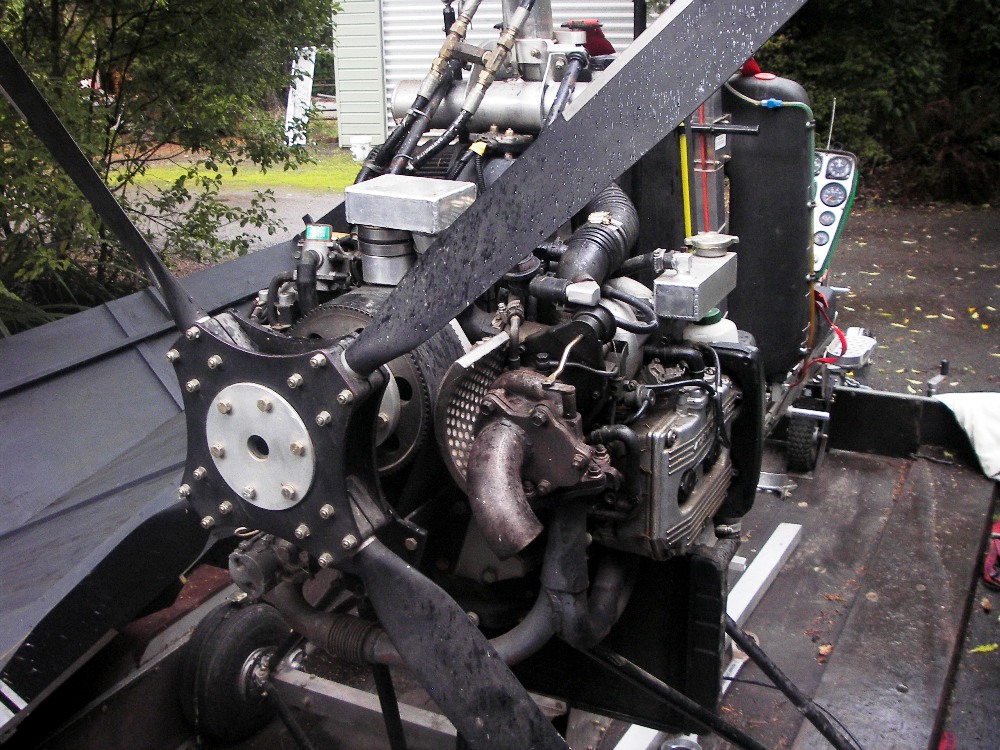
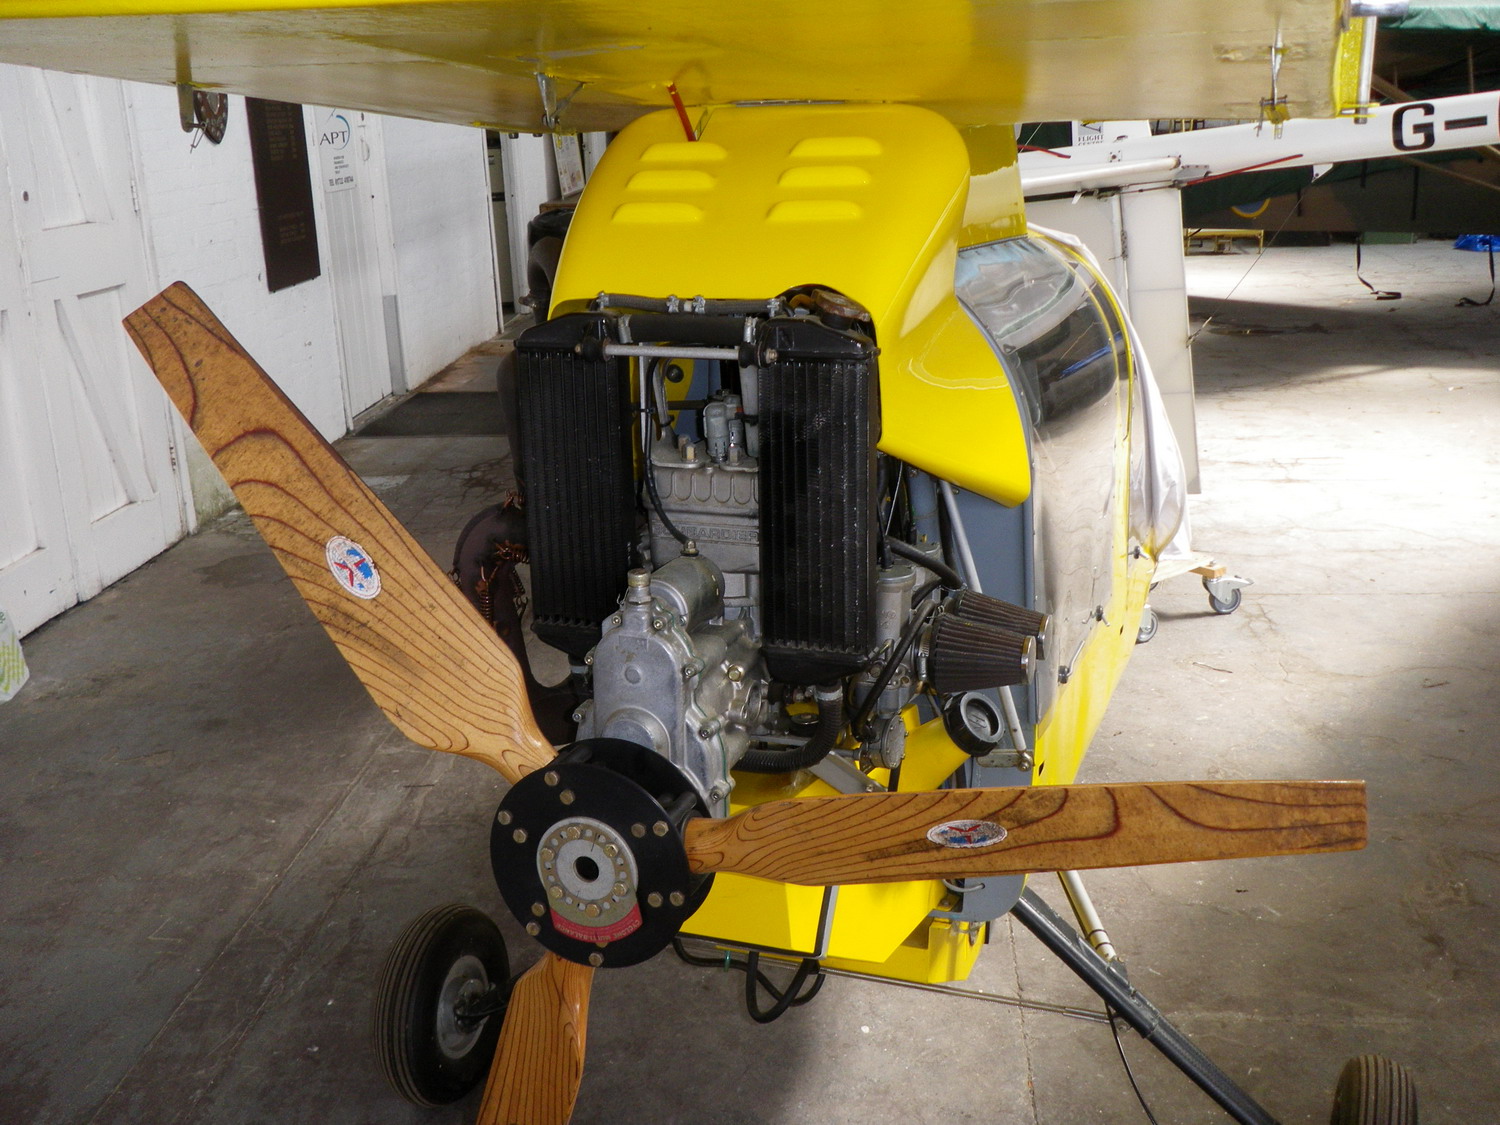
A few weeks ago, the new Rotax 582 ‘Blue-top’ engine arrived. It is fitted with oil injection and a by-pass cooling system. This system is an improvement over the 582 ‘Silver-top’ model because it keeps the coolant circulating within the engine block, while the engine is warming up. When the thermostat does open, it diverts hot water to the radiators and closes off the by-pass.


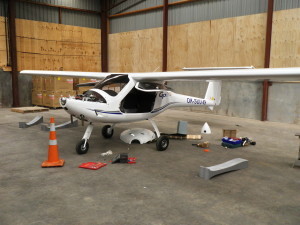 I’ve been unloading, assembling and generally preparing a carbon-composite Skyleader GP One microlight aircraft for its initial Permit-to-Fly and CAA certification.